 Pin It
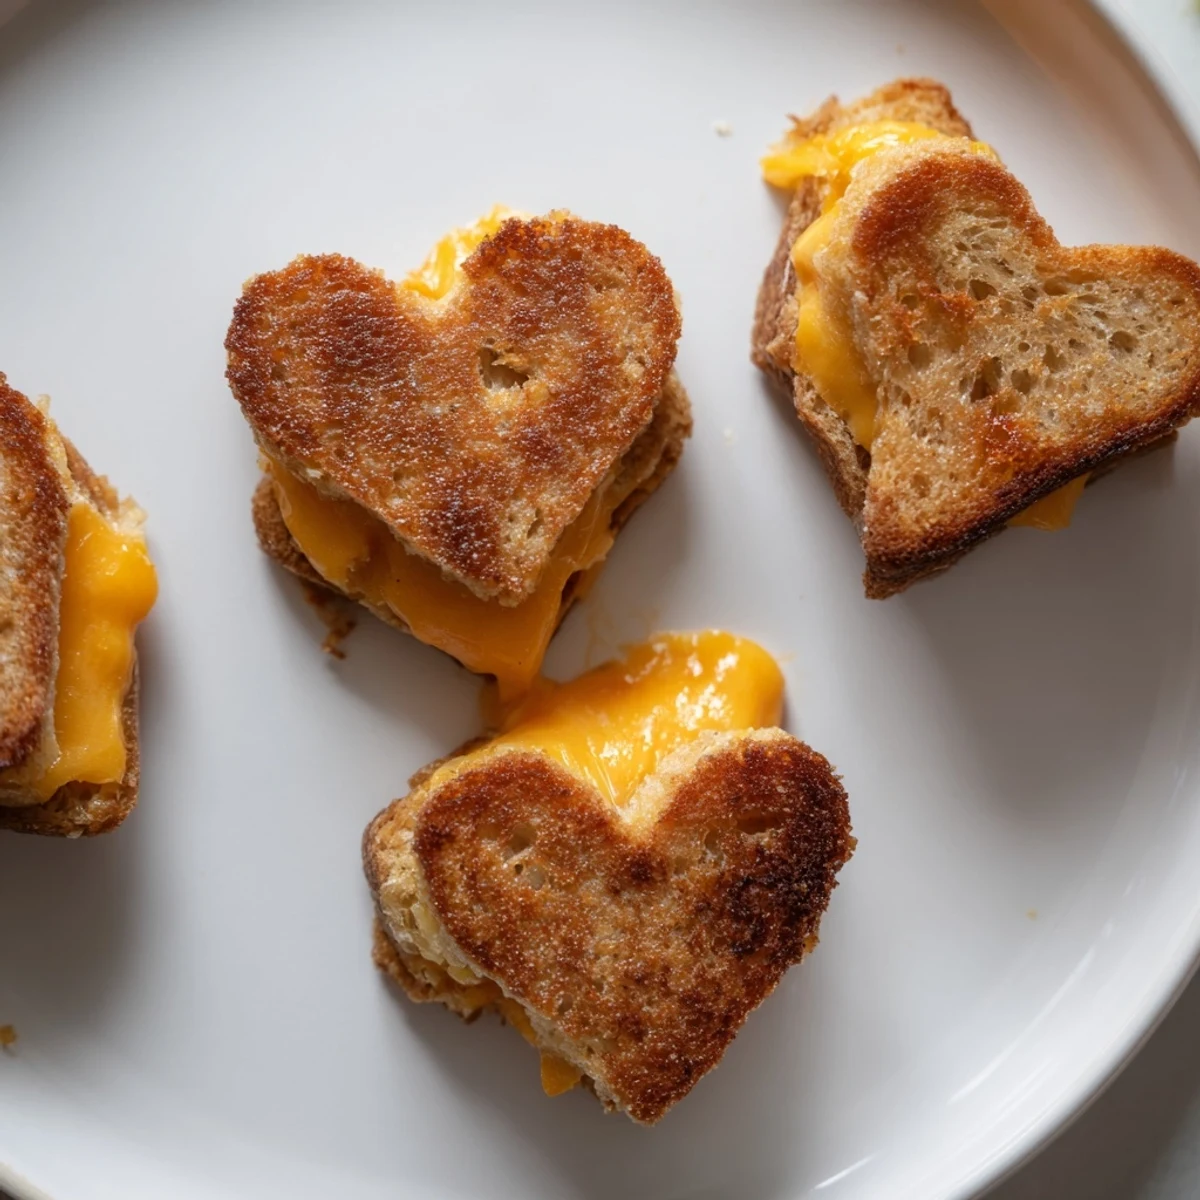
 These adorable mini grilled cheese hearts are perfect for adding a touch of fun to any occasion. Using heart-shaped cookie cutters, you can transform ordinary bread and cheese into charming bite-sized sandwiches that are great for parties, lunchboxes, or special celebrations. The simple preparation involves cutting hearts from bread and cheese, assembling them into sandwiches, buttering the outside, and cooking until golden and crispy. With just a few ingredients and about 20 minutes total time, you can create a delightful treat that's sure to bring smiles to faces of all ages.
Last Valentine's Day, I was scrambling for something adorable to serve at my daughter's class party. Store-bought treats felt impersonal, but I also didn't have hours to dedicate to elaborate baking. These tiny heart sandwiches came together in twenty minutes, and you should have seen the kids' faces light up when they spotted that platter.
My neighbor actually texted me the next day asking for the recipe because her son wouldn't stop talking about the heart cheeses in his lunchbox. Now I keep a small heart cookie cutter in the drawer just for those days when something ordinary needs to feel special.
Ingredients
- 6 slices soft white or whole wheat sandwich bread: Stale bread won't bend around the cutter, so use fresh slices for clean heart shapes
- 6 slices cheddar, American, or your favorite melting cheese: Pre-sliced cheese works beautifully here since you will cut it the same size as your bread hearts
- 2 tablespoons unsalted butter, softened: Room temperature butter spreads evenly without tearing the delicate bread edges
Instructions
- Cut your hearts:
- Press your heart-shaped cookie cutter into each bread slice, aiming for two hearts per slice if your cutter is small enough. Cut matching hearts from the cheese slices so everything fits together perfectly.
- Build the mini sandwiches:
- Place one cheese heart between two bread hearts, creating twelve tiny sandwiches total.
- Butter the outside:
- Spread a thin layer of softened butter on the exterior of each sandwich. This helps achieve that golden crunch we all want.
- Grill to perfection:
- Cook them buttered side down in a heated nonstick skillet over medium heat for two to three minutes. Flip carefully and cook another two to three minutes until the cheese melts completely.
- Serve them warm:
- These taste best straight from the pan while the cheese is still gooey and irresistible.
 Pin It
 My husband now requests these on Sunday afternoons when we are all feeling a little cozy. They have become our go-to comfort food for rainy days and random celebrations.
Cheese Variations That Work
Mozzarella creates that classic pizza pull, while gouda adds a smoky depth that surprises people. Pepper jack brings gentle heat if you want something with a little kick.
Timing Your Cooking
Work in batches rather than overcrowding the pan. Rushed sandwiches end up soggy or unevenly cooked, and these deserve proper attention.
Serving Ideas
These make charming additions to charcuterie boards or soup accompaniments. I have also served them as cocktail hour appetizers when friends drop by unexpectedly.
- Pair with tomato soup for an upgraded classic combination
- Sprinkle everything bagel seasoning on the butter for extra flavor
- Keep them warm in a 200°F oven if cooking for a crowd
 Pin It
 Sometimes the simplest gestures create the biggest smiles around the table.
Recipe Questions & Answers
- → What type of bread works best for these mini grilled cheese hearts?
-
Soft white or whole wheat sandwich bread works best as it's easy to cut with cookie cutters and toasts nicely. The bread should be fresh but not too thick to ensure even cooking.
- → Can I use different types of cheese?
-
Absolutely! Cheddar, American, mozzarella, or gouda all work well. For best results, choose cheeses that melt smoothly and have good flavor when heated.
- → How do I prevent the cheese from oozing out?
-
Use a thin layer of cheese and make sure your skillet isn't too hot. Cooking over medium heat allows the cheese to melt gradually without burning the bread. You can also press the sandwiches gently while cooking.
- → Are these suitable for making ahead?
-
They're best served fresh and warm, but you can prepare them in advance and reheat briefly in a skillet or oven. For lunchboxes, assemble without butter and cook just before serving.
- → What are some flavor variations I can try?
-
Add a thin slice of tomato, sprinkle of herbs, or a touch of mustard inside. You can also use different bread types like sourdough or rye for variety.
