 Pin It
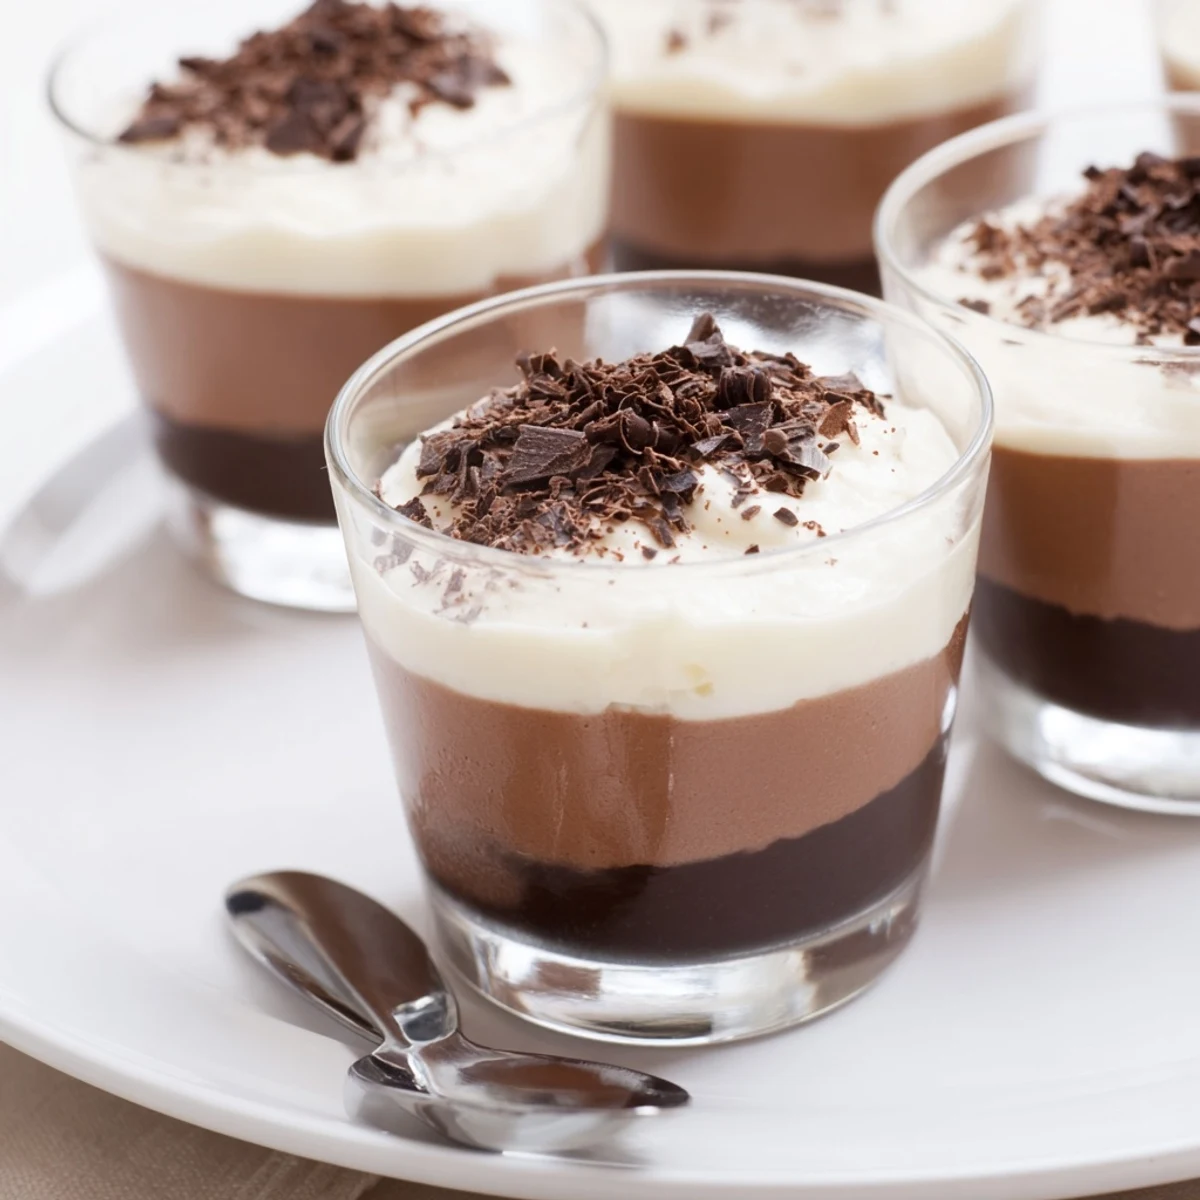
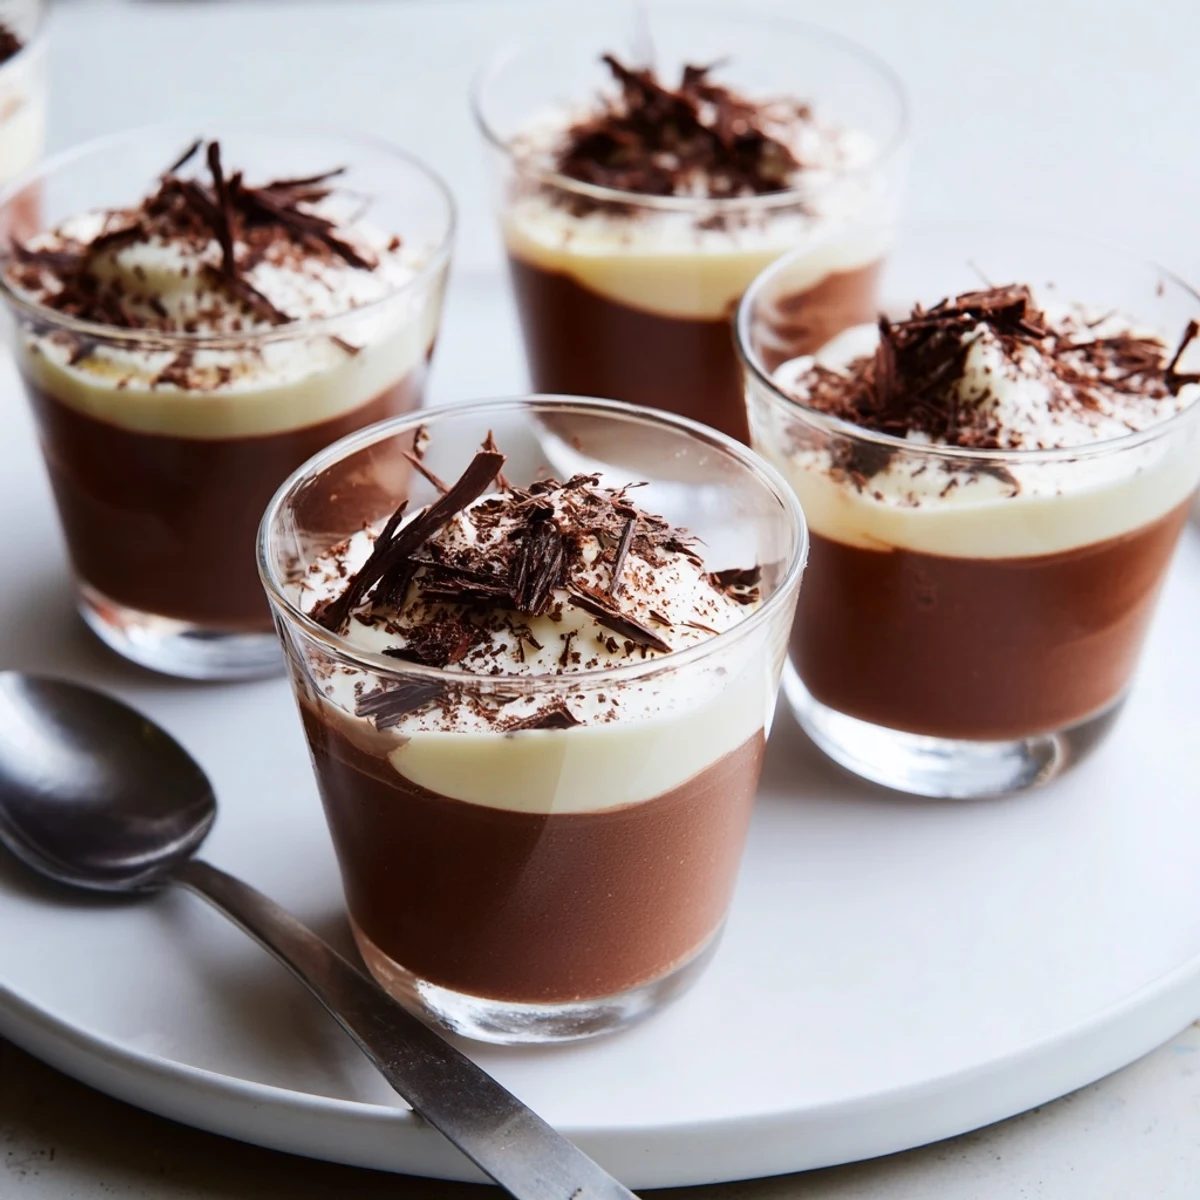
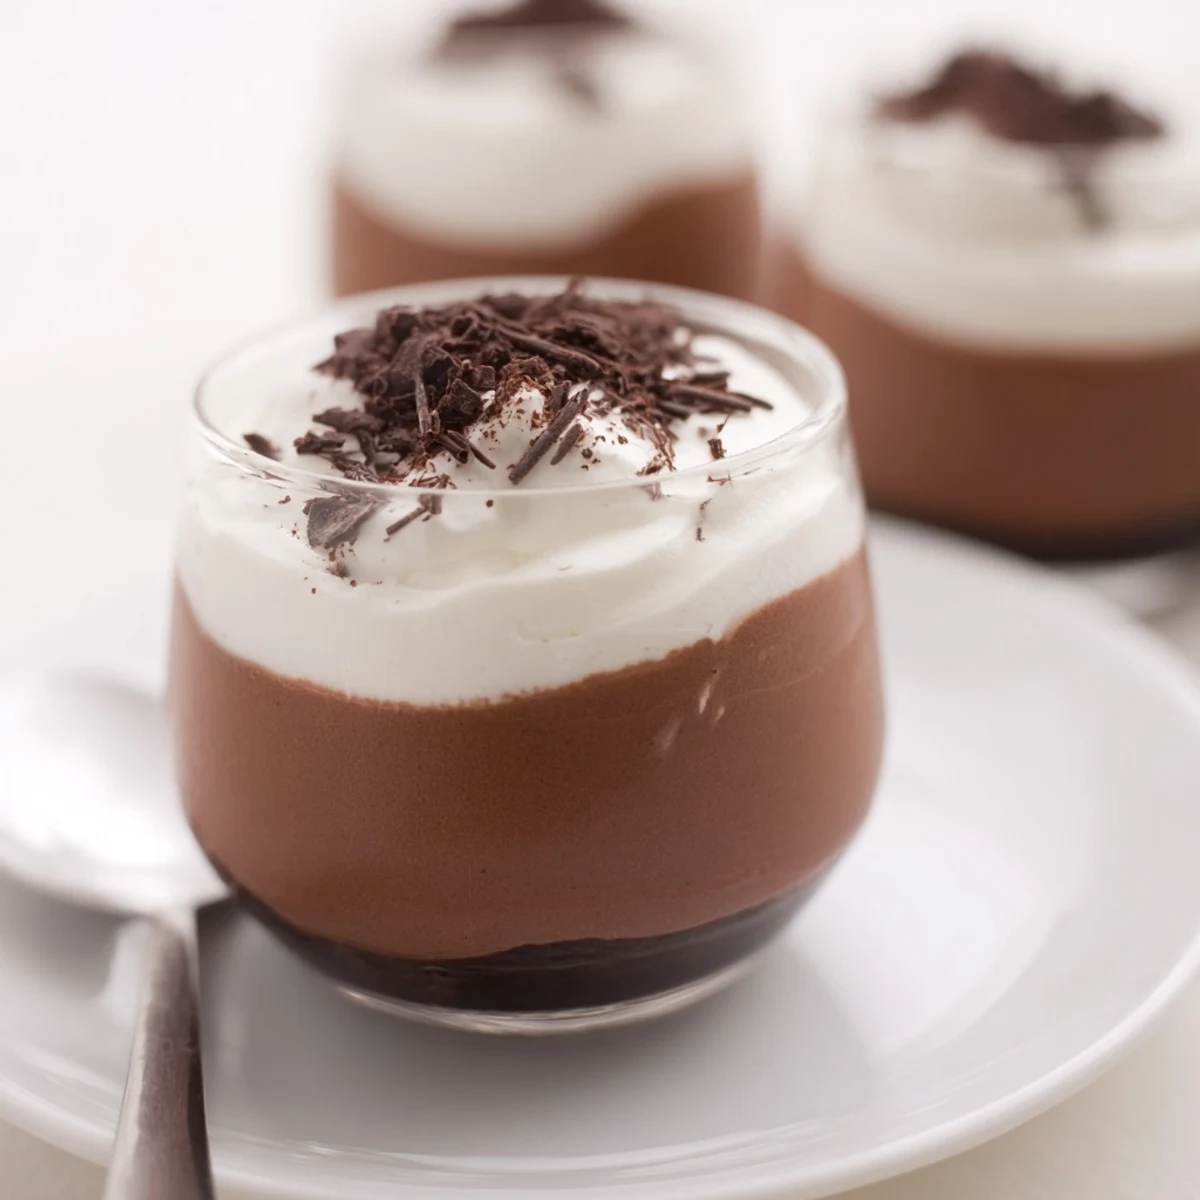
 Layers of melted dark, milk and white chocolate are folded with egg yolks, sugar and softly whipped cream, then spooned into six small cups. Allow about 45 minutes active time and 10 minutes gentle heating, with at least 1 hour chilling (roughly 2 hours total). For quicker setting, chill or briefly freeze between layers; use good-quality chocolate and consider a splash of coffee liqueur in the dark layer.
Layering rich spoonfuls of dark, milk, and white chocolate mousse into individual cups brings a giddy sort of satisfaction—almost like edible artistry. The soft shush of whipped cream and the scent of melting chocolate seem to hush the kitchen for a moment of focus and anticipation. I first tackled these Triple Chocolate Mousse Cups not for a celebration but on a rainy Sunday when baking felt too ambitious yet decadence was non-negotiable. Each bite tastes like a nod to French pâtisserie, with less fuss and plenty of room for playful imperfection.
I made a batch last spring with my brother, who stirred the melted chocolate with a little too much gusto and left streaks on the fridge. Neither of us minded—waiting for the layers to chill turned into an impromptu taste-test competition, and by the time we spooned the final mousse, we’d already chosen favorites.
Ingredients
- Dark chocolate (100 g, minimum 60% cocoa): Deep, slightly bitter, and essential for a grown-up chocolate edge; always chop it finely so it melts swiftly and smoothly.
- Egg yolks (3, large): They bring a luxurious, custardy body to each mousse layer—save the whites for meringues or omelets later.
- Sugar (4 ½ tbsp, divided): Not just sweetness, but balances the intensity between the different chocolates; whisk until it dissolves fully with the yolks for silkiness.
- Heavy cream (300 ml, cold): Whipping it cold is key for those soft peaks that make the mousse airy but stable; colder is always better here.
- Milk chocolate (100 g): Smooth and comforting, it bridges the dark and white layers; good-quality makes all the difference in flavor.
- White chocolate (100 g): Sweet and creamy, it finishes with a hint of vanilla; goes from melted to scorched quickly, so keep an eye out while melting.
- Shaved chocolate or cocoa powder (optional): A bit on top turns the cups into something you’d want to photograph, even if you really just want to eat them immediately.
Instructions
- Start with Dark Chocolate:
- Melt the chopped dark chocolate gently over a bain-marie or in short microwave bursts, breathing in those first rich waves of aroma. Whisk the egg yolk with sugar until the color turns creamy-pale, then fold in the cooled chocolate, saving a finger swipe for yourself.
- Whip the Cream:
- With a cold bowl and colder cream, whip until soft peaks curl at the end of your whisk—if you go too far, add a bit more cream to rescue it. Fold the whipped cream into the chocolate-egg mixture lovingly, keeping as much fluffiness as possible.
- Fill and Chill:
- Spoon the mousse into the bottoms of six small cups, letting the surface stay a little swoopy and imperfect. Chill while you prepare the next layer—anticipation is half the joy.
- Layer in Milk Chocolate:
- Repeat the process: melt, whisk, fold, whip, combine, and then spoon a generous layer over the chilled dark chocolate mousse. Try to keep your layers neat, but don’t stress about some marbling—character beats perfection every time.
- Cap with White Chocolate:
- For the final layer, melt the white chocolate carefully (it’s fussier), then fold in its yolk-sugar and whipped cream, spooning or piping it as the crowning finish. Chill all the cups at least an hour or until softly set, resisting peeks if you can.
- Garnish and Serve:
- Just before serving, dust with cocoa powder or scatter dark chocolate curls over the top if you’re feeling fancy. Dive in with a spoon and enjoy the moment as the layers blend and melt together.
 Pin It
 The first time I watched someone take a slow, happy bite and close their eyes at the taste, these mousse cups felt less like a recipe and more like a small gift I could give again and again.
How to Nail the Layers Without Fuss
After a few attempts, I found that a slightly flexible spatula is the secret to gently coaxing each mousse into place. Set the newly filled cups in the coldest part of your fridge—usually the back corner behind yesterday’s leftovers—so the lines stay sharp, especially if you like that triple-strata look.
Choosing the Right Chocolate Makes a Big Difference
After once grabbing a bargain bar that barely tasted of cocoa, I splurged on chocolate with real heft and discovered just how much it shapes the mousse’s flavor. Taste a bit of each chocolate first and let it melt on your tongue—if you love it, your mousse will sing.
Small Kitchen Solutions for Happy Mousse Cups
If your serving cups are on the tall side, pipe the mousse layers in using a zip-top bag with a snipped corner—it keeps things tidy and makes you feel like a pastry pro. Sometimes, I chill the mixing bowls between steps just for peace of mind.
- If you’re impatient, short freezer stints can help the layers set faster, just don’t forget them in there.
- For dinner parties, prep the cups a day ahead—mousse gets dreamier overnight.
- If all else fails, spooning a messy mousse still tastes fantastic.
 Pin It
 Triple Chocolate Mousse Cups carry a little drama in every glass and feel like both effort and reward. I hope they give you as many happy kitchen moments as they’ve given me.
Recipe Questions & Answers
- → How can I speed up the setting between layers?
-
Chill the cups in the refrigerator for 25–30 minutes or place them briefly in the freezer for 20–30 minutes between layers to firm each layer faster. Be cautious with the freezer to avoid over-freezing the cream.
- → Can I avoid using raw egg yolks?
-
Use pasteurized yolks for safety or substitute with a stabilized whipped cream base and a touch of gelatin or agar (dissolved and cooled) to mimic the yolk's richness. Aquafaba can be used for a vegan set, but texture will differ.
- → What chocolates give the best results?
-
Choose good-quality chocolate: a minimum 60% cocoa for the dark layer, creamy milk chocolate for balance, and a stable white chocolate with cocoa butter for the top layer. Avoid low-quality chips that contain excess additives.
- → How should I store the finished cups?
-
Cover and refrigerate for up to 2 days to preserve texture. Avoid long freezing, which can change cream structure; if frozen, thaw gently in the fridge before serving.
- → Any tips for clean layered presentation?
-
Chill each layer until just set before adding the next to prevent blending. Use a small spatula or piping bag for precise placement and smooth transitions between layers.
- → Can I flavor the mousses with alcohol or coffee?
-
Yes — a splash of coffee liqueur in the dark mousse deepens flavor without thinning the mixture. Add sparingly to maintain set; reduce other liquids if needed.
