 Pin It
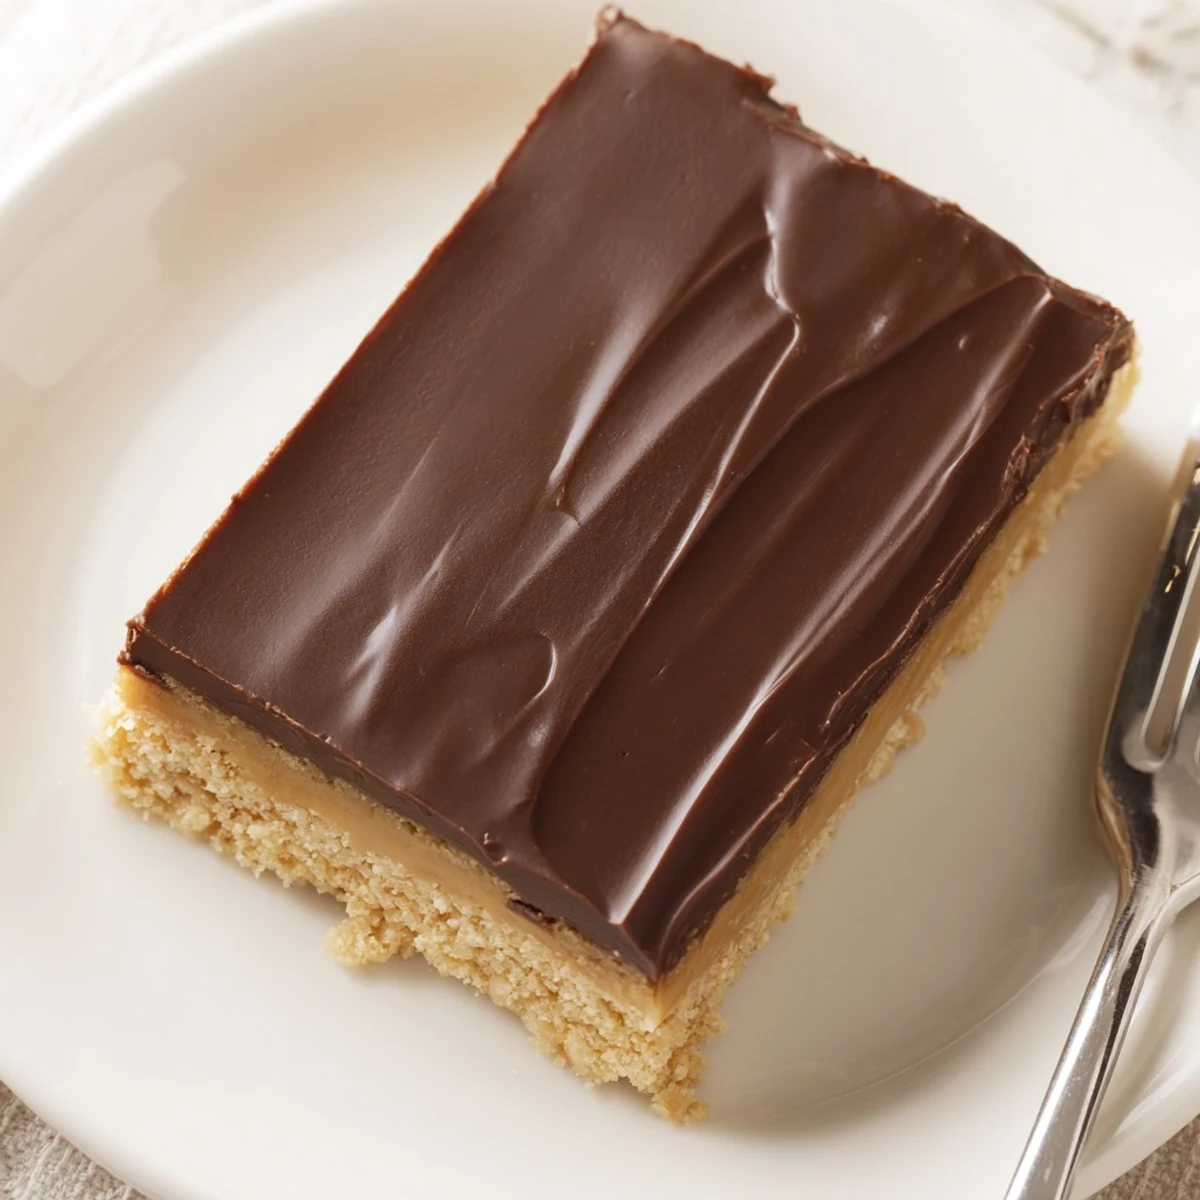
 These no-bake peanut butter bars layer a dense, sweet peanut-butter and graham-cracker base with a glossy chocolate-peanut butter topping. Mix melted butter and creamy peanut butter with powdered sugar and crumbs, press into an 8x8 inch pan, pour warm chocolate mixed with peanut butter over the base, then chill at least 2 hours until firm. Slice into 16 bars; a sprinkle of sea salt or chopped peanuts brightens the flavor. Store chilled in an airtight container for up to a week.
The unmistakable scent of melted chocolate and peanut butter always signals something delicious in progress, but these no-bake bars came into my kitchen on a restless afternoon when the oven was off-limits. One glance at a nearly empty graham cracker box and a craving for something sweet set the plan in motion. As I pressed the final layer into the pan, the radio played an old pop song—somehow, these bars feel tied to that upbeat, carefree mood. There is a mischievous sense of accomplishment in letting the fridge do all the work.
One chilly Friday, I made these for movie night with friends, not quite believing something so simple could compete with actual baked desserts. The debate over cutting the bars into generous squares or dainty bites only stopped when someone swiped the corner piece. By the end of the credits, not a crumb remained and someone had tucked the recipe card in their bag.
Ingredients
- Creamy peanut butter: Go for a smooth, shelf-stable variety—the oils in natural styles can separate and make the bars tricky to set.
- Unsalted butter, melted: Melting is key here; it brings the base together swiftly and gives that melt-in-your-mouth texture.
- Powdered sugar: Sift if lumpy for an even, fudge-like sweetness in each bite.
- Graham cracker crumbs (or digestive biscuits): I once swapped in digestive biscuits from a late-night grocery run and loved the slight maltiness.
- Vanilla extract: Just a splash subtly rounds out the flavors—don’t skip it, even if it feels minor.
- Semi-sweet chocolate chips: Their size melts evenly, giving a glossy, irresistible ganache-like layer on top.
- Creamy peanut butter (for topping): This secret addition keeps the chocolate soft even straight from the fridge.
Instructions
- Prep Your Pan:
- Line an 8x8 inch pan with parchment, letting some hang over; it makes sliding out the finished bars so much easier.
- Mix the Base:
- In your largest bowl, stir the melted butter and peanut butter until glossy, then blend in powdered sugar and graham crumbs—by the end, your spoon will stand upright in the mixture.
- Press and Smooth:
- Dump the peanut butter base into the pan and focus on pressing it firmly and evenly—use an offset spatula or the back of a spoon, and take a moment to smooth the top, as this sets the stage for the glossy topping.
- Make the Chocolate Topping:
- Combine chocolate chips and peanut butter in a microwave-safe bowl; heat in short bursts, stirring in between, until everything melds to a shiny, pourable gloss.
- Finish and Chill:
- Pour the chocolate mix over the base, tilting the pan or gently spreading to cover every corner, then refrigerate for at least 2 hours—it’s worth the wait.
- Slicing and Serving:
- Use the parchment overhang to lift the slab out cleanly, then cut into perfect squares with a sharp knife for crisp edges and maximum anticipation.
 Pin It
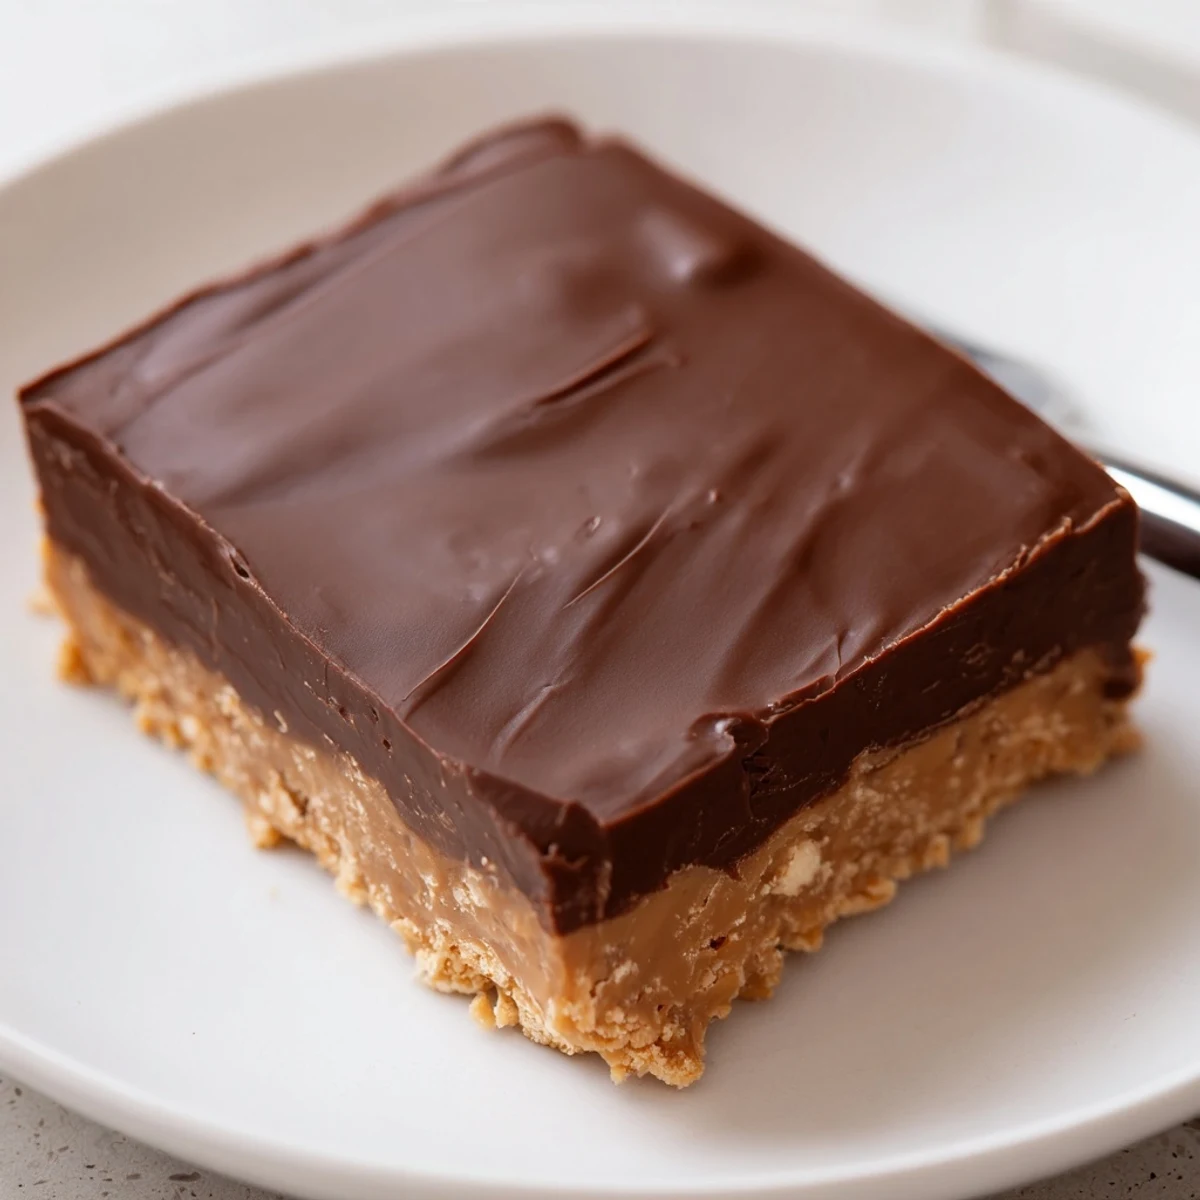
 I will never forget when a niece—her face streaked with chocolate—declared these bars were better than birthday cake. As plates cleared and laughter carried into the night, the mess on the table felt exactly right.
Getting the Layers Just Right
Give the base a firm but gentle hand; pressing too hard can make it tough, while not enough pressure leaves crumbs behind when you slice. I’ve learned the best tool is actually a small measuring cup—a quick, circular motion evens it out beautifully.
Toppings, Add-Ins, and Fun Twists
A pinch of flaky sea salt over the chocolate before chilling creates instant gourmet vibes. Sometimes I tuck in a handful of toasted coconut or a scattering of chopped peanuts for texture—the bars never last long enough to regret the experiment.
Storage and Serving Inspirations
Leftover bars keep well in the fridge for a week (tucked safely in an airtight container, away from midnight snackers). Serve straight from cold for sharp layers, or leave out a few minutes for a softer bite—either way, they please every craving.
- If freezing, layer with parchment to prevent sticking.
- Try cutting into bite-sized cubes for potlucks or gifts.
- A sprinkle of crushed pretzels adds a salty finish—just before serving is best.
 Pin It
 If you find yourself craving a treat but not the fuss, these bars invite you to get a little sticky, steal a corner, and share a chocolatey smile—oven not required.
Recipe Questions & Answers
- → Can I use crunchy peanut butter instead of creamy?
-
Yes. Crunchy peanut butter adds texture to the base and enhances nutty crunch. If you prefer a smoother finish, use creamy in the topping for a glossy spread.
- → How do I melt the chocolate without seizing it?
-
Melt chocolate in 30-second microwave intervals, stirring between each, or use a double boiler. Adding a tablespoon of neutral oil or a small splash of cream can help keep it smooth.
- → What can I substitute for graham cracker crumbs?
-
Digestive biscuits, plain shortbread, or gluten-free cookie crumbs work well. Toasting the crumbs briefly deepens the flavor before mixing into the base.
- → How firm will the bars be after chilling?
-
After at least 2 hours in the fridge they should be set enough to cut into clean bars while still tender and slightly chewy from the peanut butter base.
- → Can I add mix-ins for extra texture?
-
Yes. Stir chopped roasted peanuts, chopped chocolate, or crushed pretzels into the base for crunch, or sprinkle chopped nuts on the topping before chilling.
- → How should leftovers be stored?
-
Keep bars in an airtight container in the refrigerator for up to one week. Layer parchment between pieces to prevent sticking.
