 Pin It
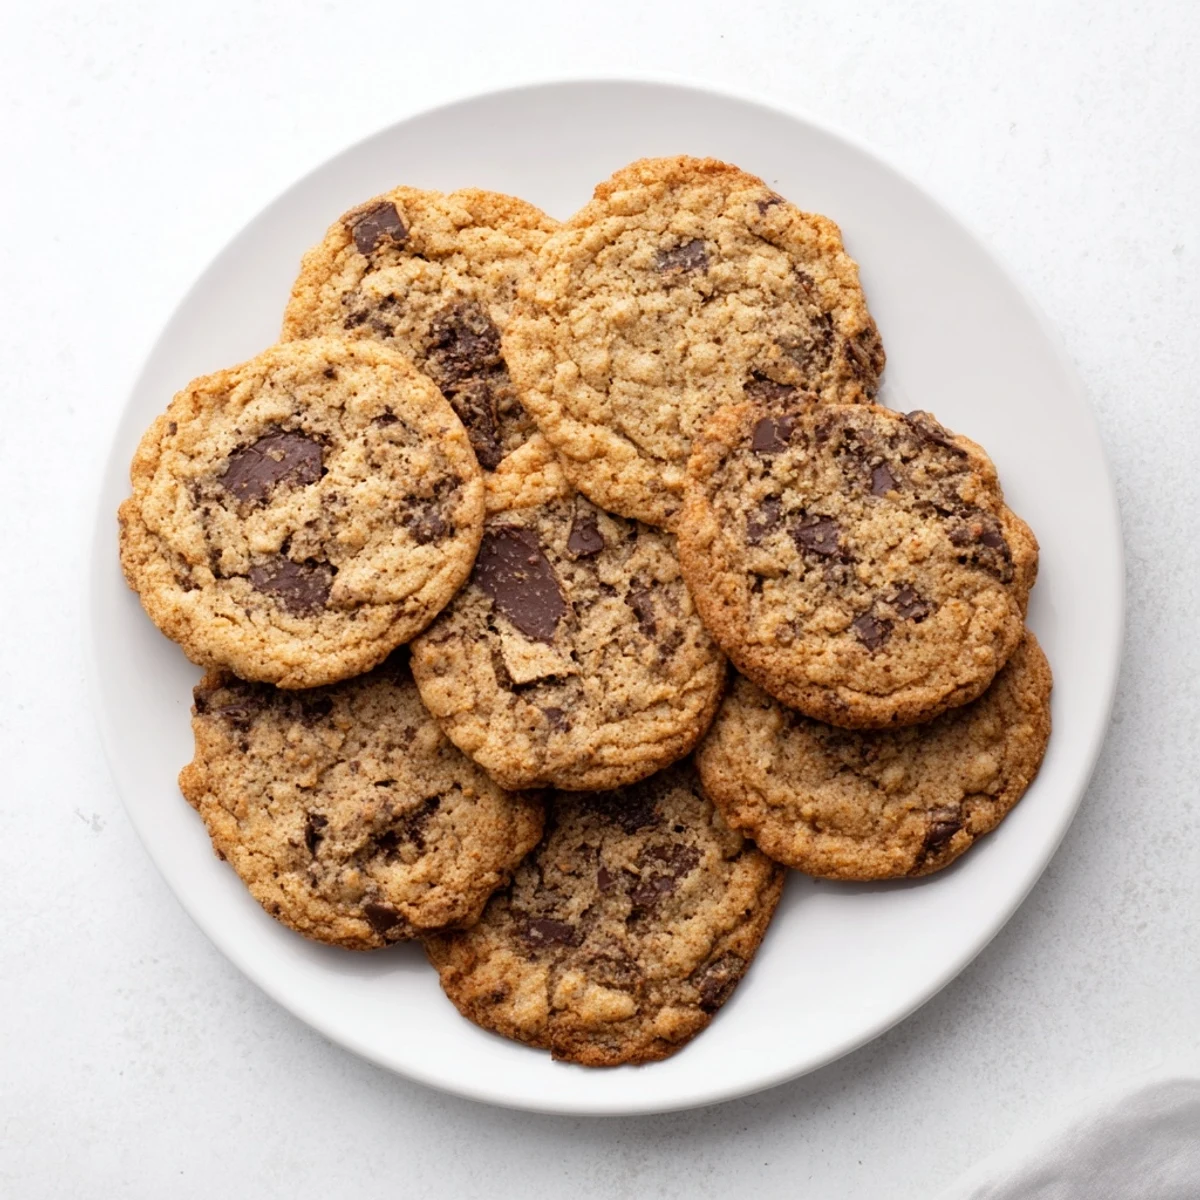
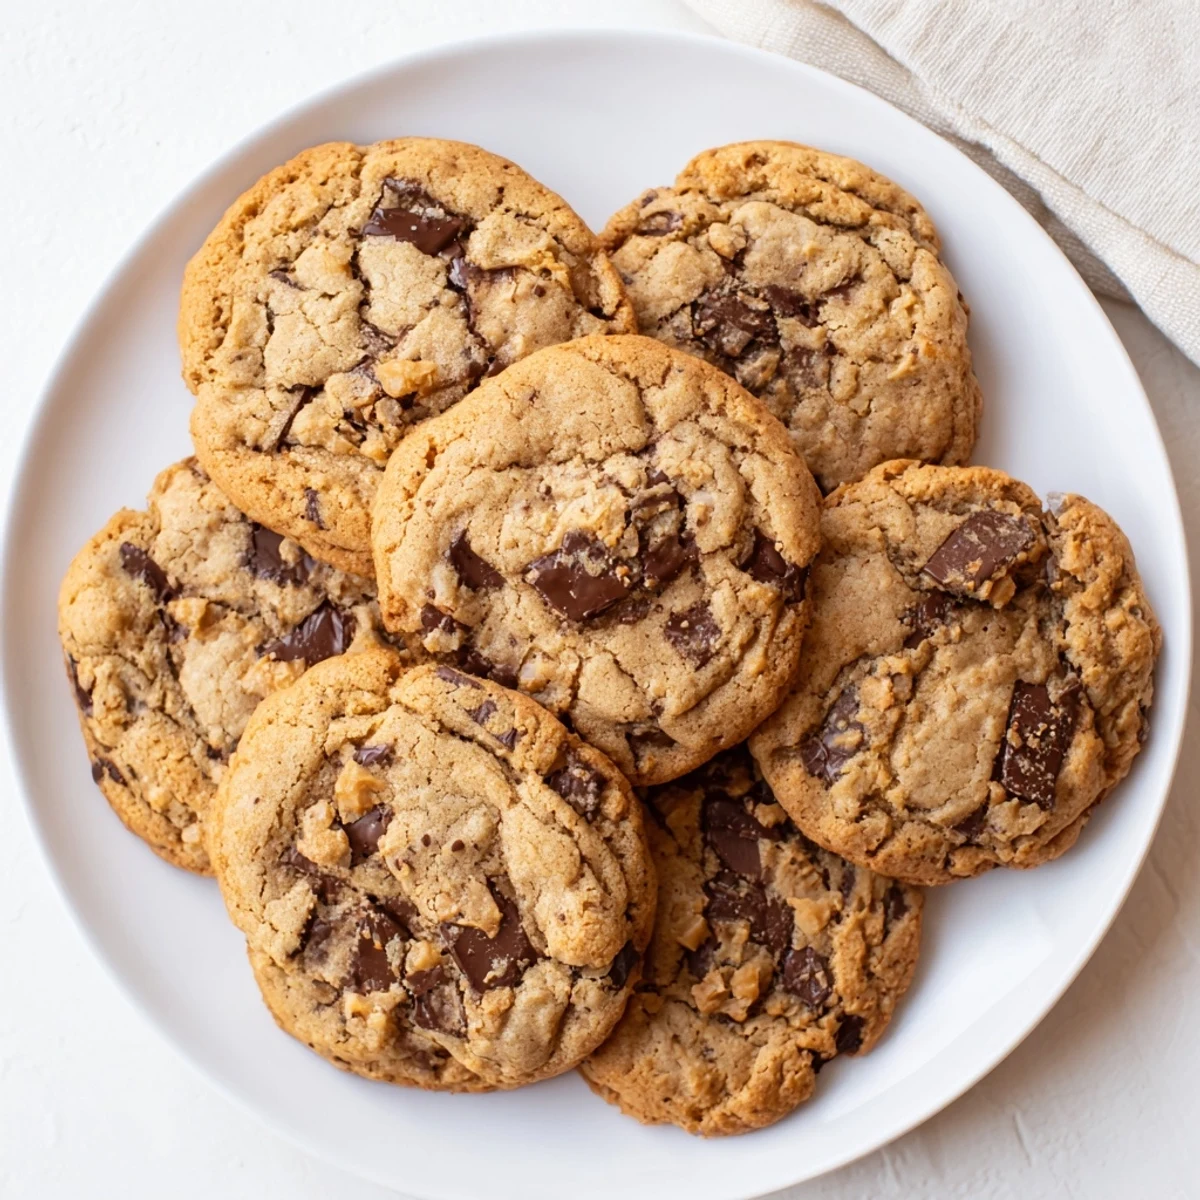
 These cookies feature a deep, nutty flavor achieved by cooking butter until golden brown. The browned butter creates a caramel-like richness that pairs perfectly with semi-sweet chocolate chips. Each cookie has chewy centers and crisp, golden edges, achieving the ideal texture balance.
The dough requires just 20 minutes of prep time and benefits from a 30-minute chilling session for thicker results. You can easily customize by swapping chocolate varieties or adding flaky sea salt on top before baking.
Store your baked treats in an airtight container for up to five days, maintaining their chewy texture and buttery taste.
Last winter my kitchen smelled like toasted nuts for three days straight after I discovered brown butter. My roommate kept wandering in asking what bakery had opened in our apartment. That first batch disappeared before they even cooled completely.
I made these for my sister who claims she does not even like sweets that much. She ate four warm from the oven and asked if I could accidentally make extra next time she visits. Now they are her requested birthday treat instead of cake.
Ingredients
- Unsalted butter: Browning transforms this into liquid gold with a nutty aroma that fills your whole kitchen
- Light brown sugar: Adds moisture and that deep caramel flavor we are chasing
- Granulated sugar: Creates the crispy edges and helps the cookies spread just right
- Large eggs: Room temperature eggs incorporate better into the brown butter mixture
- Pure vanilla extract: Do not skimp here because vanilla amplifies all the toffee notes
- All-purpose flour: Provides the structure without making cookies tough or cakey
- Baking soda: Gives just the right amount of lift for thick chewy centers
- Fine sea salt: Balances sweetness and actually makes the chocolate taste more intense
- Semi-sweet chocolate chips: These hold their shape better than milk chocolate and provide the perfect bittersweet contrast
Instructions
- Brown the butter:
- Melt butter in a medium saucepan over medium heat then cook and stir until it foams and turns golden brown with those signature brown milk solids at the bottom. Transfer immediately to a bowl to cool for 10 minutes so you do not scramble the eggs later.
- Whisk in the sugars:
- Pour both sugars into the warm brown butter and whisk until the mixture turns smooth and glossy. This step takes about a minute and helps dissolve the sugar crystals.
- Add eggs and vanilla:
- Crack in the eggs one at a time whisking thoroughly after each addition then stir in the vanilla. The mixture should look thick and glossy now.
- Mix the dry ingredients:
- Combine flour baking soda and salt in a separate bowl so everything distributes evenly.
- Combine the dough:
- Gradually stir the dry ingredients into the wet mixture just until you no longer see flour streaks. Do not overmix or your cookies will turn tough.
- Add the chocolate:
- Fold in the chocolate chunks until they are evenly distributed throughout the dough.
- Chill the dough:
- Cover and refrigerate for at least 30 minutes if you have time. This solidifies the fat so cookies bake thicker and chewier.
- Prep for baking:
- Preheat your oven to 350°F and line baking sheets with parchment paper for easy cleanup.
- Scoop and space:
- Drop dough balls about two tablespoons each onto the sheets leaving two inches between them for spreading.
- Bake to golden:
- Bake for 10 to 12 minutes until edges are golden brown but centers still look slightly underbaked.
- Cool completely:
- Let the cookies rest on the hot pan for five minutes to finish cooking then transfer to a wire rack.
 Pin It
 My neighbor texted me at midnight asking what I was baking because the brown butter smell was drifting through the walls. I brought over a warm plate and now we have a standing Friday cookie date.
Getting The Perfect Brown Butter
The butter will hiss and pop then foam up dramatically before finally turning amber. Those brown specks at the bottom are where all the flavor lives so scrape every bit into your mixing bowl.
Storage Secrets
These actually improve after a day in the container as the flavors meld together. I have experimented with freezing the dough balls and they bake up beautifully from frozen just add two minutes.
Making Them Your Own
Sometimes I fold in toasted pecans or swap half the chocolate chunks for white chocolate to switch things up. A flaky sea salt sprinkle on top right before baking makes them look bakery fancy.
- Dark chocolate chunks work beautifully if you prefer less sweetness
- Add a teaspoon of cinnamon to the dry mixture for warmth
- Press extra chocolate chips into the tops before baking for that professional look
 Pin It
 There is something so satisfying about watching someone take that first bite and pause mid conversation. Hope these become your go-to comfort cookie too.
Recipe Questions & Answers
- → What makes brown butter special in these cookies?
-
Browning butter transforms its flavor profile, creating deep caramel and nutty notes that add sophistication to the classic chocolate chip variety. The milk solids toast during cooking, providing a rich, complex taste.
- → Can I skip the chilling step?
-
While you can bake immediately, chilling the dough for 30 minutes helps prevent spreading too much during baking. This results in thicker, chewier cookies with better texture.
- → What type of chocolate works best?
-
Semi-sweet chocolate chips or chunks provide the classic flavor balance. For variations, try dark chocolate for intensity or mix in white chocolate chips for contrast throughout each bite.
- → How do I know when butter is properly browned?
-
Watch for the butter to foam, then turn golden brown with a nutty aroma. This takes about 5-7 minutes over medium heat. Remove from heat immediately once browned to prevent burning.
- → Why do edges become golden while centers stay chewy?
-
The edges bake faster due to direct exposure to heat, creating crispness. The thicker centers retain moisture, resulting in that perfect chewy texture everyone loves in homemade chocolate chip treats.
- → Can I freeze the dough for later?
-
Scoop dough onto a baking sheet and freeze until solid, then transfer to a freezer bag. Bake from frozen, adding 1-2 minutes to the baking time for fresh, warm cookies anytime.
