 Pin It
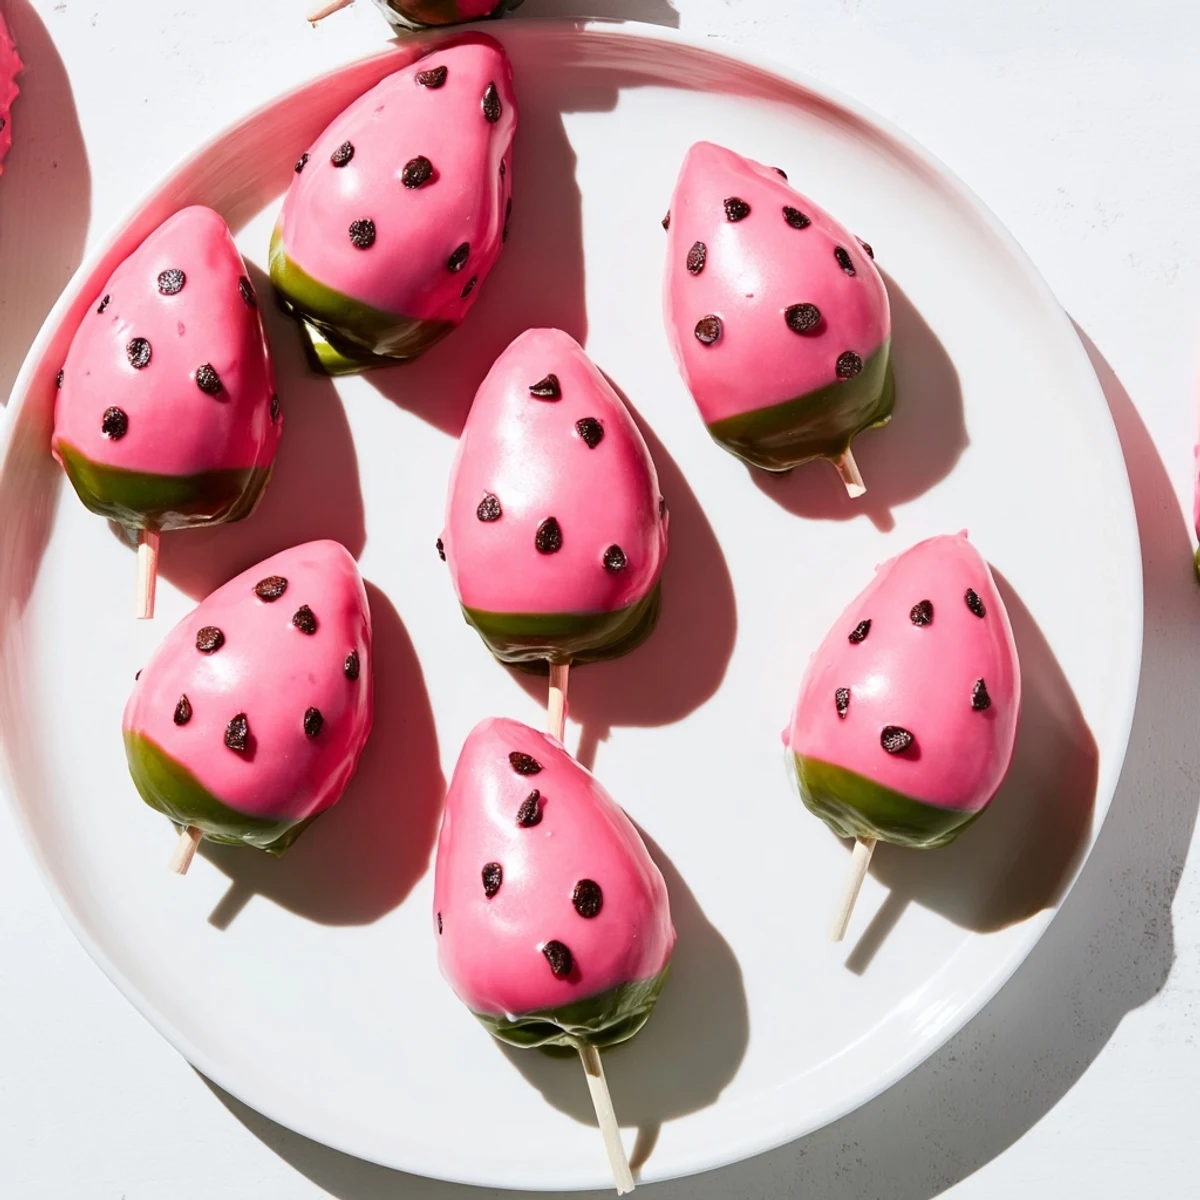
 Transform moist vanilla cake into playful bite-sized treats that capture the essence of summer. These cake pops combine crumbled cake with cream cheese frosting, shaped into teardrop forms reminiscent of watermelon wedges. Each piece gets dipped in vibrant pink candy melts, dotted with mini chocolate chip seeds, and finished with a green candy melt rind. Ready in about an hour plus chilling time, these handheld delights yield 24 pieces and are perfect for sharing at warm-weather gatherings. Add watermelon extract to the frosting for extra fruity flavor, or customize with your favorite coatings.
My cousin Sarah brought these to our annual July 4th barbecue last year, and I swear the kids stopped playing tag just to stare at the platter. They looked exactly like tiny watermelon slices, but when someone finally took a bite, the confusion turned into pure delight. I watched three adults sneak back for seconds before the desserts were even officially announced. Now they're the first thing people ask about when the invitation goes out.
Last summer I made sixty of these for my daughter's pool party birthday, and the moms kept asking where I ordered them from. I laughed while explaining they were just cake pops in disguise, something I'd figured out through three batches of trial and error. The best moment was watching the birthday girl carefully arrange them on her dessert table like she was curating a museum exhibit of tiny edible art.
Ingredients
- Vanilla cake mix or homemade cake: The foundation needs to be completely cool before crumbling, or you'll end up with a gooey mess that won't hold its shape
- Cream cheese: Room temperature cream cheese blends into frosting silkily and adds that tangy richness that cuts through all the sugar
- Unsalted butter: Softened butter creates a creamy frosting base that binds the cake crumbs together without making them too dense
- Powdered sugar: This sweetens and thickens the frosting while giving it structure to hold those cake balls together perfectly
- Pink or red candy melts: These create that convincing watermelon flesh look, and melt smoother than chocolate chips for dipping
- Green candy melts: The rind needs this vibrant color, and candy melts set up firmer than regular chocolate so they won't smear
- Mini chocolate chips: These become the watermelon seeds, and their small size looks authentic without overwhelming each bite
- Vegetable oil: A tiny bit thins the candy melts into a dippable consistency that coats evenly without clumping
Instructions
- Bake and cool your cake completely:
- Prepare the vanilla cake according to package or recipe directions, then let it cool until it reaches room temperature because warm cake will turn into a sticky, unworkable mess when you try to crumble it
- Whip up the creamy frosting:
- Beat together the softened cream cheese, butter, powdered sugar, and vanilla until you have a silky smooth mixture that's spreadable but not too loose
- Crumble and combine:
- Break the cooled cake into fine crumbs in a large bowl, then gradually add frosting until the mixture holds together when squeezed but doesn't feel wet or heavy
- Shape into watermelon forms:
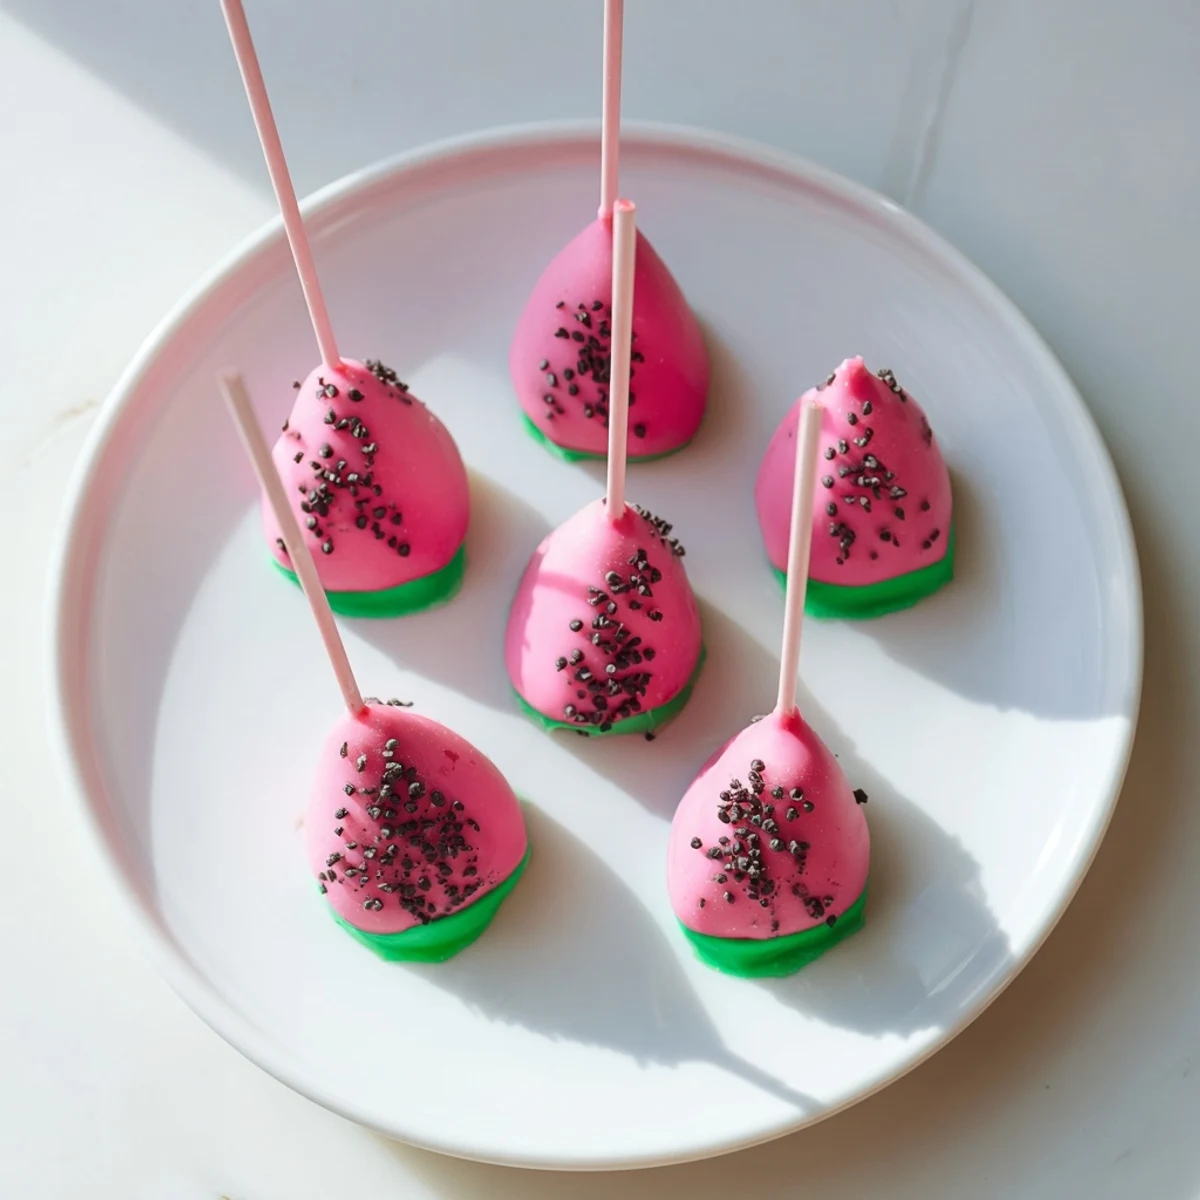
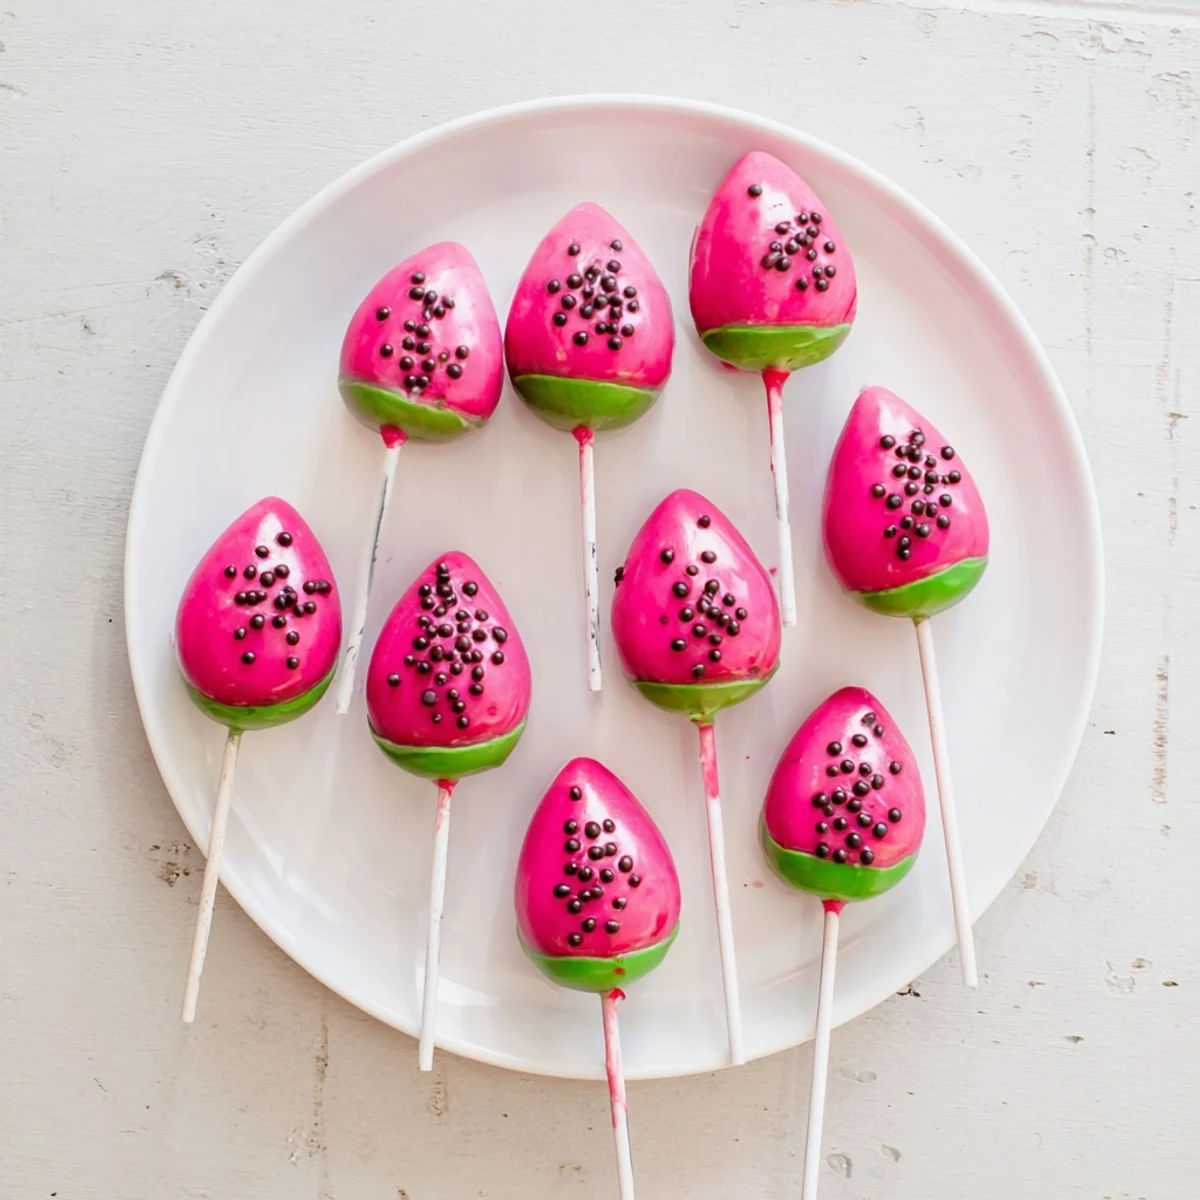
- Roll the mixture into 24 balls, then gently press and shape each one into a slightly flattened teardrop or triangle to mimic that distinctive watermelon slice profile
- Prep the sticks for dipping:
- Melt a small amount of green candy melts, dip each lollipop stick about a half inch into the melted candy, then insert into the cake balls and freeze for 20 minutes so they set solid
- Create the seeded center:
- Melt the pink candy melts with a drop of oil if needed, dip each chilled pop to coat the top while leaving the bottom bare, then immediately press mini chocolate chips into the wet surface before it sets
- Add the green rind:
- Melt the green candy melts, dip just the bottom portion of each pop into the green to create that watermelon rind effect, then stand them upright in a styrofoam block or cake pop stand until completely firm
 Pin It
 My nephew helped me make a batch last weekend and decided his were watermelon basketballs instead of slices. We laughed until our sides hurt watching him carefully dip and decorate his misshapen creations with such serious concentration. Sometimes the imperfect ones taste the best anyway, especially when made with tiny eager hands.
Getting That Perfect Watermelon Shape
The teardrop shape is easier than you might think if you use your thumb to gently flatten one side while rounding the other. I like to work quickly so the cake mixture doesn't warm up from my hands, which makes it sticky and harder to shape. If the mixture starts feeling too soft, pop the bowl in the fridge for ten minutes and start again.
Preventing Common Cake Pop Disasters
The most frustrating moment is watching your perfectly dipped slide down the stick into a puddle of melted candy. This happens when the mixture is too warm or there's too much frosting, so keep those cake balls chilled until the exact second you're ready to dip. I keep my dipping bowl over another bowl of warm water to maintain the perfect working temperature.
Making These Ahead for Parties
You can make these up to two days in advance and store them in an airtight container in the refrigerator, though the condensation can sometimes make the candy coating sweat. Let them come to room temperature before serving for the best texture and appearance.
- Place a paper towel under the container lid to absorb excess moisture
- Layer them between wax paper if you need to stack them
- Add the chocolate chip seeds right before serving if you're worried about them getting soft
 Pin It
 These little treats have become my go-to summer contribution because they make people smile before they even take a bite. There's something magical about transforming simple cake and frosting into something that looks like it came from a fancy bakery window.
Recipe Questions & Answers
- → How long do watermelon cake pops stay fresh?
-
Store cake pops in an airtight container at room temperature for up to 3 days, or refrigerate for up to a week. For longer storage, freeze undecorated cake balls for up to 3 months and decorate when ready to serve.
- → Why is my cake pop mixture too dry or sticky?
-
If too dry, add frosting one tablespoon at a time until mixture holds together when squeezed. If too sticky, add more crumbled cake. The perfect texture should be moist but pliable enough to form shapes that hold their form.
- → Can I make these ahead of time for a party?
-
Absolutely. Prepare and shape the cake balls up to 2 days in advance, store refrigerated. Dip and decorate the day of your event. Keep finished cake pops chilled until 30 minutes before serving for best presentation.
- → What's the best way to get the watermelon shape?
-
Roll balls first, then gently pinch one side into a slight point or triangle shape. Visualize a wedge slice of watermelon. The shape doesn't need to be perfect—the coating and decoration will create the recognizable watermelon appearance.
- → How do I prevent the cake pops from falling off the sticks?
-
The key is dipping the stick tip in melted coating before inserting into the cake ball. Chill for at least 20 minutes after inserting sticks to set. When dipping, don't submerge the entire pop—keep the stick connection dry and let excess coating drip off before standing upright.
- → Can I use homemade cake instead of boxed mix?
-
Yes, any vanilla cake recipe works perfectly. Bake and cool completely before crumbling. Homemade cakes often yield richer flavor—just ensure they're fully cooled and not overly moist before mixing with frosting.
