 Pin It
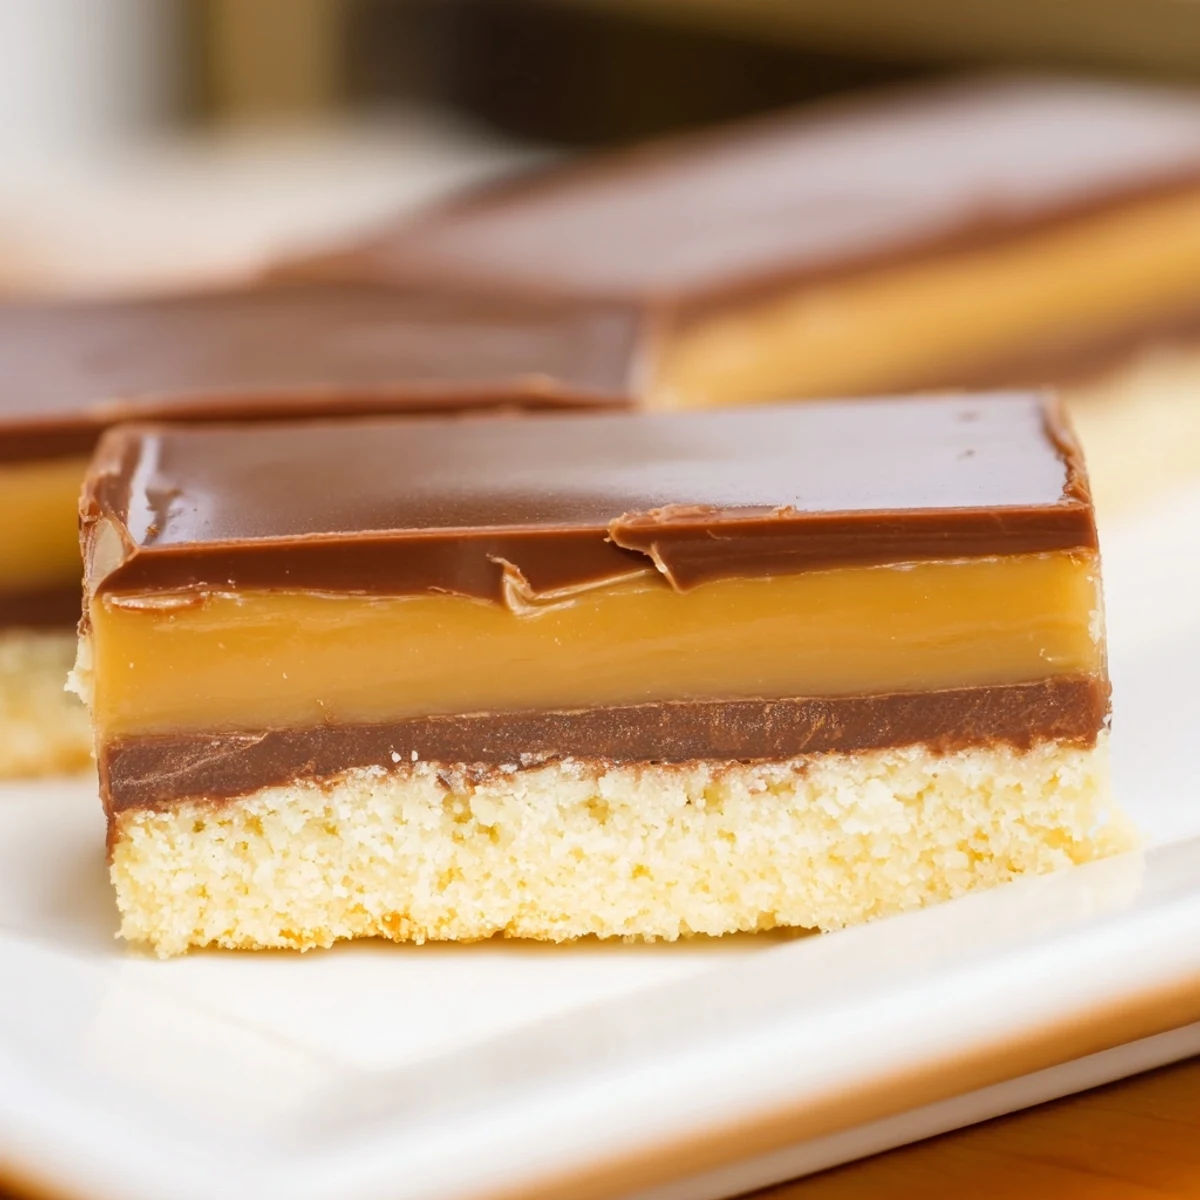
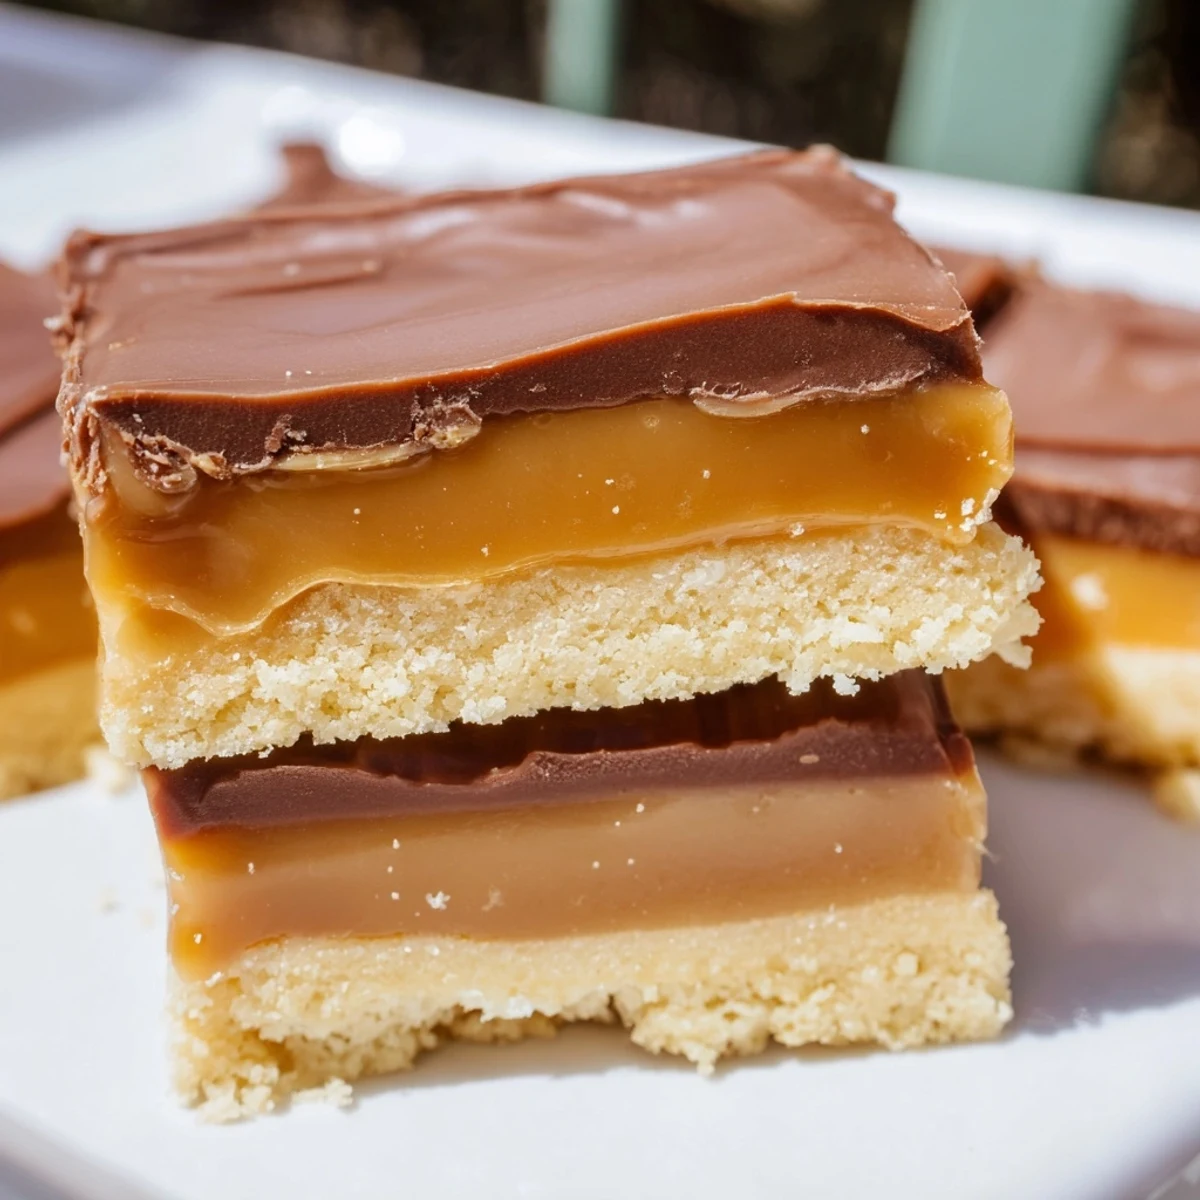
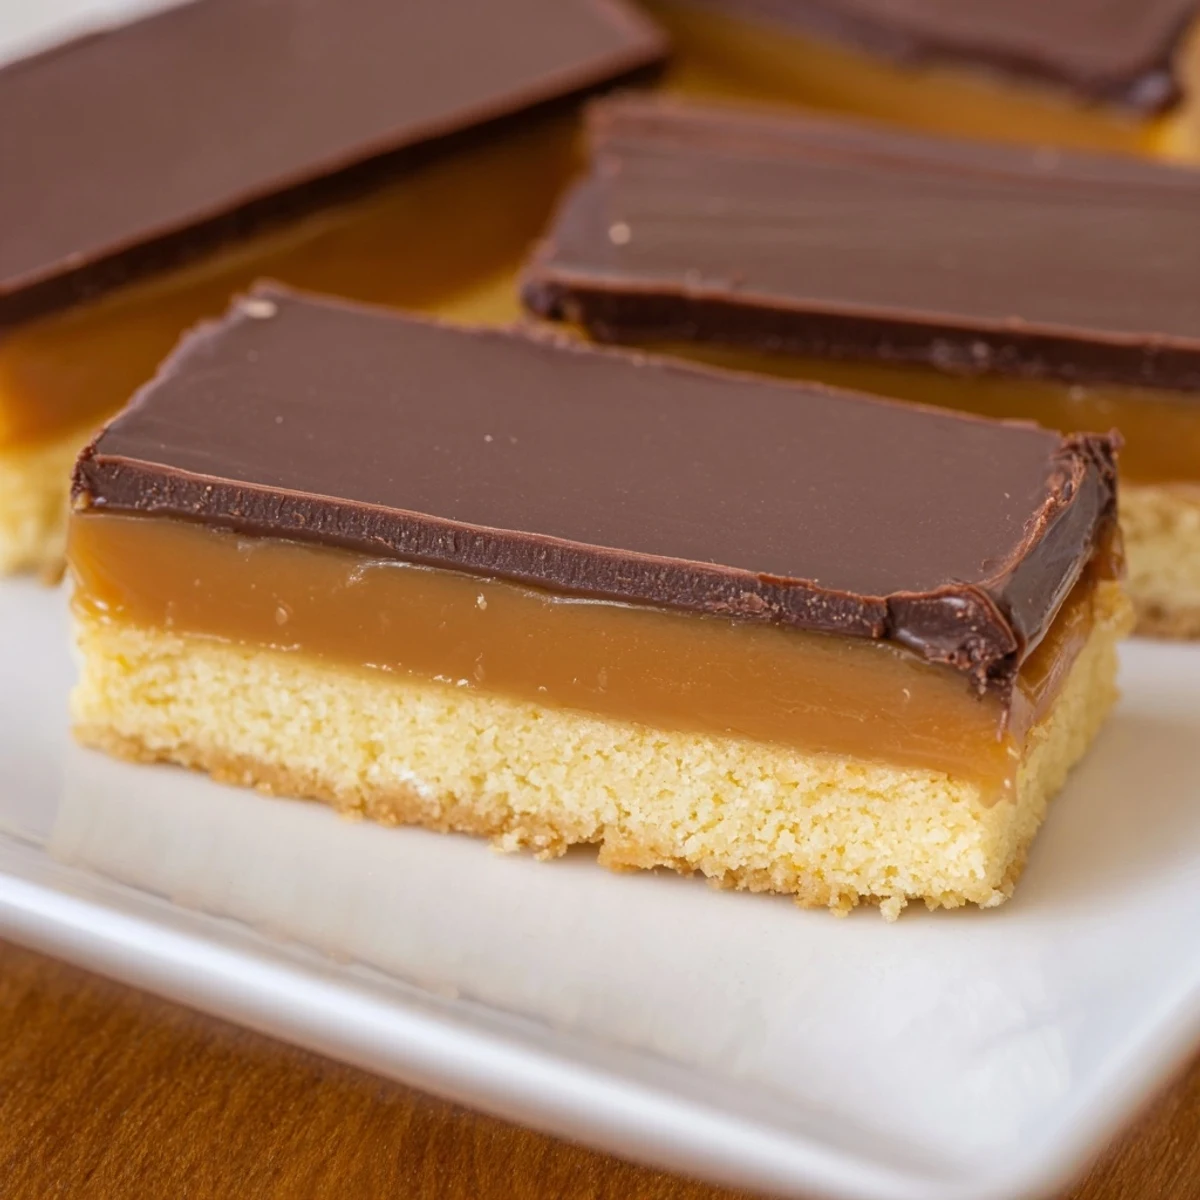
 These stunning layered bars capture everything loved about the classic candy in homemade form. The process begins with a simple shortbread base—butter, sugar, flour, and salt baked until golden and firm. Once cooled, a velvety caramel made from butter, brown sugar, condensed milk, and corn syrup gets poured on top, creating that signature chewy sweetness. After setting, a generous layer of melted milk chocolate seals everything together. The result is 16 perfectly portioned bars with satisfying crunch from the shortbread, gooey caramel in the middle, and smooth chocolate on top. Though the total time includes cooling and setting periods, the active work is straightforward and rewarding. Perfect for gatherings, gift-giving, or whenever a serious chocolate craving strikes.
Last summer my sister and I got it into our heads that we could recreate our favorite candy bar from scratch. We spent three days in my tiny kitchen, surrounded by flour dust and sticky spoons, both of us absolutely certain that each batch of caramel was "clearly burned." The resulting bars were gloriously messy and tasted like childhood, better than anything store-bought.
I brought these to a neighborhood potluck and watched my friend Sarah take one hesitant bite before immediately grabbing three more. She confessed she normally hates homemade caramel because it always turns into a sticky mess, but this recipe changed her mind completely. Now she asks for them every time we plan a gathering.
Ingredients
- Unsalted butter: The backbone of both shortbread and caramel, using the same fat throughout ties all three layers together beautifully
- Granulated sugar: Creates the tender, crumbly texture in the shortbread base that contrasts perfectly with the soft caramel
- All-purpose flour: Dont overmix once you add this or your shortbread will become tough instead of melt-in-your-mouth delicate
- Fine sea salt: Just enough to wake up all the flavors without making these taste like salted caramel unless you want that
- Light brown sugar: The molasses content gives the caramel its deep color and that distinctive butterscotch flavor
- Sweetened condensed milk: The secret to silken, spoonable caramel that sets perfectly without becoming rock hard
- Milk chocolate: Choose a quality brand you actually like eating since the chocolate layer really shines through
Instructions
- Prepare your canvas:
- Parchment paper with overhanging edges will save you so much grief when it comes time to lift these out later.
- Build the foundation:
- Cream that butter and sugar until you wonder if you are overdoing it, then press the dough firmly and evenly into the pan.
- Watch it carefully:
- The shortbread should barely color at the edges, about 18 to 20 minutes, and needs to cool completely before the caramel goes on.
- Make the magic:
- Stir your caramel constantly and pay attention to how it coats your spoon, thickening and turning a gorgeous amber as it reaches 225 degrees.
- Layer it up:
- Pour the caramel slowly over the cooled shortbread and let it set for an hour or more, because patience really does make better bars.
- Top it off:
- Melt the chocolate gently in short bursts, adding butter to make it spreadable and giving you that signature candy bar snap.
- The final touch:
- Let everything cool completely, then use your parchment handles to lift the whole thing out before cutting into clean squares.
 Pin It
 These bars have become my go-to whenever someone needs cheering up. There is something about the three textures together, the crisp shortbread giving way to creamy caramel then the chocolate snap, that feels like a proper hug in food form.
Making It Your Own
Dark chocolate creates a more sophisticated version that cuts through some of the sweetness in the caramel layer. I have also sprinkled flaky sea salt over the warm chocolate for a salted version that everyone seems to argue about in the best way possible.
Storage Secrets
These actually taste better on day two, once the flavors have had time to mingle and settle. Keep them in an airtight container somewhere cool, and avoid the refrigerator unless it is very warm in your kitchen.
The Art of Clean Cuts
A hot knife is your secret weapon for perfectly portioned bars. Run your knife under hot water and wipe it dry between every single cut, and you will get those clean professional looking edges that make these look as good as they taste.
- Press down firmly rather than sawing back and forth
- Wipe the blade clean after every two or three cuts
- Let the bars come to room temperature before cutting if they have been refrigerated
 Pin It
 Every time I make these, I am reminded that the best things in life really do come in threes, especially when those things happen to be butter, caramel, and chocolate.
Recipe Questions & Answers
- → How long do these bars need to set?
-
The caramel layer requires about 1 hour to firm at room temperature before adding chocolate. The chocolate topping sets in approximately 30 minutes at room temperature, or you can refrigerate for faster results. Plan for roughly 2 hours total including cooling time between layers.
- → Can I make these ahead of time?
-
These bars actually improve slightly after sitting for a day, allowing flavors to meld. Store in an airtight container at room temperature for up to 5 days. For longer storage, wrap tightly and freeze for up to 2 months, thawing in the refrigerator overnight.
- → What's the best way to get clean cuts?
-
Use a sharp knife warmed under hot water, wiping the blade clean between each cut. Score the chocolate lightly first to mark your lines, then press firmly through all layers. Room temperature bars cut cleaner than cold ones—straight from the fridge can cause chocolate to crack.
- → Can I substitute dark chocolate?
-
Absolutely. Dark chocolate creates a less sweet, more sophisticated version that balances the rich caramel beautifully. Bittersweet chocolate with 60-70% cocoa works particularly well. The same melting method applies—double boiler or microwave in short bursts.
- → Do I need a candy thermometer for the caramel?
-
While not strictly required, a thermometer takes the guesswork out of caramel making. You're aiming for 225°F (107°C), which ensures proper thickness without becoming too hard. Without one, cook until the mixture thickens noticeably and turns a deep golden amber—about 7-10 minutes of constant stirring.
- → Why is my shortbread dough crumbly?
-
Shortbread dough should be crumbly before pressing—it's the low sugar and high butter content. If it won't hold together when squeezed, your butter may be too cold. Let it soften slightly, then press firmly into the pan using the back of a measuring cup for even thickness.
