 Pin It
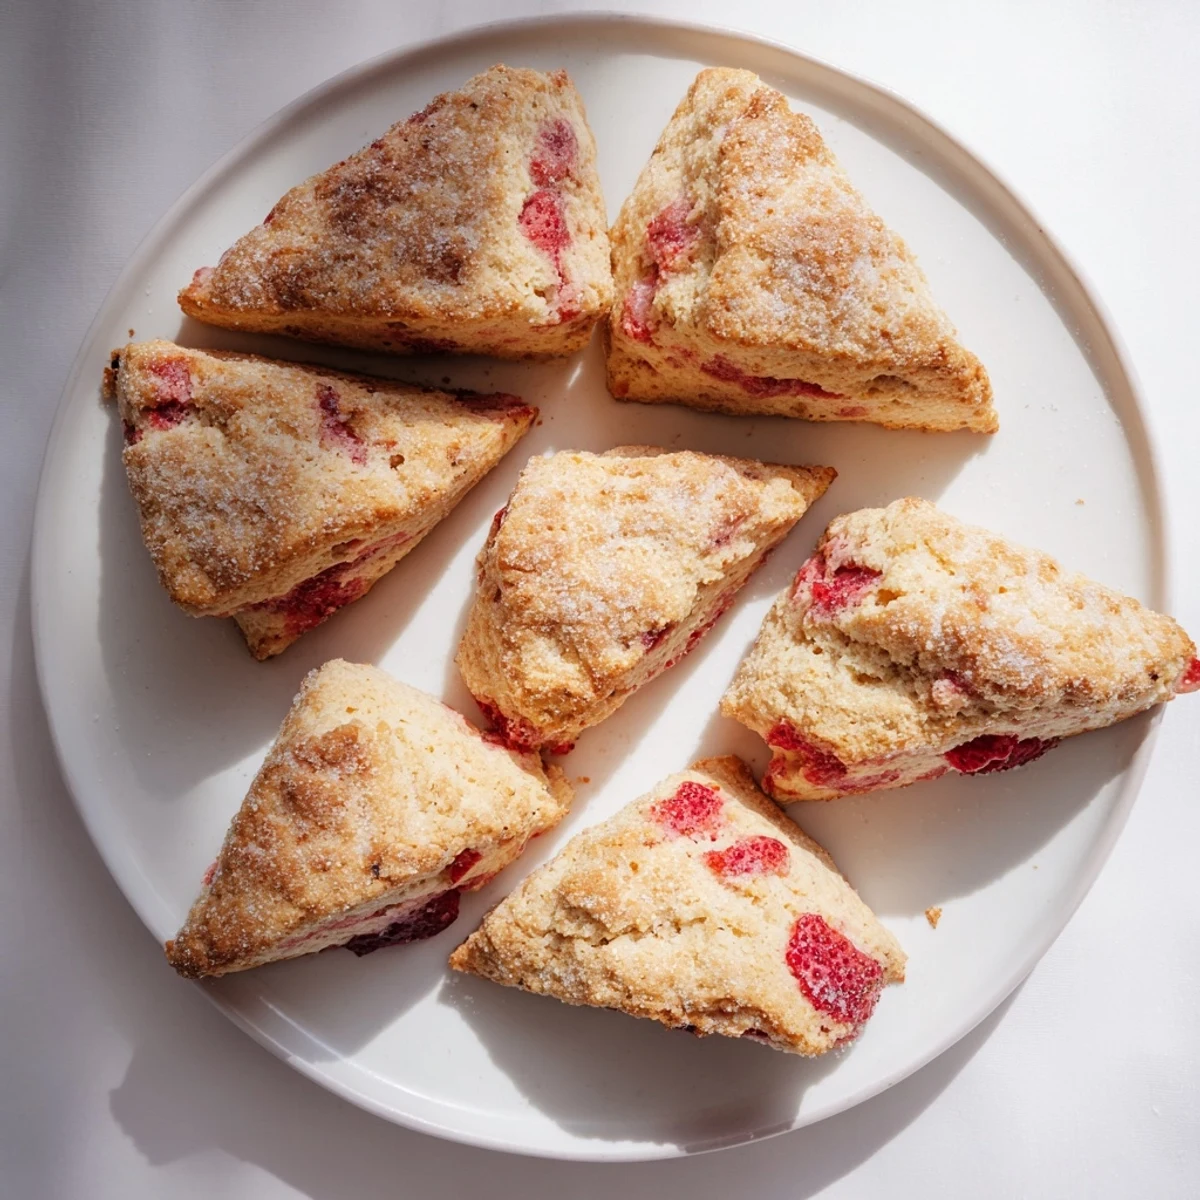
 These tender scones feature pockets of fresh strawberries nestled in a rich, buttery dough. The cream-based batter creates a light, flaky texture while vanilla adds subtle sweetness. Perfect for leisurely breakfasts or elegant afternoon tea service.
The preparation comes together quickly—just 15 minutes of active work before baking. The key is handling the dough gently to maintain those coveted flaky layers. A light cream wash and optional coarse sugar topping creates a beautifully golden, crunchy exterior.
These scones shine when served warm with clotted cream and strawberry jam, though they're equally delightful on their own. The 1-inch thick dough cut into wedges yields perfectly portioned treats that freeze beautifully for future enjoyment.
My tiny apartment kitchen smelled like buttered heaven the first time I attempted these scones. I'd been eyeing the strawberries at the farmers market all morning, those jewel-red beauties practically begging to be folded into something warm and comforting. The recipe came from my grandmother's battered cookbook, though her version was plain and I couldn't resist adding fruit. That afternoon, watching them rise golden and perfect in the oven, I understood why she made them every Sunday morning.
Last spring, my friend Sarah dropped by unexpectedly while these were cooling on the rack. She'd just had a terrible week at work, and I watched her shoulders actually drop as she bit into a still-warm scone, strawberry juice running down her fingers. We sat at my chipped kitchen table for two hours, talking and eating, and she left with a paper bag full of extras for breakfast the next day. Now whenever I see strawberries at the market, I think of that afternoon and how simple food can mend so many things.
Ingredients
- All-purpose flour: The foundation of your scones, providing structure without being too heavy
- Granulated sugar: Just enough sweetness to let the strawberries shine without becoming dessert
- Baking powder: This is what gives scones their characteristic rise and tender texture
- Salt: Essential for balancing sweetness and bringing out all the flavors
- Cold unsalted butter: Keeping it cold is the secret to flaky layers that melt in your mouth
- Heavy cream: Creates richness and tenderness that milk simply cannot achieve
- Egg: Adds structure and helps the scones rise beautifully while keeping them moist
- Vanilla extract: Deepens the flavor profile and marries the butter and strawberries together
- Fresh strawberries: The star of the show, diced into small pieces so they distribute evenly
- Coarse sugar: Optional but recommended, it creates a crackling sweet crust on top
Instructions
- Preheat your oven:
- Get your oven to 400°F and line a baking sheet with parchment paper so nothing sticks
- Mix your dry ingredients:
- Whisk flour, sugar, baking powder, and salt in a large bowl until everything is evenly combined
- Cut in the butter:
- Work cold cubed butter into the flour with your fingers or a pastry cutter until the mixture looks like coarse crumbs with some pea-sized pieces remaining
- Whisk the wet ingredients:
- In a separate bowl, combine cream, egg, and vanilla until smooth
- Combine everything:
- Pour the wet ingredients into the dry and mix gently with a spatula just until the dough starts to come together
- Fold in the strawberries:
- Add the diced strawberries and fold them in gently so they do not break down too much
- Shape the dough:
- Turn the dough onto a floured surface and pat it into a 1-inch thick circle, about 7 inches across
- Cut and arrange:
- Cut the circle into 8 wedges and place them on your prepared baking sheet with space between each
- Add the finishing touches:
- Brush the tops with a little extra cream and sprinkle with coarse sugar for that bakery-style crunch
- Bake until golden:
- Bake for 16 to 18 minutes until they are beautifully golden brown and a toothpick comes out clean
- Cool slightly:
- Let them rest on the baking sheet for at least 10 minutes so they finish cooking and set
 Pin It
 My cousin requested these for her wedding morning, and I spent three days perfecting the recipe. Seeing her bite into one while getting her hair done, surrounded by bridesmaids, made every failed test batch worth it. Sometimes the simplest recipes become the most meaningful.
Getting The Right Texture
The difference between a scone that is tender and one that is tough comes down to how you handle the butter. Those visible flecks of butter in your dough are exactly what you want, because they create steam pockets during baking that result in flaky layers. I have found that using my fingertips rather than a food processor gives me better control, letting me feel when the butter pieces are the right size.
Timing Your Baking
I learned the hard way that slightly underbaked scones are better than overbaked ones. The residual heat on the baking sheet continues cooking them after they leave the oven, so pulling them out when they are just starting to turn golden means they will be perfect after cooling. An extra minute or two can make the difference between tender and dry.
Making Them Ahead
You can prepare the dough the night before and cut the scones, then refrigerate them on the baking sheet wrapped tightly in plastic. In the morning, just pop them straight into the oven while it preheats, adding maybe 2 extra minutes to the baking time. Fresh warm scones without any morning rush.
- Freeze unbaked scones on the baking sheet before transferring to a bag for up to 3 months
- Bake frozen scones directly from the freezer, adding about 5 minutes to your baking time
- Already baked scones freeze beautifully too and can be refreshed in a 300°F oven for 10 minutes
 Pin It
 These strawberry scones have become my go-to for bringing comfort to friends and family. There is something about breaking into warm, fruit-filled pastry that makes everything feel right with the world.
Recipe Questions & Answers
- → Can I use frozen strawberries instead of fresh?
-
Frozen strawberries work well, but add them directly to the dough without thawing. Thawed berries release excess moisture that can make the scones dense. Expect slightly longer baking time if using frozen fruit.
- → Why must the butter be cold?
-
Cold butter creates small pockets of fat in the flour mixture. During baking, these pockets melt and release steam, creating the signature flaky, tender texture. Room temperature butter blends too thoroughly, resulting in denser scones.
- → What makes these scones tender rather than tough?
-
Minimal mixing is crucial. Combine ingredients just until the dough holds together. Overworking develops gluten proteins, making the final product tough and chewy instead of light and tender. Gentle folding preserves the delicate texture.
- → Can I prepare the dough ahead of time?
-
Cut wedges can be frozen unbaked on a baking sheet, then transferred to a storage bag. Bake from frozen, adding 2-3 minutes to the baking time. Alternatively, refrigerate cut dough overnight and bake fresh in the morning.
- → What's the purpose of brushing with cream before baking?
-
The cream wash promotes even browning and creates a subtle sheen on the finished surface. Combined with coarse sugar, it forms a delicate crispy crust that contrasts beautifully with the tender interior crumb.
- → How should I store leftover scones?
-
Store completely cooled scones in an airtight container at room temperature for up to 2 days. For longer storage, freeze individually wrapped scones and reheat in a 350°F oven for 8-10 minutes. Refrigeration can make them stale faster.
