 Pin It
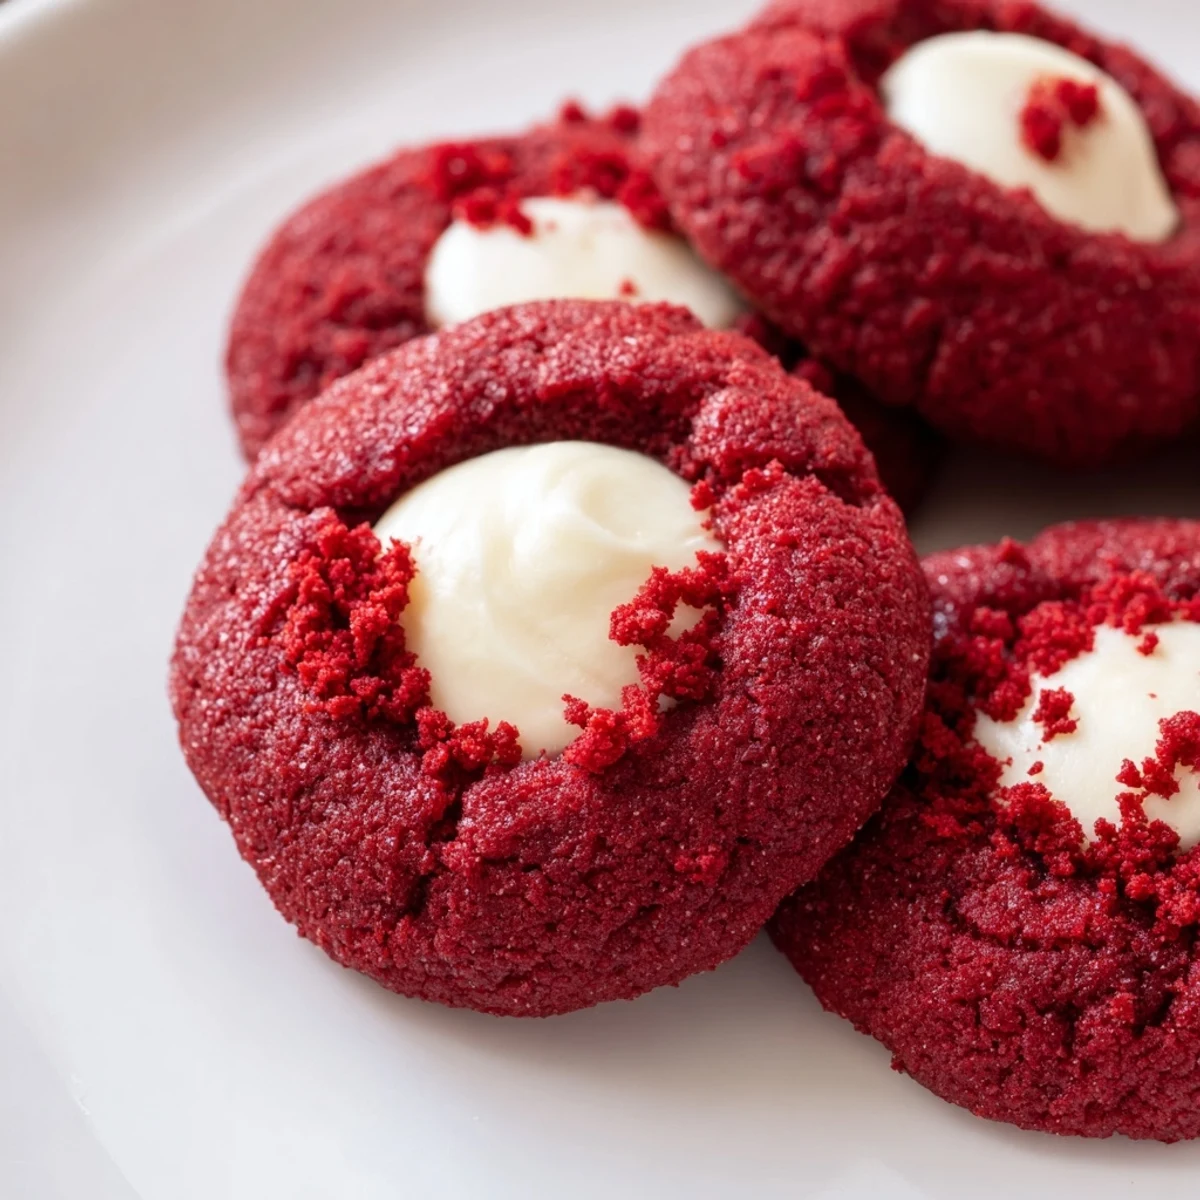
 These red velvet thumbprint cookies combine the classic cocoa-infused flavor with a luscious cream cheese filling. The dough comes together quickly with basic pantry staples, requiring just 20 minutes of prep before a short 12-minute bake.
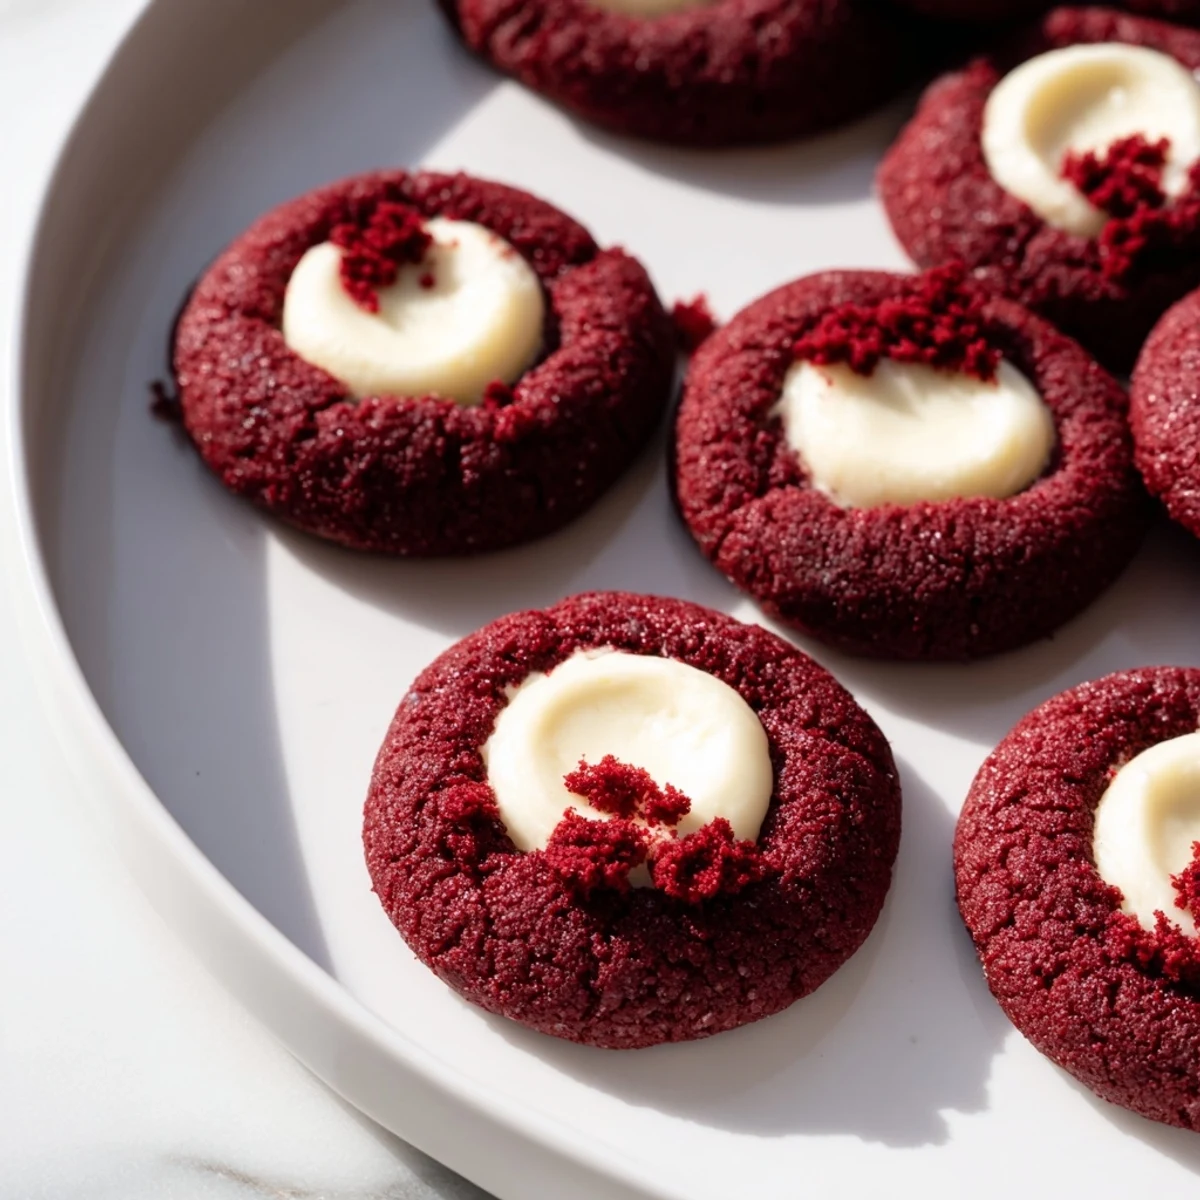
The vibrant red color makes these ideal for holidays and special celebrations, though the tender texture and rich chocolate notes satisfy any time of year. Each cookie features a generous well filled with sweetened cream cheese that creates a wonderful contrast against the slightly crisp edges.
With only 110 calories per cookie, you can enjoy these treats without heavy guilt. The recipe makes two dozen, perfect for gifting or serving at gatherings. Store them refrigerated for up to four days—the cool temperature actually enhances the cream cheese filling's texture.
The first time I attempted red velvet anything, I accidentally dyed my countertop pink for a week. These thumbprint cookies became my redemption story after discovering that the thumbprint technique keeps that tender red velvet crumb from spreading too thin while giving you this perfect little well for creamy filling.
I made these for my daughters Valentine's class party and somehow the teacher requested the recipe before the last cookie disappeared. Something about that red and white combo just makes people happy, like edible celebration.
Ingredients
- All-purpose flour: The structure that holds everything together, and I always measure by weight for consistent results
- Unsweetened cocoa powder: This gives the red velvet its signature subtle chocolate depth without overpowering the delicate flavor
- Baking soda: Just enough lift to create those tender, slightly puffed centers
- Salt: Essential for balancing the sweetness and making all flavors pop
- Unsalted butter: Softened to room temperature so it creams beautifully into the sugar for that perfect texture
- Granulated sugar: Sweetens and creates that slight crisp edge while keeping centers soft
- Egg yolk: Adds richness and helps create that velvety tender crumb we love
- Whole milk: Just enough moisture to bring the dough together without making it sticky
- Vanilla extract: Pure vanilla makes all the difference here, amplifying both chocolate and cream cheese flavors
- Red food coloring: Gel coloring gives the deepest red without adding excess liquid
- Cream cheese: The star of our filling, make sure its properly softened for smooth blending
- Powdered sugar: Sweetens the cream cheese filling while keeping it thick enough to hold its shape
Instructions
- Preheat your oven and prep the pans:
- Set your oven to 350°F with plenty of time to fully heat, and line two baking sheets with parchment paper so nothing sticks.
- Whisk the dry ingredients:
- In a medium bowl, combine flour, cocoa powder, baking soda, and salt until everything is evenly distributed.
- Cream the butter and sugar:
- Beat softened butter and granulated sugar in a large bowl for about 2 minutes until its light, fluffy, and noticeably paler in color.
- Add the wet ingredients:
- Mix in the egg yolk, milk, vanilla, and red food coloring until the dough turns that gorgeous vibrant red.
- Combine everything:
- Gradually stir in the dry ingredients just until no flour streaks remain, being careful not to overwork the dough.
- Make the cream cheese filling:
- Whisk together softened cream cheese, powdered sugar, and vanilla in a small bowl until completely smooth.
- Shape the cookies:
- Roll dough into 1-inch balls and place them 2 inches apart on your prepared baking sheets.
- Create the thumbprints:
- Gently press your thumb or the back of a teaspoon into the center of each ball to make a deep well.
- Fill the centers:
- Spoon about half a teaspoon of the cream cheese mixture into each indentation, mounding it slightly above the cookie edges.
- Bake to perfection:
- Bake for 11 to 13 minutes until the edges are set and the filling has just started to firm up.
- Cool completely:
- Let the cookies rest on the baking sheet for 5 minutes, then transfer to a wire rack to finish cooling.
 Pin It
 My husband admitted he was skeptical about red velvet cookies until he took one bite and immediately asked if I could double the batch next time. Something about that tangy cream cheese against the chocolate velvet cookie just hits different.
Making Them Ahead
You can prepare the dough balls and freeze them unbaked for up to a month. Just press the thumbprints and fill them straight from frozen, adding maybe 1 to 2 extra minutes to the baking time.
Filling Variations
While the cream cheese filling is absolutely perfect, I have also made these with white chocolate ganache or even just dark chocolate chips pressed into the centers. Each variation creates a completely different experience.
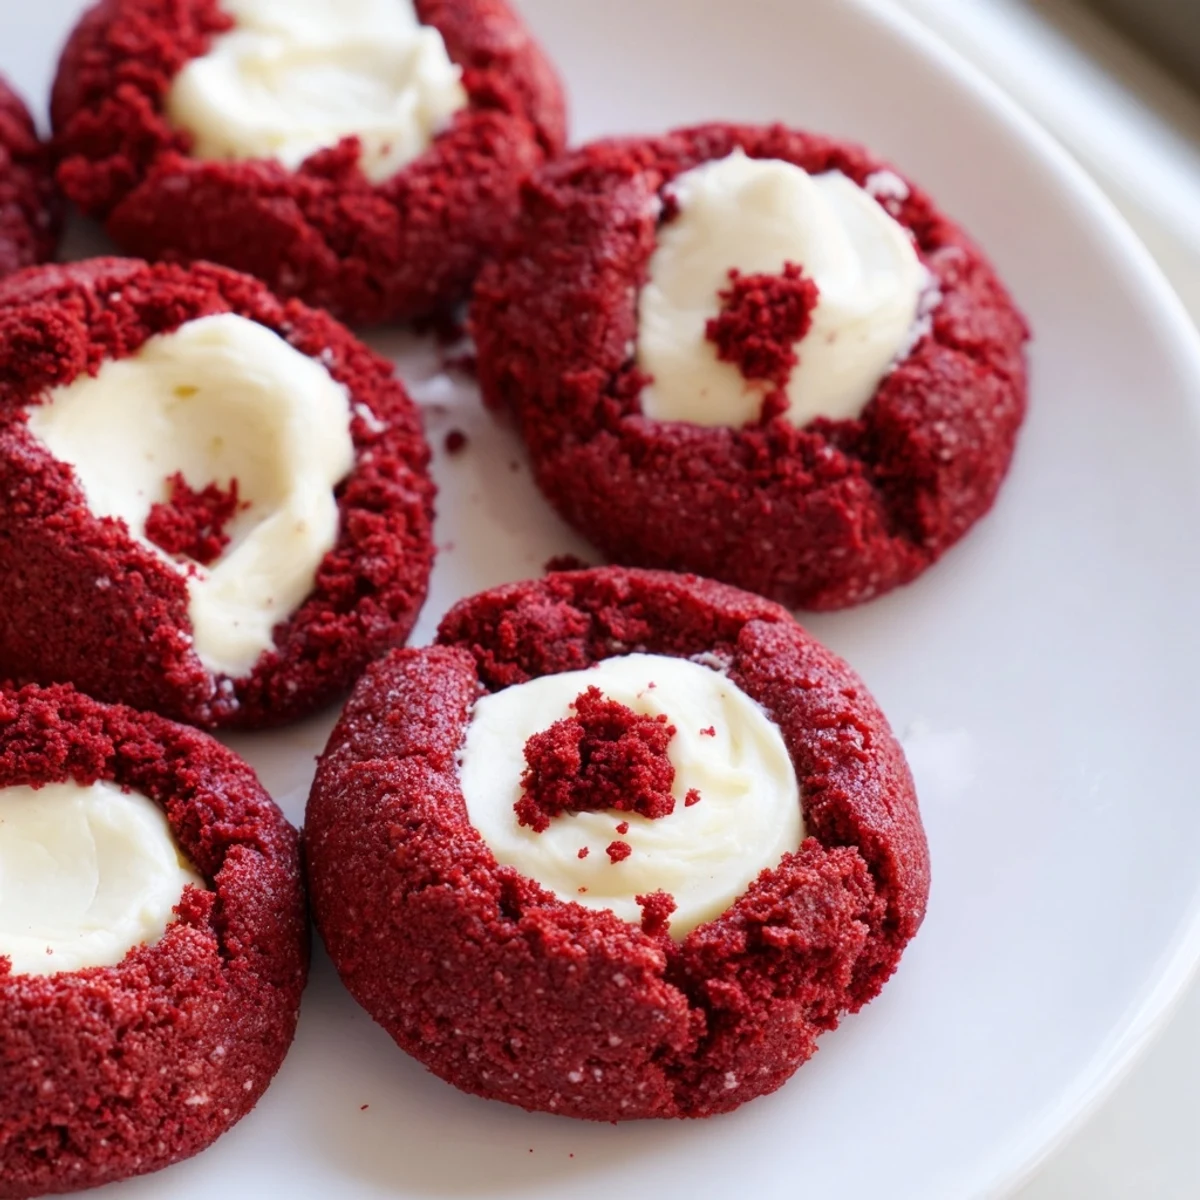
Storage and Serving
These cookies actually taste better after a day in the refrigerator because the flavors meld together beautifully. Keep them in an airtight container and serve slightly chilled for the best texture contrast.
- Bring to room temperature for about 10 minutes before serving for the softest experience
- Place a piece of parchment paper between layers if you stack them to prevent sticking
- The cream cheese filling makes these perfect with a cup of coffee or cold glass of milk
 Pin It
 There is something magical about biting into that red velvet exterior and hitting that cool tangy cream cheese center. These have become my go to whenever I need to bring something that makes people stop and smile.
Recipe Questions & Answers
- → Can I make the dough ahead of time?
-
Yes, the dough can be prepared and refrigerated for up to 24 hours before baking. Let it come to room temperature for about 15 minutes before rolling into balls, as cold dough may crack slightly when pressing the thumbprints.
- → What's the best way to get vibrant red color?
-
Use gel food coloring instead of liquid for the most intense red hue without adding excess moisture to your dough. Start with a small amount and gradually add more until you reach your desired shade.
- → Can I freeze these cookies?
-
Absolutely! Freeze unfilled baked cookies for up to 3 months, or freeze filled cookies though the cream cheese texture may change slightly after thawing. Thaw overnight in the refrigerator before serving.
- → Why did my thumbprints close during baking?
-
This usually happens if the dough is too warm or if the indentations aren't pressed deep enough. Try chilling the shaped dough for 10 minutes before filling and baking, or press slightly deeper wells initially.
- → Can I use natural food coloring?
-
Beet juice or raspberry puree can provide natural red coloring, though the results will be more muted than artificial coloring. You may need 2-3 times the amount to achieve a noticeable hue.
- → What other fillings work well?
-
White chocolate ganache, lemon curd, raspberry jam, or even peanut butter all complement the red velvet base beautifully. Just ensure your filling isn't too runny or it may overflow during baking.
