 Pin It
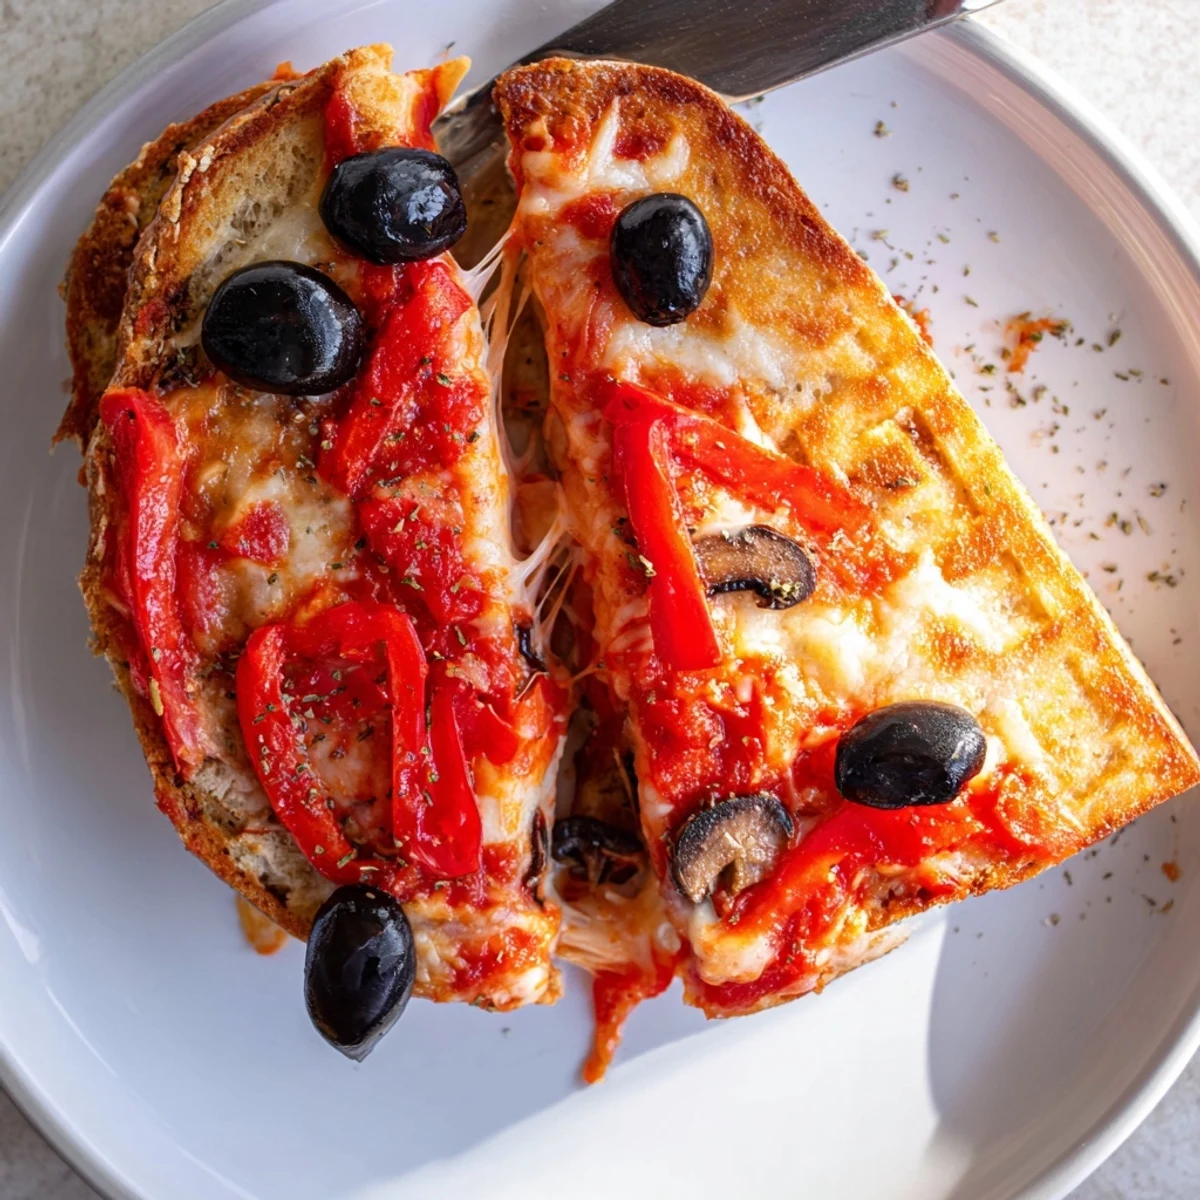
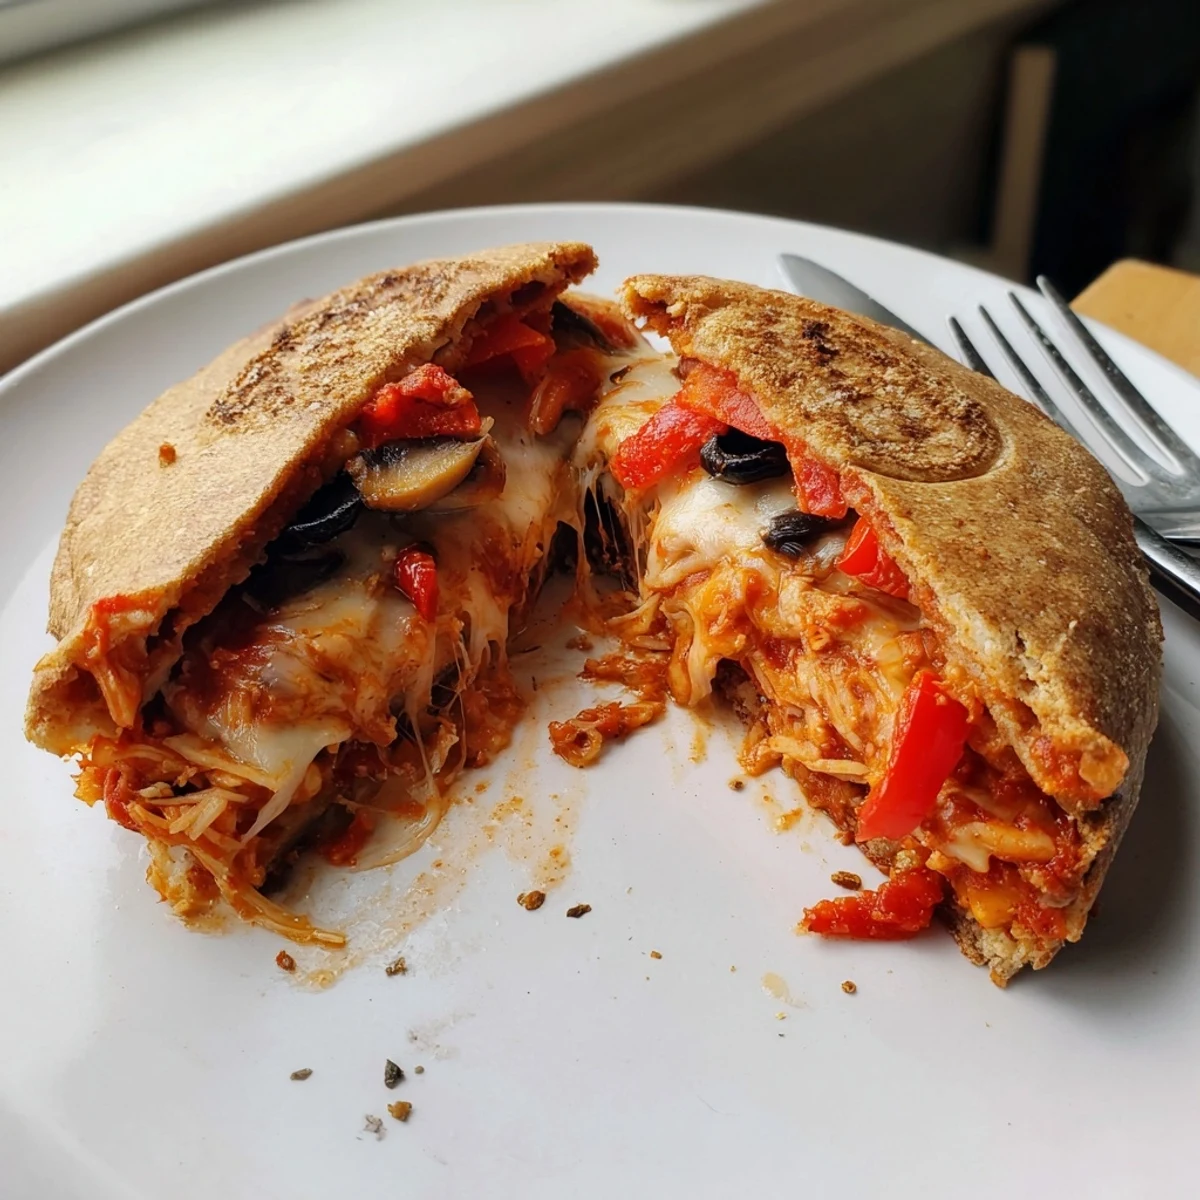
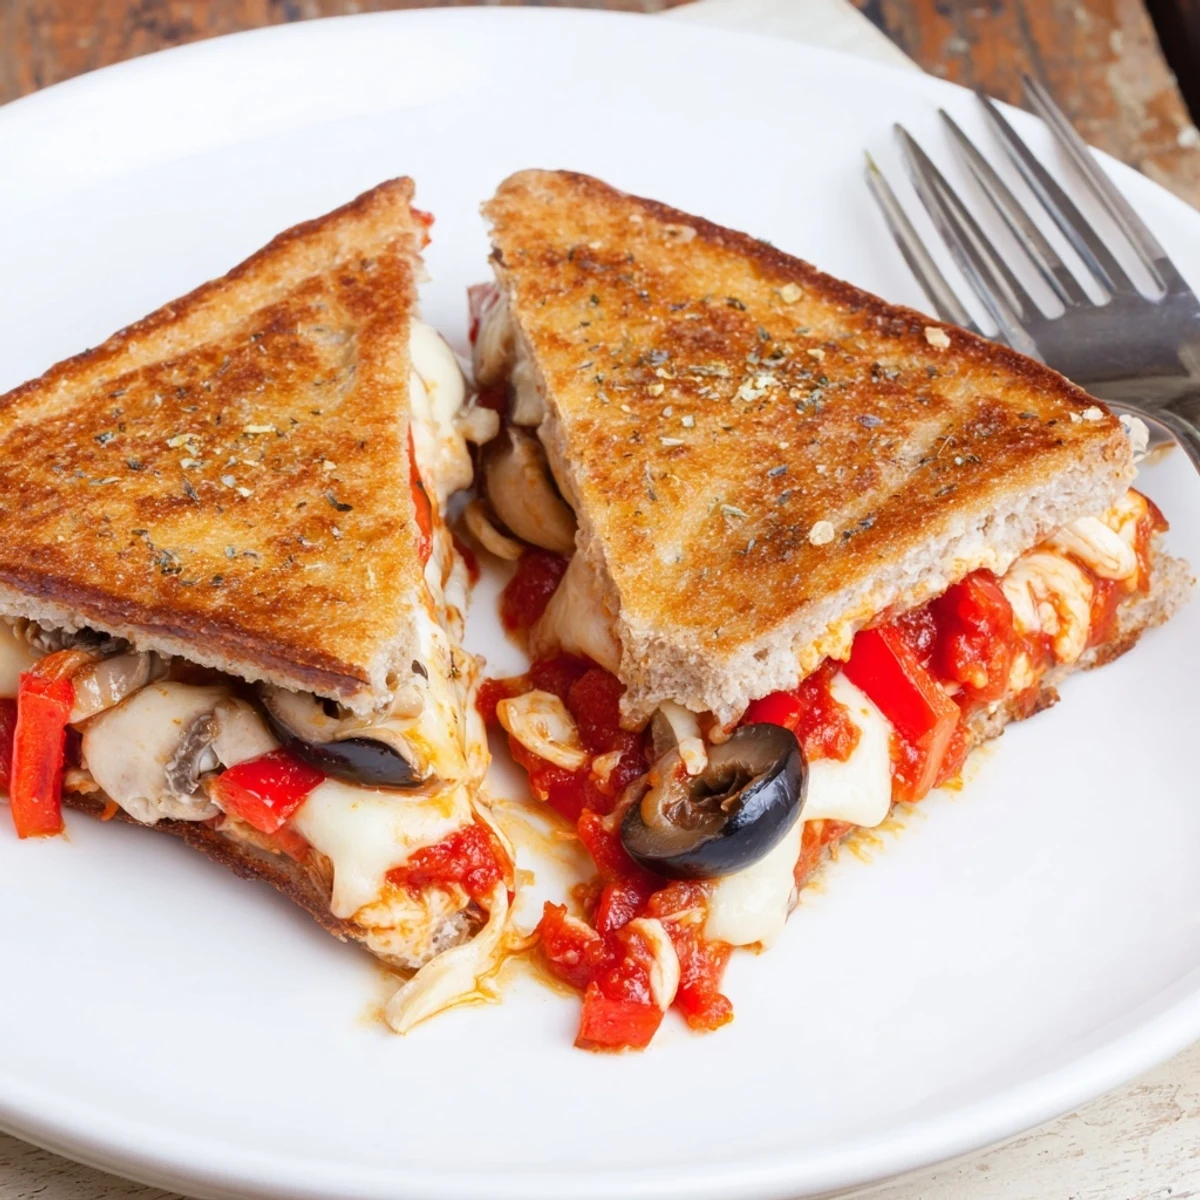
 Quick campfire pockets made by layering pizza sauce, shredded mozzarella and preferred toppings between buttered bread slices, then sealing in a pie iron and cooking 3–4 minutes per side until golden and cheese melts. Prep takes about 10 minutes; cooks in about 8. Swap marinara or pesto, use gluten-free bread, or add cooked sausage or fresh basil for variation. Let cool briefly before opening and serve with a salad or lemonade.
There’s something undeniably satisfying about the sizzle and aroma of bread toasting in a pie iron while campfire smoke swirls in the air. My introduction to pie iron pizza pockets came on a chilly evening—with cheeks flushed from the cold and laughter rising over crackling logs, I watched the first pocket puff up golden and irresistible. It's as much about that joyful process by the fire as it is the cheesy, oozy results. No matter how many times I make them, the anticipation as they cook never gets old.
One summer night, my cousin declared herself the 'pizza pocket perfectionist' and oversaw every topping addition—down to the last olive. The result wasn't just delicious, but hilarious: nobody could tell whose creation was which, and it inspired everyone to get creative with what we'd brought along. Moments like that made these pockets a recurring request during every family camping trip since. The campfire’s glow, gooey cheese strings, and shared grins turned a simple meal into the main event.
Ingredients
- Bread: White or whole wheat sandwich bread crisps up beautifully and helps seal in all that melty cheese; slightly stale slices hold together a bit better on the fire.
- Pizza sauce: Classic jarred or homemade—spread it nearly to the edge for that unmistakable pizzeria taste in every bite.
- Shredded mozzarella cheese: Go generous: stretching melted cheese is half the fun, and pre-shredded saves on prep time.
- Toppings: Pepperoni, black olives, bell peppers, mushrooms—just don’t overdo it, or your pockets won’t seal; smaller dice helps.
- Dried Italian herbs: Sprinkle a pinch if you’d like an herby lift; I learned it brings out the whole pizza flavor.
- Butter: Melting butter and brushing it on the bread makes the exterior crispy, golden, and just the right side of decadent.
Instructions
- Fire Up the Iron:
- Preheat your pie iron directly over the campfire or on your stovetop until it feels hot, but not so hot that it smokes; two or three minutes usually does it.
- Get the Bread Ready:
- Butter one side of each bread slice thoroughly—it’s messy but essential, so don’t forget the corners.
- Build Your Pockets:
- Spread a generous layer of pizza sauce on the unbuttered side, scatter a handful of cheese, and pile on your favorite toppings; the trick is not to make them too bulky, or they’ll refuse to stay shut.
- Finish and Press:
- Lay a second slice of bread on top, buttered side out, then carefully place the sandwich in your pie iron and snap it closed; trim any crust peeking through for best results.
- Sizzle and Toast:
- Hold the pie iron over medium coals, flipping every few minutes—about 3 to 4 per side—until the bread turns golden and you hear the cheese bubbling inside.
- Unveil & Enjoy:
- Gently pry open the pie iron (watch for steam!), transfer your pizza pocket to a plate, and resist diving in for a minute while it cools just enough to eat.
 Pin It
 The night it rained and we huddled closer around the fire, someone suggested dunking their pizza pocket in leftover tomato soup from the pot. That little act made dinner extra special, the kind that everyone talked about even as the stars faded and we packed up camp the next day.
Why Camping Meals Taste Better
Maybe it’s the smoky air or the simple fact that you’re truly hungry—it’s hard to beat the flavor when you cook outdoors, with minimal ingredients and maximum anticipation. Watching the crust brown through the iron, hearing the sizzle, and feeling the warmth on your hands makes every bite more rewarding than anything from an oven. Sharing the experience, not just the food, is the real treat.
Making It Your Own
Try tucking in spinach for color, or sneak in different sauces—pesto gives a punchy twist, while marinara keeps it classic. Swap in gluten-free bread or vegan cheese if you have dietary needs, and anything with a strong flavor like roasted garlic or sun-dried tomatoes works beautifully for adult palates. The pockets become a blank canvas for whatever’s in the cooler or your imagination.
Tricky Parts & Winning Fixes
The pie iron can get insanely hot around the edges and leave the middle pale—rotating it over the flames really helps. If the pocket sticks, let it cool a beat before gently prying it loose with a wooden spatula instead of forcing it. Oh, and never walk away from the fire until your pockets are out; rescuing an over-toasted sandwich isn’t fun.
- Make sure the fire’s not too strong or you’ll char the bread before the cheese melts.
- Wet fingers help seal the edges if the bread resists sticking shut.
- Clean the pie iron well while it’s still warm—it’ll save you scrubbing heartache later.
 Pin It
 If you ever needed proof that simple food can make the best memories, just pull these pizza pockets out by the fire and see the smiles. They’re wonderfully customizable, hard to mess up, and always invite a little creative mischief.
Recipe Questions & Answers
- → Can these be made vegan or dairy-free?
-
Yes. Use vegan cheese and plant-based butter or oil for brushing. Double-check bread labels for dairy or egg, and choose vegan-friendly toppings like grilled vegetables or seasoned tofu.
- → What bread works best?
-
Standard sandwich slices—white or whole wheat—seal easily. Slightly stale bread can hold fillings better. For gluten-free needs, use firm gluten-free sandwich bread cut to size.
- → How long should I cook them?
-
Cook each pocket about 3–4 minutes per side over medium campfire heat or on a stovetop pie iron, until the exterior is golden and the cheese is fully melted. Adjust time if heat is higher or lower.
- → How do I prevent soggy or leaking pockets?
-
Don’t overfill—leave a small border around edges. Trim excess crust if needed, press edges firmly when closing the pie iron, and brush the outside with butter to promote crisping rather than sogginess.
- → Can I cook these without a pie iron?
-
Yes. Assemble sandwiches and bake on a sheet at 375°F (190°C) for 10–15 minutes until golden and the cheese melts, or cook in a skillet pressed with a weight until browned and warmed through.
- → How should leftovers be stored and reheated?
-
Cool completely, store in an airtight container in the refrigerator for up to 48 hours. Reheat in a skillet or oven to restore crispness; microwaving may make the bread soft.
