 Pin It
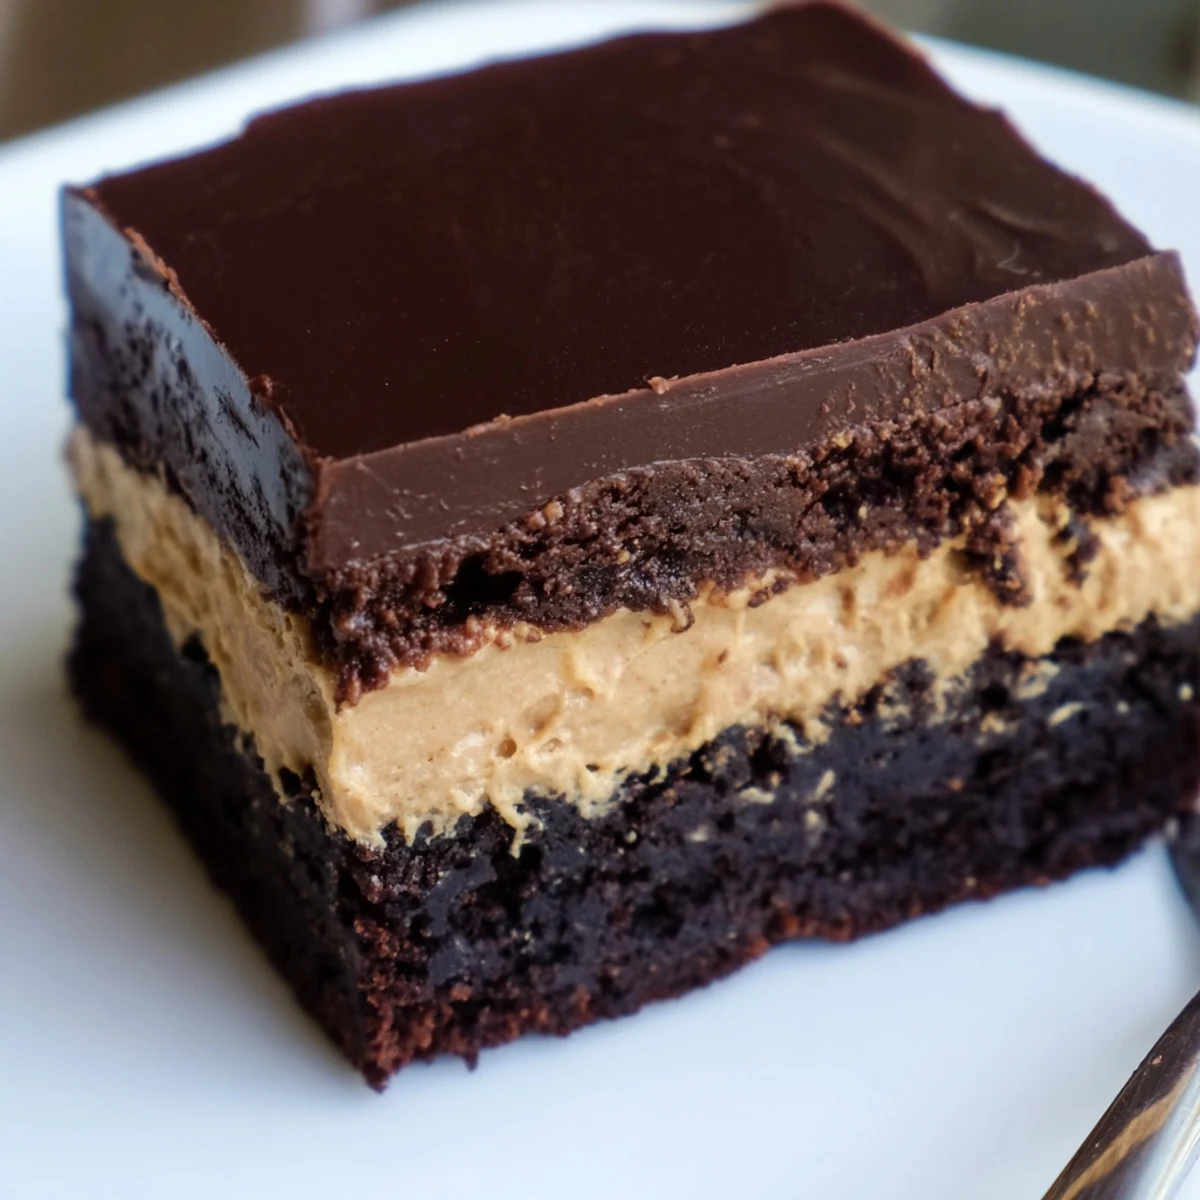
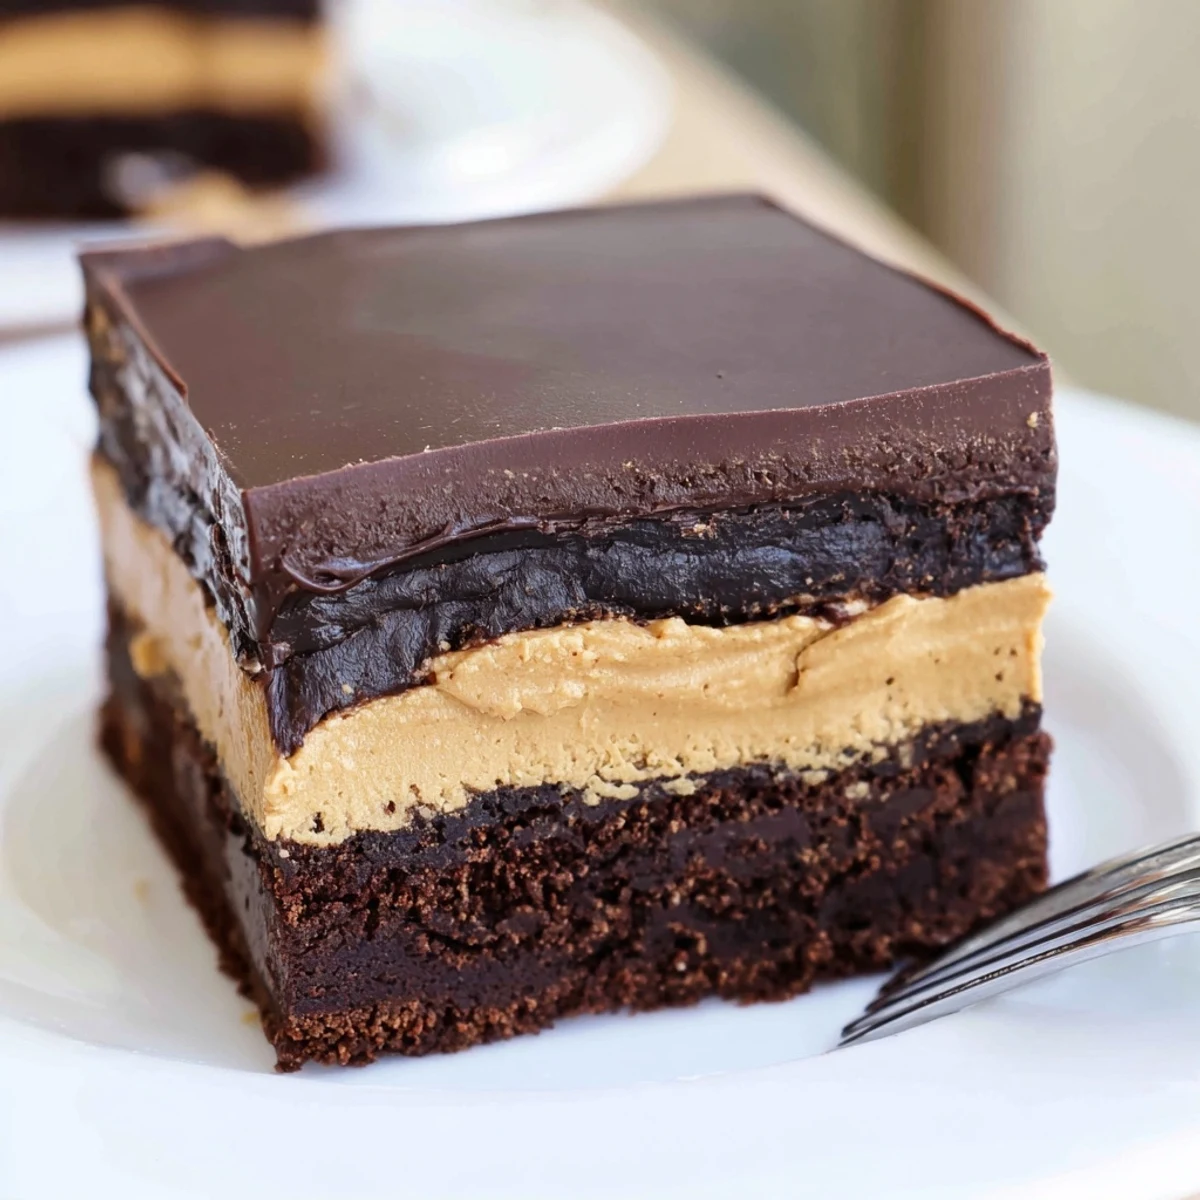
 These indulgent brownies feature three distinct layers that create the ultimate chocolate-peanut butter experience. The base starts with incredibly fudgy, moist chocolate brownies made with melted butter and cocoa powder. Once cooled, a smooth and creamy peanut butter mixture is spread across the top, adding a rich, nutty contrast. The crowning touch is a glossy chocolate ganache that seals in all the layers and adds an extra dose of decadence. After chilling to set, these bars cut cleanly into perfect squares. The texture combination is outstanding—fudgy bottom, creamy middle, and silky top. Each bite delivers the classic flavor partnership that chocolate and peanut butter lovers crave. Best served chilled with a cold glass of milk or hot coffee.
The smell of melted chocolate and peanut butter filling my tiny apartment kitchen is one of my favorite sensory memories. My roommate walked in from her evening class and immediately dropped her backpack on the floor, demanding to know what treasure was baking. These brownies have become my go-to for birthdays, bad days, and Tuesdays that need a little sparkle.
I brought these to a potluck last summer and watched them disappear in record time. My friend Sarah, who claims she does not even like dessert, went back for thirds and asked if I would teach her the recipe. There is something about this particular combination that makes people pause, close their eyes, and savor every crumb.
Ingredients
- Unsalted butter: Use room temperature ingredients for the smoothest peanut butter layer and melted butter for the brownie base
- Granulated sugar: Creates that signature crackly top on brownies when whipped with eggs
- Large eggs: Room temperature eggs incorporate better and give you that fudgy texture we all love
- Vanilla extract: Do not skip this in the peanut butter layer, it makes the flavor sing
- Unsweetened cocoa powder: Dutch processed cocoa gives the deepest chocolate flavor
- All purpose flour: Just enough to hold everything together without making them cakey
- Salt: A small pinch balances all that sweetness and makes chocolate taste more intense
- Creamy peanut butter: Use a mainstream brand for consistent results, natural peanut butters can separate
- Powdered sugar: Essential for the peanut butter layer to set properly without graininess
- Semi sweet chocolate chips: Pick a good quality brand you would eat straight from the bag
- Heavy cream: Room temperature cream combines more smoothly with chocolate
Instructions
- Set up your station:
- Preheat oven to 350°F with the rack in the center. Line an 8x8 inch pan with parchment paper, letting the paper hang over two opposite sides like handles.
- Build the brownie base:
- Whisk melted butter and sugar in a large bowl until no sugar crystals remain. Add eggs one at a time, then vanilla, whisking until the mixture looks silky and slightly thickened.
- Add the dry ingredients:
- Sift cocoa, flour, and salt directly into the wet ingredients. Fold gently with a spatula until the flour streaks just disappear, then spread into your prepared pan.
- Bake to perfection:
- Bake for 22 to 25 minutes until a toothpick comes out with moist crumbs, not wet batter. Cool completely in the pan on a wire rack.
- Make the peanut butter layer:
- Beat peanut butter, melted butter, powdered sugar, vanilla, and salt until completely smooth. Spread over cooled brownies and chill for 30 minutes.
- Prepare the ganache:
- Place chocolate chips in a heatproof bowl. Heat cream until tiny bubbles form around the edges, then pour over chocolate. Let sit for 2 minutes, then stir until glossy and smooth.
- Finish and set:
- Cool ganache slightly until thick but pourable, then spread over the peanut butter layer. Refrigerate for at least 1 hour before slicing.
 Pin It
 My mom called these grown up Reese cups when she first tried them, and the name stuck in our family. Now whenever I visit home, my dad casually mentions it would be nice if I wanted to bake something, and I know exactly what he means.
Getting Clean Cuts
Run your knife under hot water and wipe it dry between every single cut. I learned this after making a jagged mess of what should have been perfect squares. The heat helps the knife glide through all those layers without dragging.
Storage Secrets
These brownies keep beautifully in the refrigerator for up to a week, assuming they last that long. I layer them between parchment paper in an airtight container so they do not stick together. The texture actually improves after a day or two as the flavors meld.
Making Them Your Own
I have played around with this recipe more times than I can count. Sometimes I swirl a little peanut butter right into the brownie batter before baking. Other times I add sea salt flakes on top of the ganache while it is still wet for that sweet and salty thing restaurant desserts do so well.
- Try chopped salted peanuts between the peanut butter and ganache layers for crunch
- A teaspoon of instant coffee dissolved in the melted butter intensifies the chocolate
- Swap the semi sweet chips for milk chocolate if you prefer a sweeter finish
 Pin It
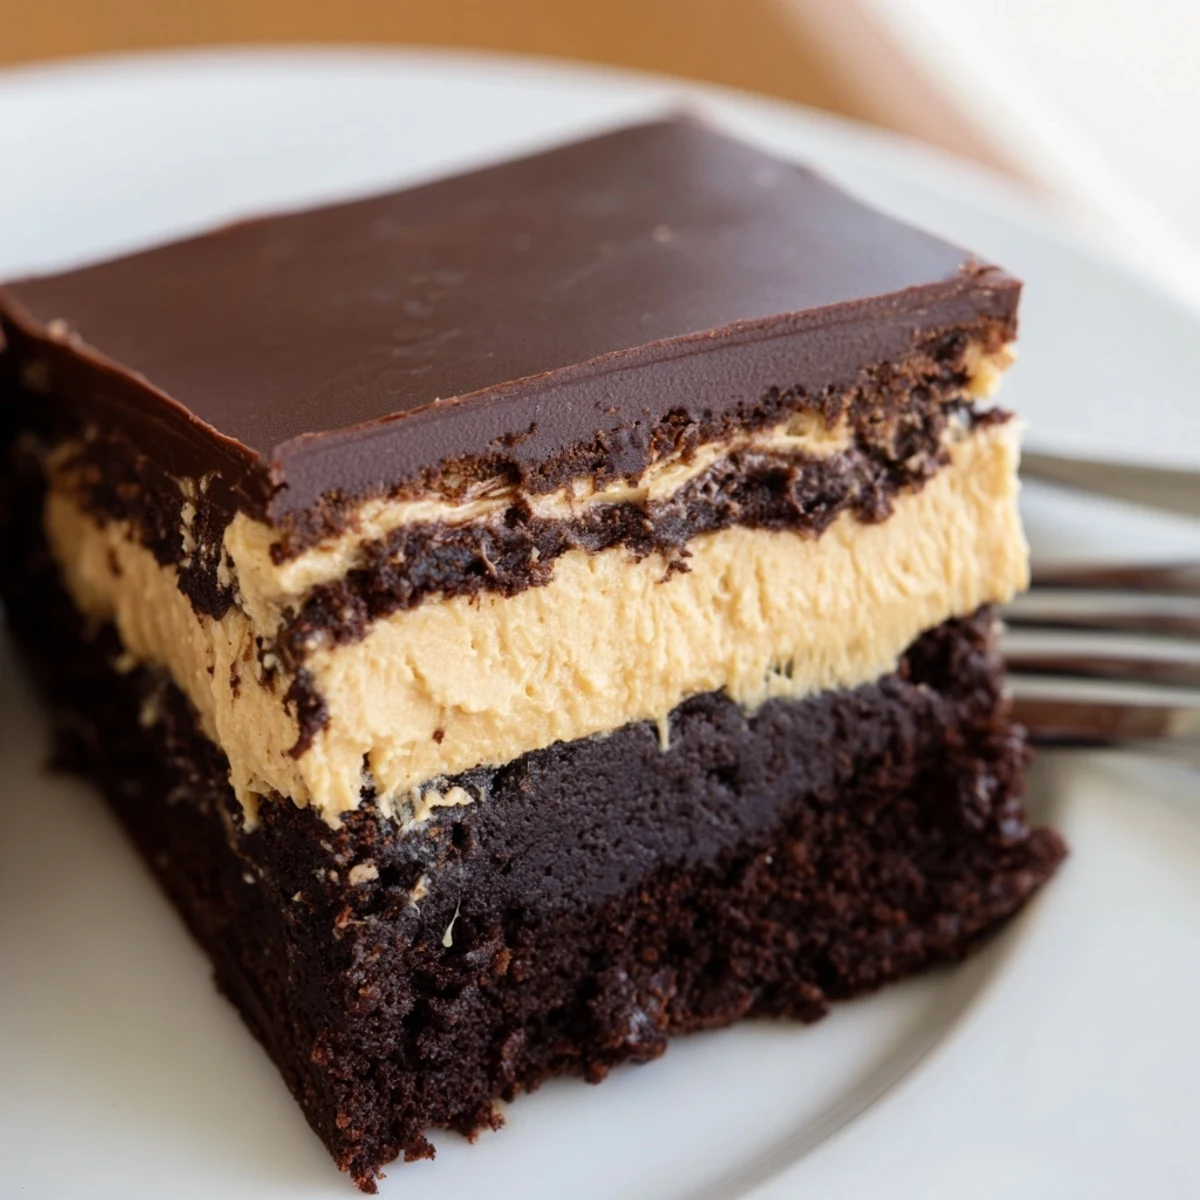
 There is something deeply satisfying about peeling back that parchment paper and revealing those perfect distinct layers. Whether for a special occasion or just because Tuesday calls for chocolate, these never disappoint.
Recipe Questions & Answers
- → How long should I refrigerate the brownies before cutting?
-
Refrigerate for at least 1 hour after adding the ganache to ensure all layers set properly. This makes cutting cleaner and prevents the layers from sliding. For best results, chill for 2-3 hours until completely firm.
- → Can I use natural peanut butter instead of creamy?
-
Creamy peanut butter works best as it creates a smooth, stable layer. Natural peanut butter with oil separation may result in a softer, less stable topping. If using natural, stir thoroughly and consider adding extra powdered sugar to achieve the right consistency.
- → How should I store these brownies?
-
Store in an airtight container in the refrigerator for up to 5 days. The cool temperature keeps the peanut butter layer and ganache firm. For longer storage, wrap individual squares in plastic and freeze for up to 3 months. Thaw in the refrigerator before serving.
- → Why did my brownies turn out cakey instead of fudgy?
-
Overmixing the batter can create a cakey texture. Mix until just combined after adding the dry ingredients. Also, avoid overbaking—remove from the oven when a toothpick shows moist crumbs rather than clean. The fudgy texture comes from proper mixing timing and not overcooking.
- → Can I make these gluten-free?
-
Yes, substitute the all-purpose flour with a 1:1 gluten-free flour blend that contains xanthan gum. The texture should remain similar, though the brownies may be slightly more delicate. Ensure all other ingredients, particularly the chocolate chips, are certified gluten-free.
- → What type of chocolate works best for the ganache?
-
Semi-sweet chocolate chips provide a balanced sweetness that complements the peanut butter layer without becoming overpowering. You can also use chopped semi-sweet chocolate bars or dark chocolate for a more intense flavor. Avoid milk chocolate as it may make the ganache too soft.
