 Pin It
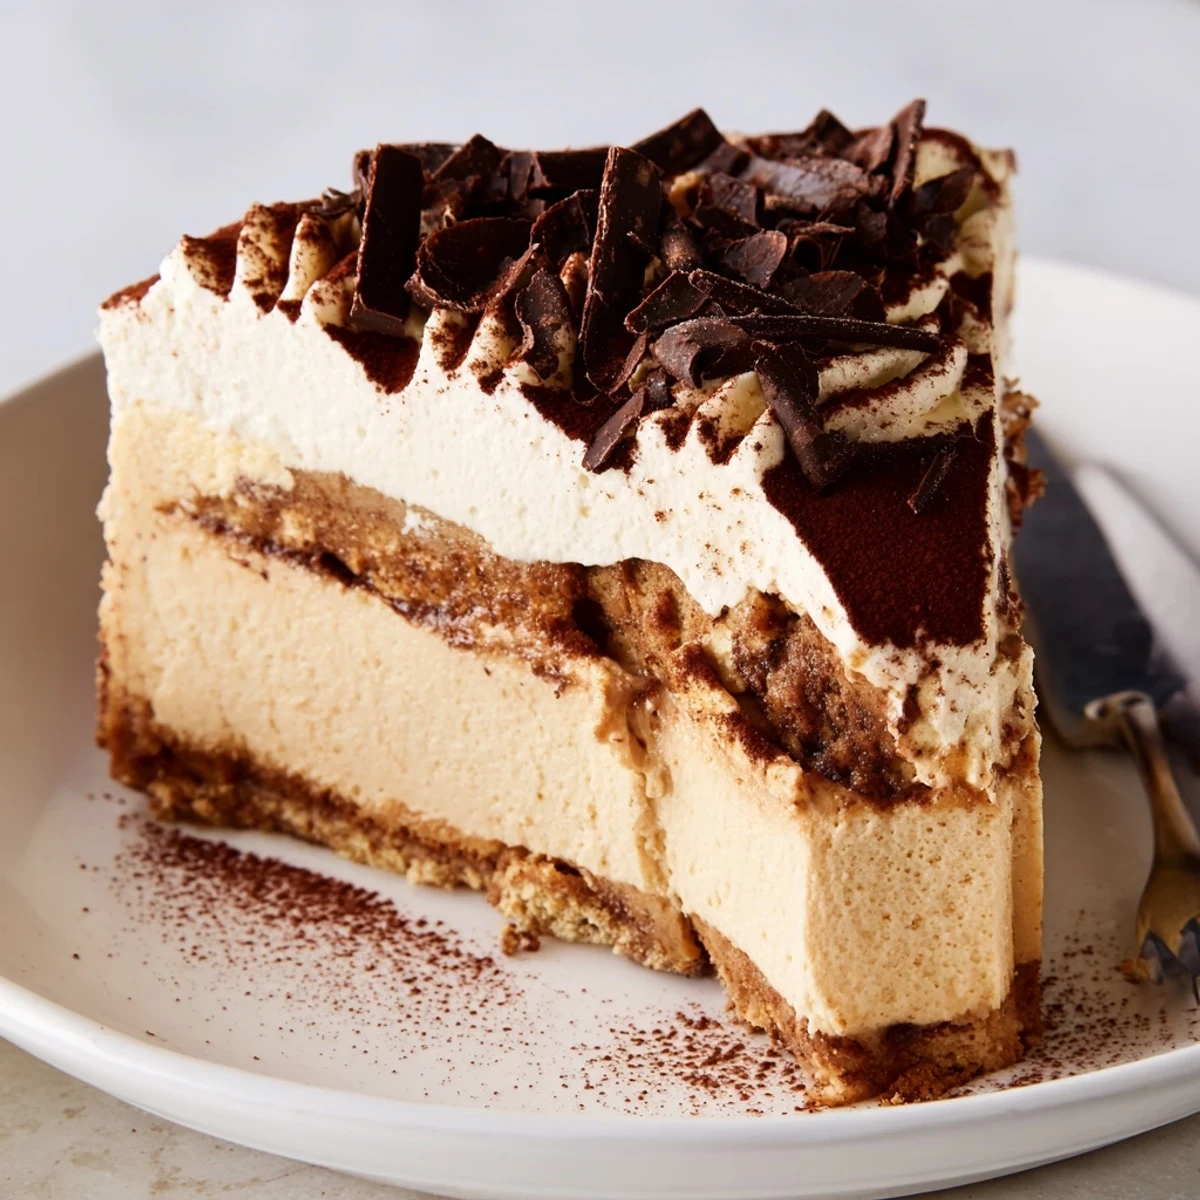
 This tiramisu cheesecake starts with espresso-scented ladyfinger crumbs pressed into a crisp cookie base. A smooth blend of cream cheese and mascarpone is mixed with strong brewed espresso, eggs and sugar, poured over the crust and baked in a water bath until just set. After gradual cooling and at least four hours chilling, top with whipped cream, cocoa dusting and chocolate shavings for an elegant, coffee-forward finish.
The first time I tried merging tiramisu and cheesecake, I was drawn in by the heady scent of espresso blanketing my kitchen. Instead of background music, it was the gentle hum of the mixer and the whisper of cocoa powder as it landed everywhere but the cake. There&aposs something quietly thrilling about creating a dessert that feels a bit dangerous for your taste buds. If you love a good caffeine jolt paired with silky sweetness, this one will have you grinning after the first forkful.
One rainy Sunday when a friend visited unexpectedly, this cheesecake became our excuse to linger at the kitchen table swapping stories. We both declared it should be illegal to have something this comforting with coffee at 3 p.m. There wasn&apost a crumb left to prove it had ever existed. That day, the clinking of forks was better than background chatter.
Ingredients
- Ladyfinger biscuits: The airy texture gives the crust a delicate snap and soaks up the coffee flavor, but crush them evenly for a sturdy base.
- Unsalted butter: Melted and mixed with crumbs, it&aposall that stands between you and a crumbling crust, so go slow to coat every bit.
- Instant espresso powder: Intensifies the coffee note right from the bottom, and using it in the crust stops the flavor from fading during baking.
- Cream cheese: For a plush filling, always let it come to room temperature—this way, you avoid sneaky lumps.
- Mascarpone cheese: Its gentle sweetness takes the place of tradition: I&apofound it smooths into the batter best when you mix gently, not vigorously.
- Granulated sugar: Balances coffee&apointensity and brings out the mellow tang of the cheeses.
- Large eggs: Add them one at a time—patience now leads to a silky, even texture later.
- Strong brewed espresso: The backbone of the flavor, and cooled espresso keeps the batter from curdling.
- Vanilla extract: Just a splash, but don&apounderestimate its power to round out both filling and cream topping.
- All-purpose flour: Just enough to set the cheesecake, but too much makes it dense, so measure with care.
- Salt: The tiniest pinch, and suddenly the flavors pop instead of blending into each other.
- Coffee liqueur: Optional but highly recommended for a grown-up finish; it&aposflirtatious touch in the coffee soak.
- Granulated sugar (for soak): Don&apoforget—it helps the espresso soak gently into the crust without bitterness.
- Heavy cream: Whips up into a dreamy topping; keep your bowl and beaters cold for the tallest peaks.
- Powdered sugar: Dissolves quickly into the cream, so no gritty bits disrupt your smooth cloud of topping.
- Unsweetened cocoa powder: The final flourish, dusted over the whipped cream for classic tiramisu flair.
- Dark chocolate shavings: Optional but stunning—slice them fresh for curls that melt on the tongue.
Instructions
- Warm up the oven:
- Set the oven to 160°C (325°F) and line your springform pan so you don&apost wrestle with sticking later.
- Crush and blend:
- Pulse ladyfingers to fine crumbs, mix in espresso powder and melted butter until evenly snug, and press the mixture firmly into your pan—run your knuckles across till it feels like packed sand.
- Bake and cool:
- Bake the crust for 10 minutes till lightly golden, then let it chill out on the counter as you prep the rest.
- Mix the magic coffee soak:
- Stir hot espresso with sugar and liqueur; swirl until the sugar disappears, then actually let it cool or you&apob risk warming your cheesecake base.
- Creamy filling time:
- Beat cream cheese, mascarpone, and sugar slowly until cloudlike; add eggs one at a time and pause to scrape the bowl, then blend in espresso, vanilla, flour, and salt just until smooth—not a second longer.
- Soak the crust:
- Brush or drizzle half that fragrant coffee soak over the cooled crust and watch it vanish.
- Pour and de-bubble:
- Pour the cheesecake filling on top and gently tap the pan—listen for the tiny bubbles escaping.
- Bake with a bath:
- Set the pan in a water bath and bake for about 60 minutes; when the middle has a gentle wobble and the edges are set, crack the oven door and let it relax for an hour inside.
- Chill and set:
- Cool completely at room temperature before moving to the fridge for at least 4 hours—resist peeking underneath.
- Whip up clouds:
- Beat cold heavy cream, powdered sugar, and vanilla to stiff peaks—inhaling deeply because nothing smells more inviting.
- Final assembly:
- Release the cake, drizzle remaining soak if you want a stronger buzz, swirl the whipped cream on top, dust with plenty of cocoa powder, and toss on chocolate shavings for show.
 Pin It
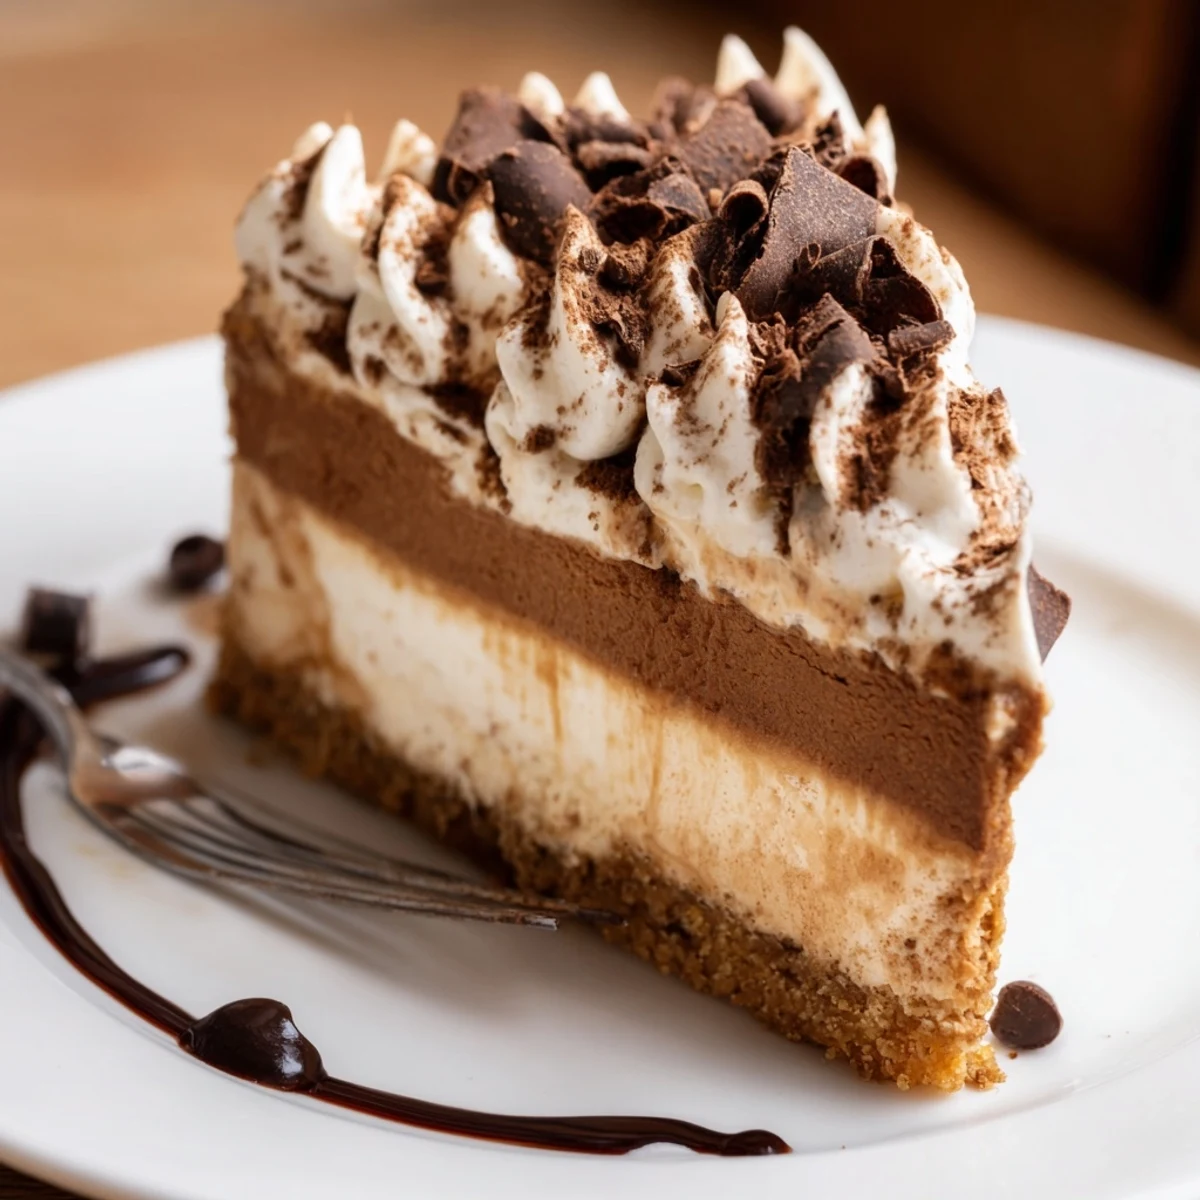
 The first birthday I made this tiramisu cheesecake, candles dotted the top like tiny spotlights and everyone paused before the first bite—just to admire it. When the forkfuls started, even the silent types at my table couldn&apost help but hum in delight. Desserts have rarely gotten this many happy sighs in my kitchen.
Making Your Cheesecake Stand Out
Swapping in chocolate biscotti for the crust once brought out an unexpected nuttiness that made guests guess at the secret. If you play with different garnishes or add a drizzle of melted chocolate, this dessert suddenly reads as extra special. I&aposve even crowned it with a handful of coffee beans for drama.
Adjusting for Dietary Needs
For a gluten-free variation, gluten-free ladyfingers or even almond cookies work surprisingly well as a crust. If you must skip the alcohol, the coffee flavors alone carry the dessert just fine. Just remember: check labels if anyone in the house has allergies or dietary concerns.
Serving and Make-Ahead Wisdom
Slicing is cleaner if you dip your knife in hot water and wipe between cuts—trust me, your slices will look bakery-worthy. The cheesecake sets beautifully overnight, so making it a day ahead means more time for you to relax. Bring it out about 20 minutes before serving for the perfect creamy texture.
- Chill leftovers tightly wrapped to keep them fresh.
- Dusting cocoa just before serving keeps it vibrant and avoids moisture spots.
- Never skip the crackly chocolate shavings—they make every piece look irresistible.
 Pin It
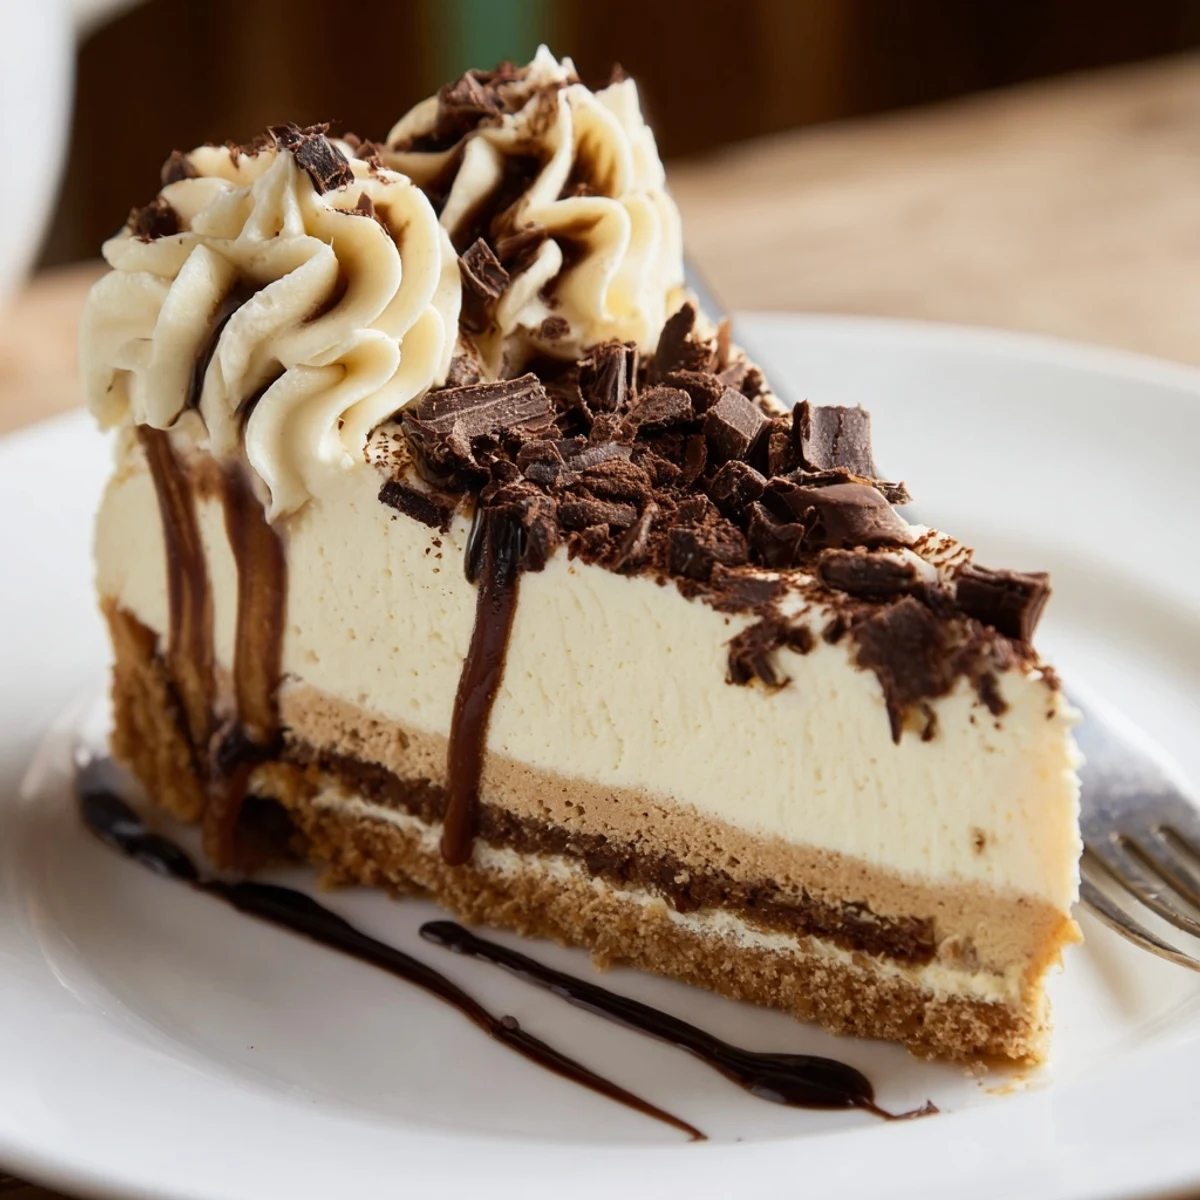
 This cheesecake may start in your kitchen, but the memory of its taste travels much further. Every time I share it, people ask for the recipe before their plate is even cleared.
Recipe Questions & Answers
- → How can I prevent the cheesecake from cracking?
-
Bake in a water bath to maintain even heat, avoid overbaking—the center should jiggle slightly—and let the cake cool slowly with the oven door ajar before chilling; this reduces rapid temperature shifts that cause cracks.
- → Is the coffee liqueur necessary?
-
No. Omit the liqueur for an alcohol-free version and increase the hot espresso or simple syrup slightly to retain the coffee intensity without adding alcohol.
- → What can I use instead of ladyfingers?
-
Digestive biscuits or graham crackers work well; they yield a sturdier, slightly less sweet base. Adjust the butter amount if the crumbs are drier or coarser.
- → How strong should the espresso be?
-
Use a concentrated brew or strong instant espresso for clear coffee notes without watering down the filling—120 ml of strong brewed espresso is suggested in the filling and additional hot espresso for the soak.
- → Can this be made ahead of time?
-
Yes. It keeps well refrigerated for 24–48 hours; cover tightly to prevent absorption of other fridge aromas. For longer storage, the baked, chilled cake can be frozen—wrap well and thaw in the fridge before finishing with whipped cream and dusting.
- → How do I ensure a silky, not grainy, filling?
-
Bring dairy to room temperature, beat cream cheese and mascarpone until fully smooth before adding eggs, and mix gently once the eggs are incorporated to avoid overworking the batter; a touch of flour helps stabilize the custard.
