 Pin It
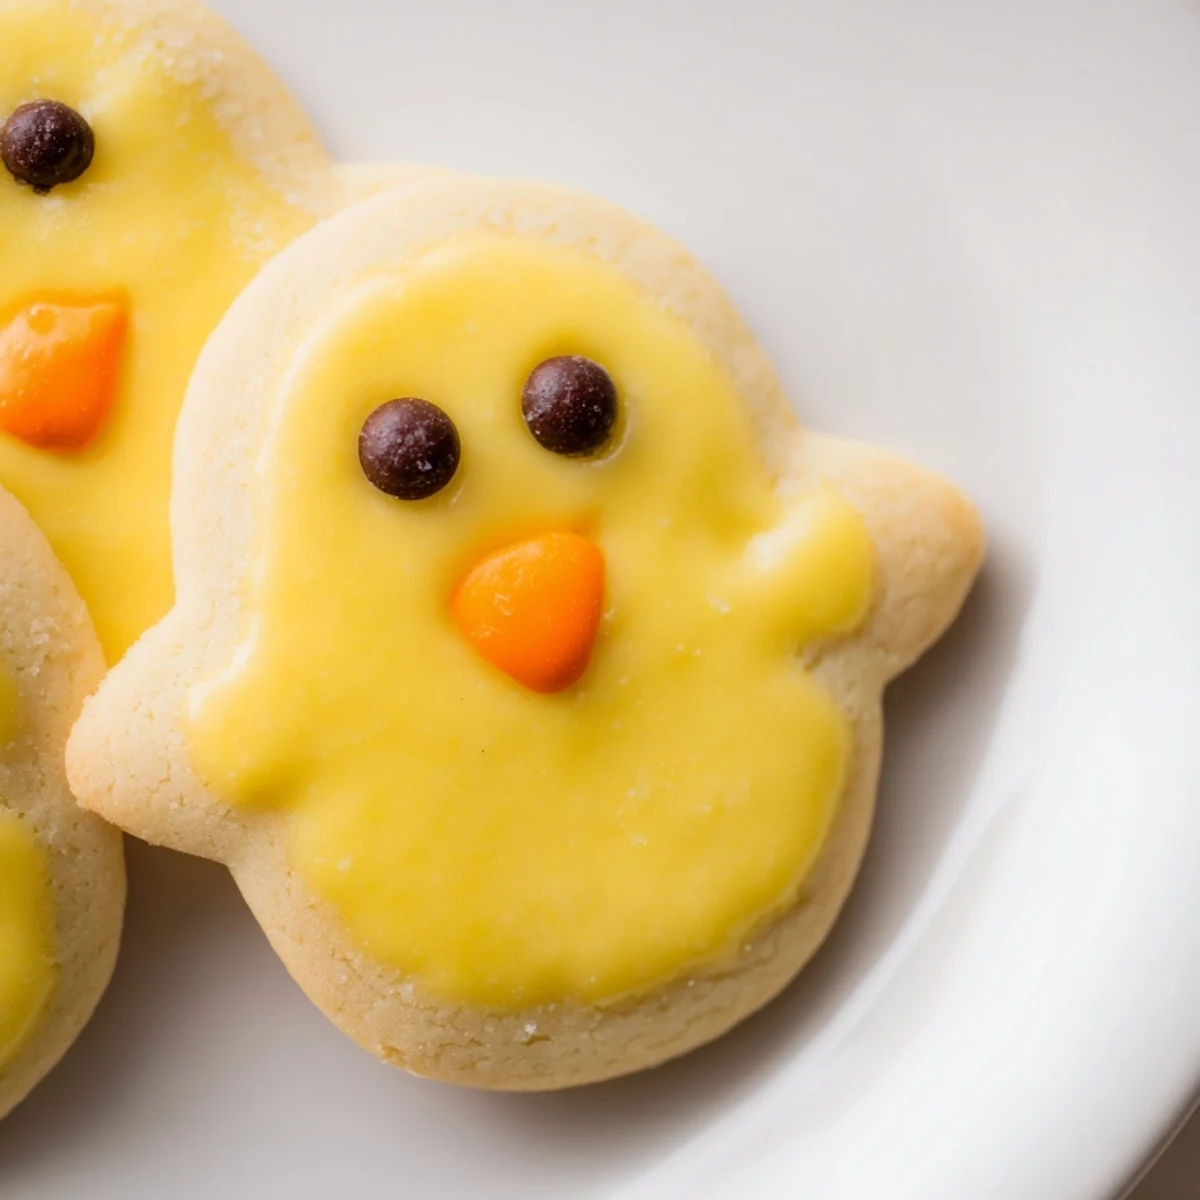
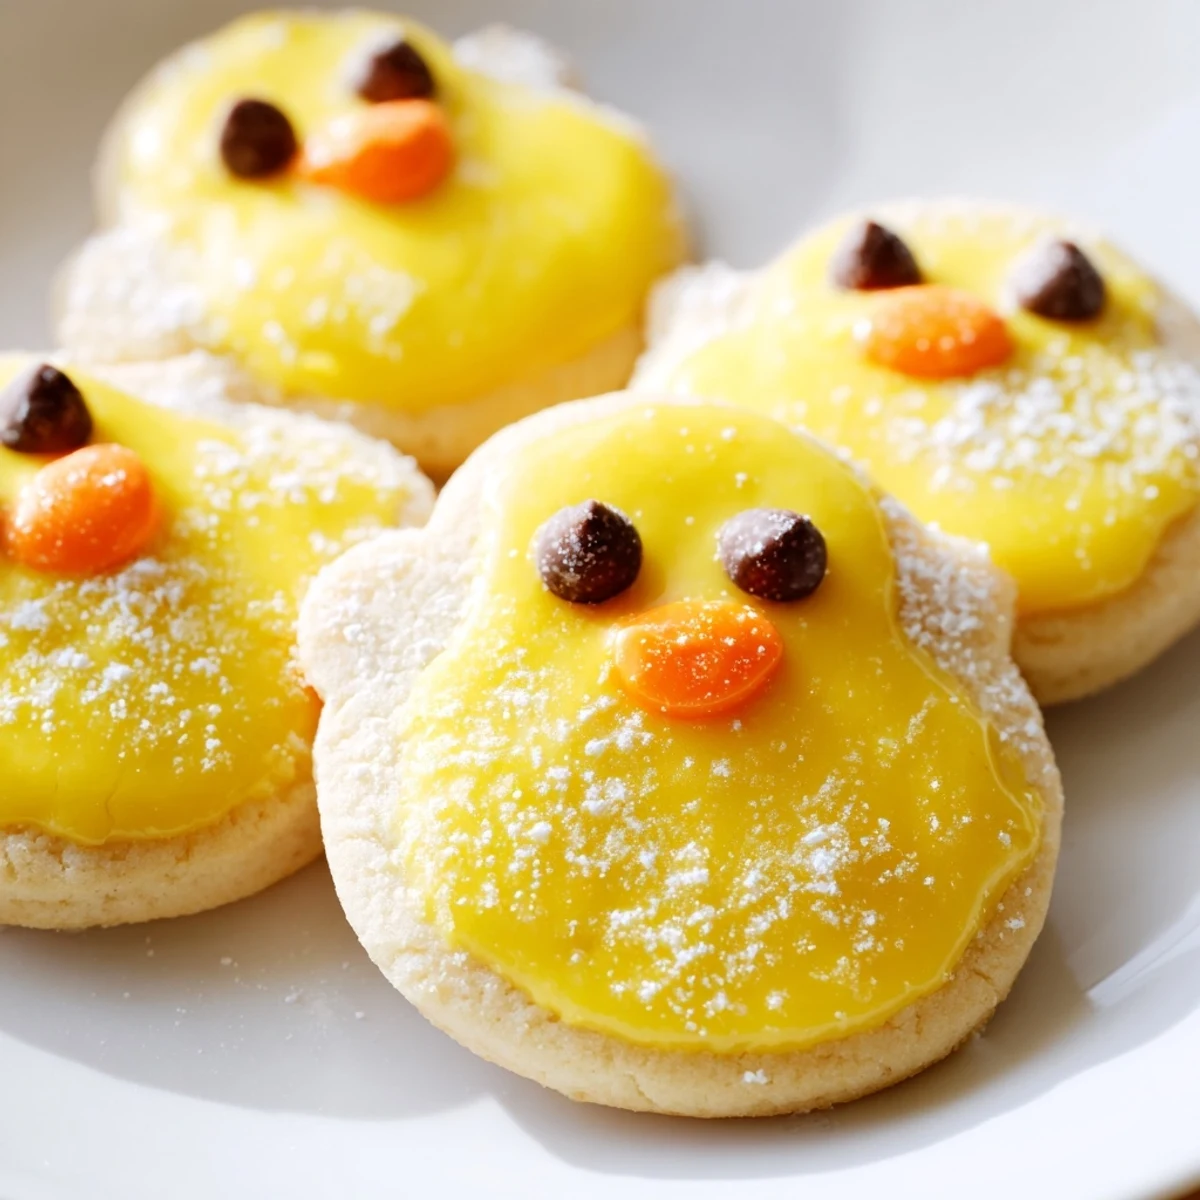
 These charming chick-shaped cookies bring whimsy to any spring celebration. The classic sugar cookie dough gets transformed with bright yellow coloring, then decorated with simple faces featuring chocolate chip eyes and orange beaks. Perfect for Easter, baby showers, or children's birthdays, these treats are as fun to make as they are to share. The dough comes together quickly, bakes in under ten minutes, and yields two dozen delightful cookies that kids and adults alike will adore.
Last spring my daughter asked if we could make something that looked like the baby chicks in our storybooks. I admit I was skeptical about my sculpting skills, but we ended up covered in flour and yellow food dye, laughing at our lopsided attempts. The first batch came out of the oven slightly uneven but absolutely charming. Now they request them every time the daffodils start blooming.
I brought a batch to my nieces birthday party last month and watched the dessert table transform. Within minutes children were pointing and squealing, picking out their favorite chicks to take home. Even the adults could not resist grabbing one, commenting on how the bright yellow cheered up the whole room. My sister confessed she saved two in the freezer because she did not want them to disappear too quickly.
Ingredients
- Allpurpose flour: The foundation that gives these cookies their tender crumb and structure for shaping
- Baking powder: Just enough lift to keep the chicks light without losing their defined shapes
- Unsalted butter: Room temperature butter creates that perfect melt in your mouth texture
- Granulated sugar: Sweetens the dough while helping the cookies hold their cute form
- Egg: Binds everything together and adds richness to the cookie base
- Vanilla extract: Pure vanilla makes these taste as good as they look
- Yellow food coloring: Gel coloring works best for vibrant hue without thinning the dough
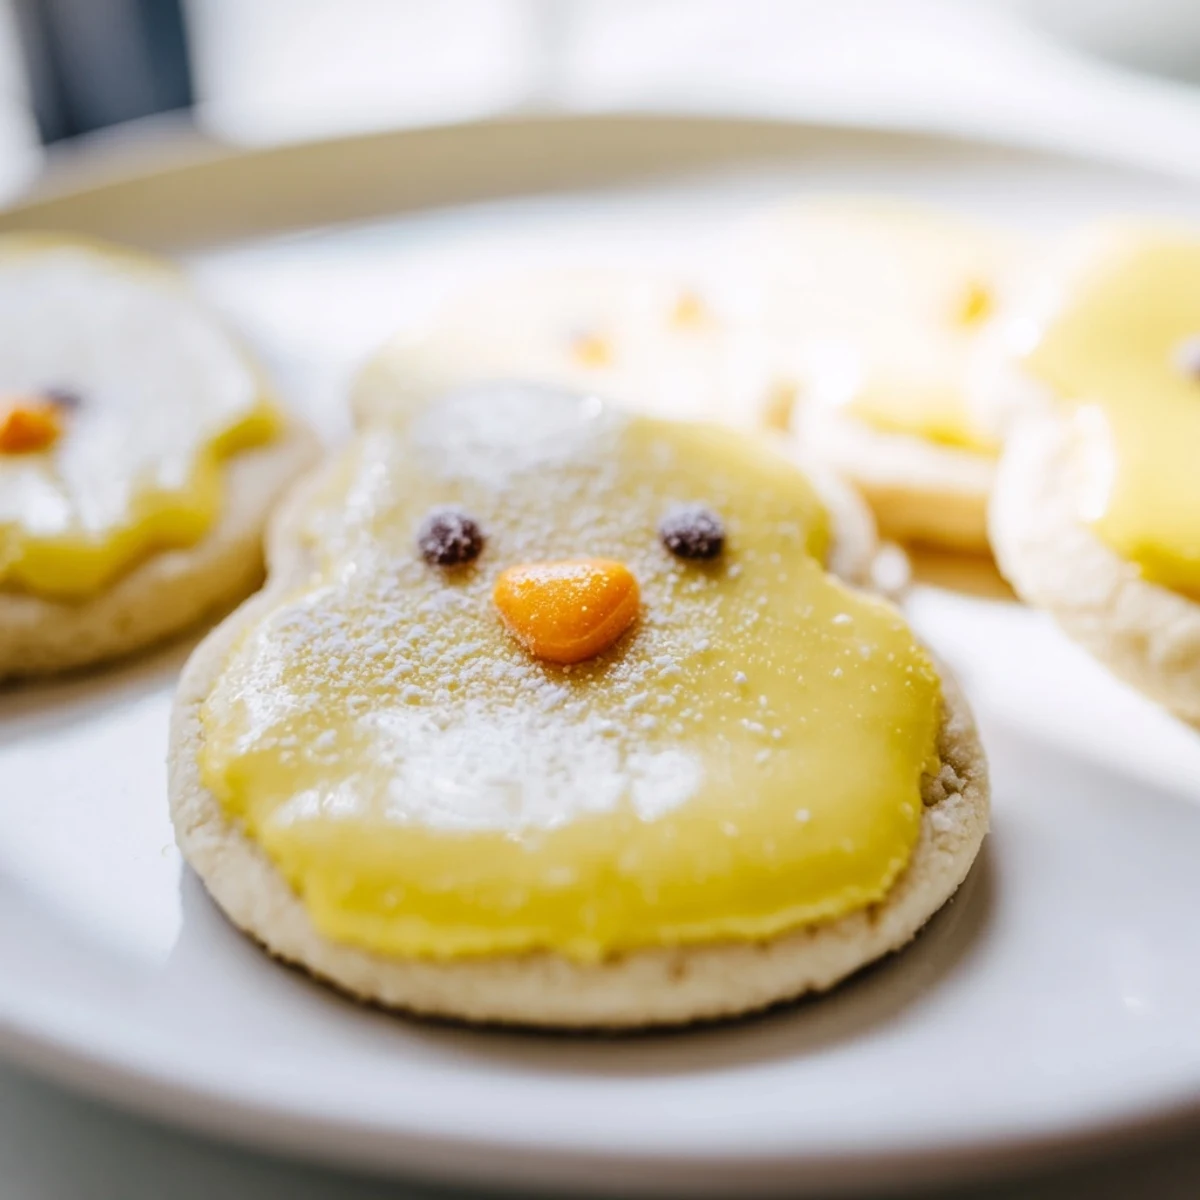
- Powdered sugar and milk: Whisk these together for a simple glossy glaze that adds extra sweetness
- Black and orange decorating gel: Transform plain yellow cookies into adorable faces with eyes and beaks
Instructions
- Prep your baking space:
- Preheat oven to 350°F and line two baking sheets with parchment paper so the chicks do not stick
- Mix the dry ingredients:
- Whisk flour, baking powder, and salt in a bowl to ensure even distribution
- Cream the butter and sugar:
- Beat butter and sugar until pale and fluffy, then add egg and vanilla until fully combined
- Combine the dough:
- Gradually mix in dry ingredients until smooth, then add yellow food coloring and knead until uniform
- Shape the chicks:
- Roll dough into 1inch balls for bodies and smaller balls for heads, gently pressing them together
- Bake until golden:
- Arrange chicks 2 inches apart on baking sheets and bake for 8 to 10 minutes until edges are barely golden
- Add the faces:
- Let cool completely, then glaze if desired and use black gel for eyes and orange for beaks
 Pin It
 My mom keeps a photo on her fridge of the first chicks my daughter and I made together. They were far from perfect but the memory of our flour dusted kitchen and her proud smile when they came out of the oven is something I treasure. Now whenever spring arrives she asks if it is chick cookie time yet.
Getting the Shape Right
The secret to perfectly shaped chicks is making sure the two dough balls are pressed together firmly enough but not so hard they lose their definition. I learned the hard way that too much pressure makes them look like one blob. Keep the head ball about half the size of the body and gently wiggle them together until they stick.
Making Faces That Last
After my chicks faces melted into sad smears the first time, I started letting the cookies cool completely before decorating. Gel piping works better than liquid food coloring for sharp details. If you want the faces to really set, pop the decorated cookies in the fridge for 10 minutes before serving.
Beyond the Basic Chick
Once you master the classic chick, try experimenting with different spring themes. I have made tiny flower embellishments, added sprinkle wings, and even created a whole flock with different expressions.
- Use pink food coloring for bunny shaped cookies
- Add lemon zest to the dough for bright spring flavor
- Try using edible googly eyes for extra dimension
 Pin It
 These chicks have become my go to for spring gatherings, classroom treats, and simply brightening up a gray afternoon. Hope they bring as much cheer to your kitchen as they have to mine.
Recipe Questions & Answers
- → How far in advance can I make these chick cookies?
-
You can prepare the dough up to 3 days ahead and store it refrigerated. The baked and decorated cookies stay fresh for 4-5 days in an airtight container. For longer storage, freeze undecorated baked cookies for up to 3 months and add faces when ready to serve.
- → What's the best way to get the yellow color evenly distributed?
-
Add gel food coloring drop by drop while mixing the dough, then knead by hand on a clean surface until the color is uniform. Gel coloring works better than liquid as it won't make the dough too sticky.
- → Can I use royal icing instead of the simple glaze?
-
Absolutely! Royal icing creates a smoother, more professional finish and sets harder. The thin milk glaze described adds subtle shine while remaining simple and kid-friendly. Both options work beautifully for these treats.
- → Why do my chick cookies lose their shape while baking?
-
If the dough becomes too warm, the shapes may spread. Chill the formed cookies for 15 minutes before baking, work in batches, and keep unused dough refrigerated. Room temperature butter creates the best texture, but cool dough holds shapes better.
- → What other decorations work well for chick faces?
-
Mini chocolate chips, candy eyes, edible googly eyes, or dots of black decorating gel all make charming eyes. Orange sprinkles, candy corn pieces, carrot-shaped candies, or orange fondant create adorable beaks. Get creative with what you have on hand!
