
 Pin It
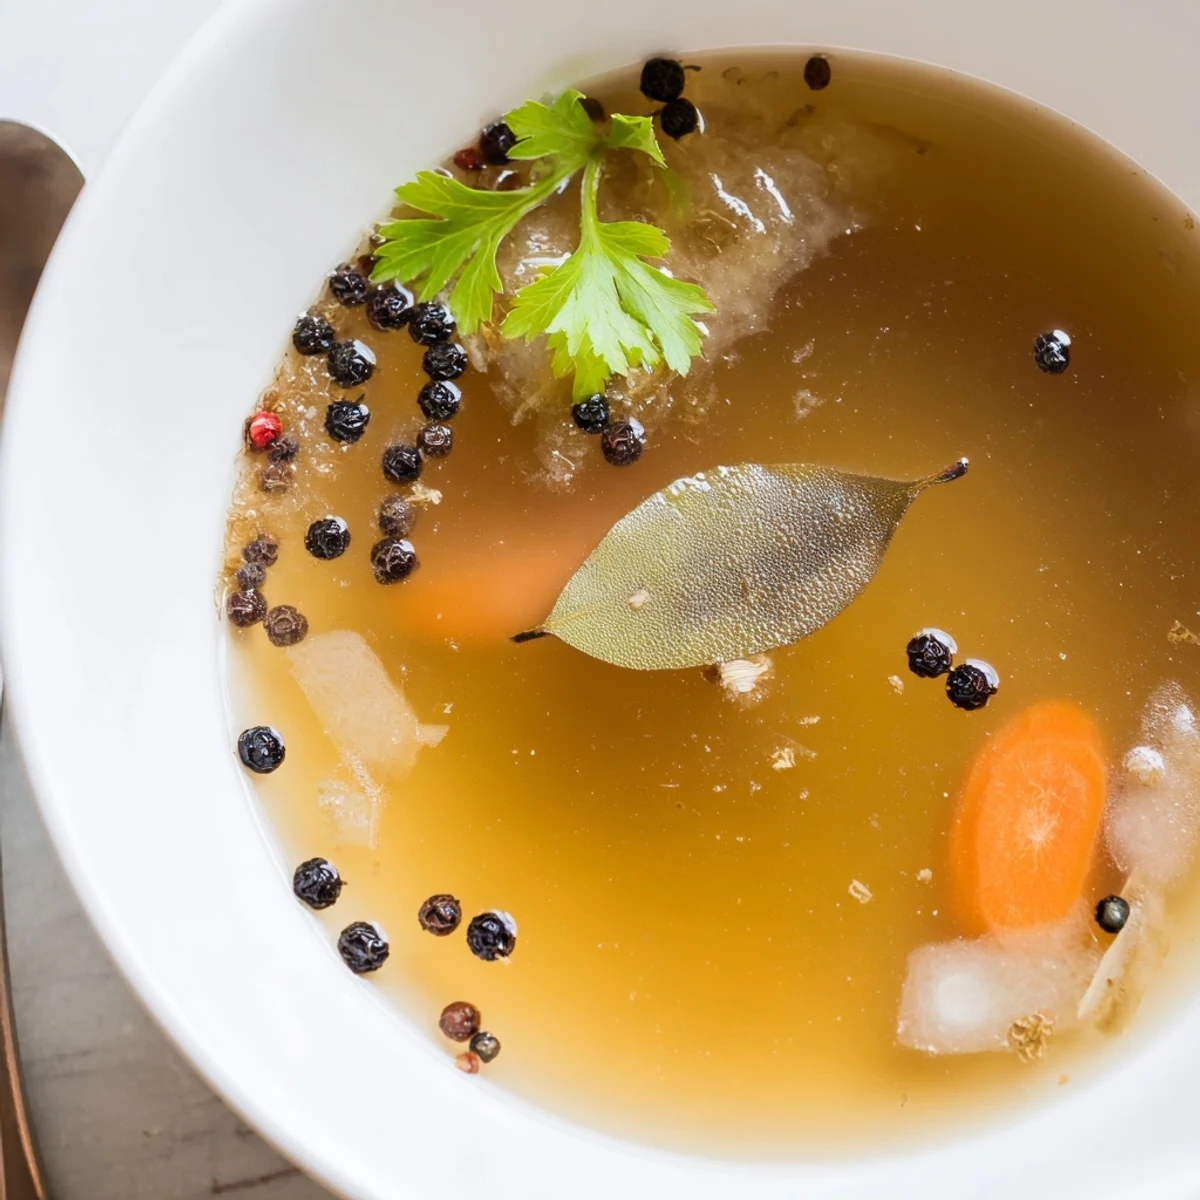
 Simmer beef bones with carrots, celery, onion, garlic, bay leaves, parsley and whole peppercorns in cold water with a splash of apple cider vinegar. Roast bones first for deeper color. Maintain a gentle simmer for 12+ hours, skimming impurities early, then strain and chill to remove fat. Use hot for sipping or as a flavorful base for soups, stews and sauces; freeze portions for longer storage.
My kitchen smelled like a farmhouse on a rainy Sunday the afternoon I committed to making bone broth from scratch. The stove barely murmured for half a day while I went about my life, checking in occasionally like it was a sleeping pet. Something about the patience required felt radical in a world that moves too fast. That first ladleful, golden and fragrant, convinced me never to buy boxed broth again.
A friend who was recovering from a tough winter received a jar of this broth at her door, still warm, with nothing more than a sticky note attached. She called that evening to say it was the most comforting thing she had tasted in months and asked for the recipe immediately.
Ingredients
- Beef bones (2.5 lbs, marrow, knuckle, or oxtail): Mix different types for the best balance of flavor and collagen, and roast them first for a color and depth you simply cannot get otherwise.
- Carrots (2, roughly chopped): They add a subtle sweetness that rounds out the savory intensity of the bones.
- Celery stalks (2, roughly chopped): An aromatic backbone that quietly supports everything else in the pot.
- Large onion (1, quartered): Leave the skin on for a richer, deeper color in your finished broth.
- Garlic cloves (4, smashed): Smashing rather than mincing lets them release flavor slowly over the long simmer.
- Bay leaves (2): These work quietly in the background and you will miss them if you forget them.
- Fresh parsley (1 small bunch): Tossed in whole, it brings a brightness that dried parsley cannot replicate.
- Whole black peppercorns (1 tsp): Whole peppercorns give gentle warmth without clouding the broth the way cracked pepper would.
- Apple cider vinegar (2 tbsp): This is the secret weapon that helps draw minerals out of the bones and into your broth.
- Cold water (12 cups): Always start with cold water because it pulls flavor from the bones more effectively as it heats.
- Salt (to taste, added after cooking): Salting at the end gives you full control over the final seasoning.
Instructions
- Roast the bones if you want the best result:
- Spread your bones on a sheet pan and roast at 400 degrees F for about 30 minutes until they are deeply browned. The aroma alone will tell you this step was worth the extra effort.
- Load up the pot:
- Transfer the bones to your stockpot or slow cooker and pile in the carrots, celery, onion, garlic, bay leaves, parsley, and peppercorns. Pour the apple cider vinegar over everything, then add the cold water, making sure the bones are well covered.
- Bring it to a simmer and skim:
- Set the pot over medium heat and let it come to a gentle simmer, using a ladle or skimmer to remove the grey foam that rises during the first hour. This keeps your broth clean and clear.
- Let time do the work:
- Reduce the heat to low and let the broth barely bubble, uncovered or partially covered, for at least 12 hours. Check occasionally and add water if needed to keep the bones submerged beneath the surface.
- Strain and season:
- Pour the broth through a fine mesh sieve or cheesecloth into a large container, discarding all the spent solids. Stir in salt to your taste once it has cooled slightly.
- Cool, store, and enjoy:
- Refrigerate the broth so the fat solidifies on top, making it easy to lift off with a spoon if you prefer a leaner result. It will keep in the fridge for up to 5 days or freeze beautifully for up to 3 months.
 Pin It
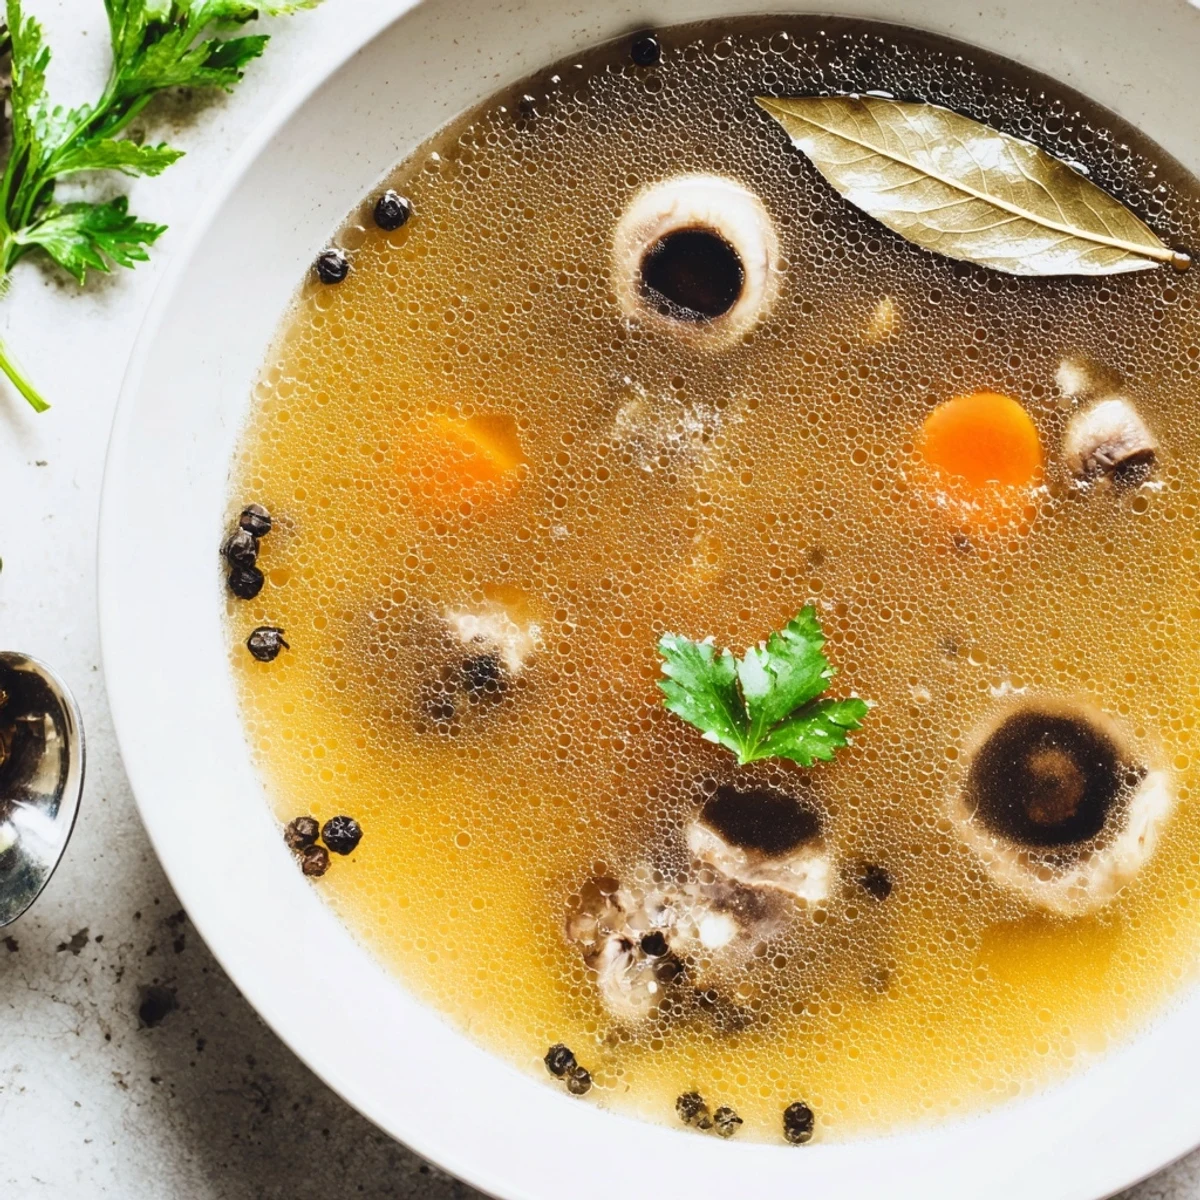
 There is something deeply satisfying about lifting the lid after twelve hours and finding a liquid so rich it wobbles like jelly once chilled. It transforms an ordinary Tuesday dinner into something that feels considered and cared for.
Getting the Most Flavor Out of Your Bones
Roasting is technically optional, but skipping it means sacrificing a layer of flavor that turns good broth into extraordinary broth. The browning that happens in the oven creates the same Maillard reaction that makes grilled steak irresistible. I usually roast a large batch of bones at once and freeze the extras so I am always ready to start a pot without planning ahead.
Ways to Use Every Last Drop
Beyond sipping it from a mug on cold mornings, this broth becomes the foundation for French onion soup, risotto, pan sauces, and braised greens that taste like they came from a restaurant. I even cook grains in it when I want a simple side dish to feel special. A jar thawed from the freezer has rescued more weeknight dinners than I can count.
Troubleshooting and Storage Wisdom
Every batch teaches you something new, and the variables are simple once you understand them.
- If your broth does not gel in the fridge, try adding more joint heavy bones like knuckle or oxtail next time.
- Freeze in portion sized jars or silicone ice cube trays so you never have to thaw more than you need.
- Always leave an inch of headspace in glass jars before freezing to prevent cracking.
 Pin It
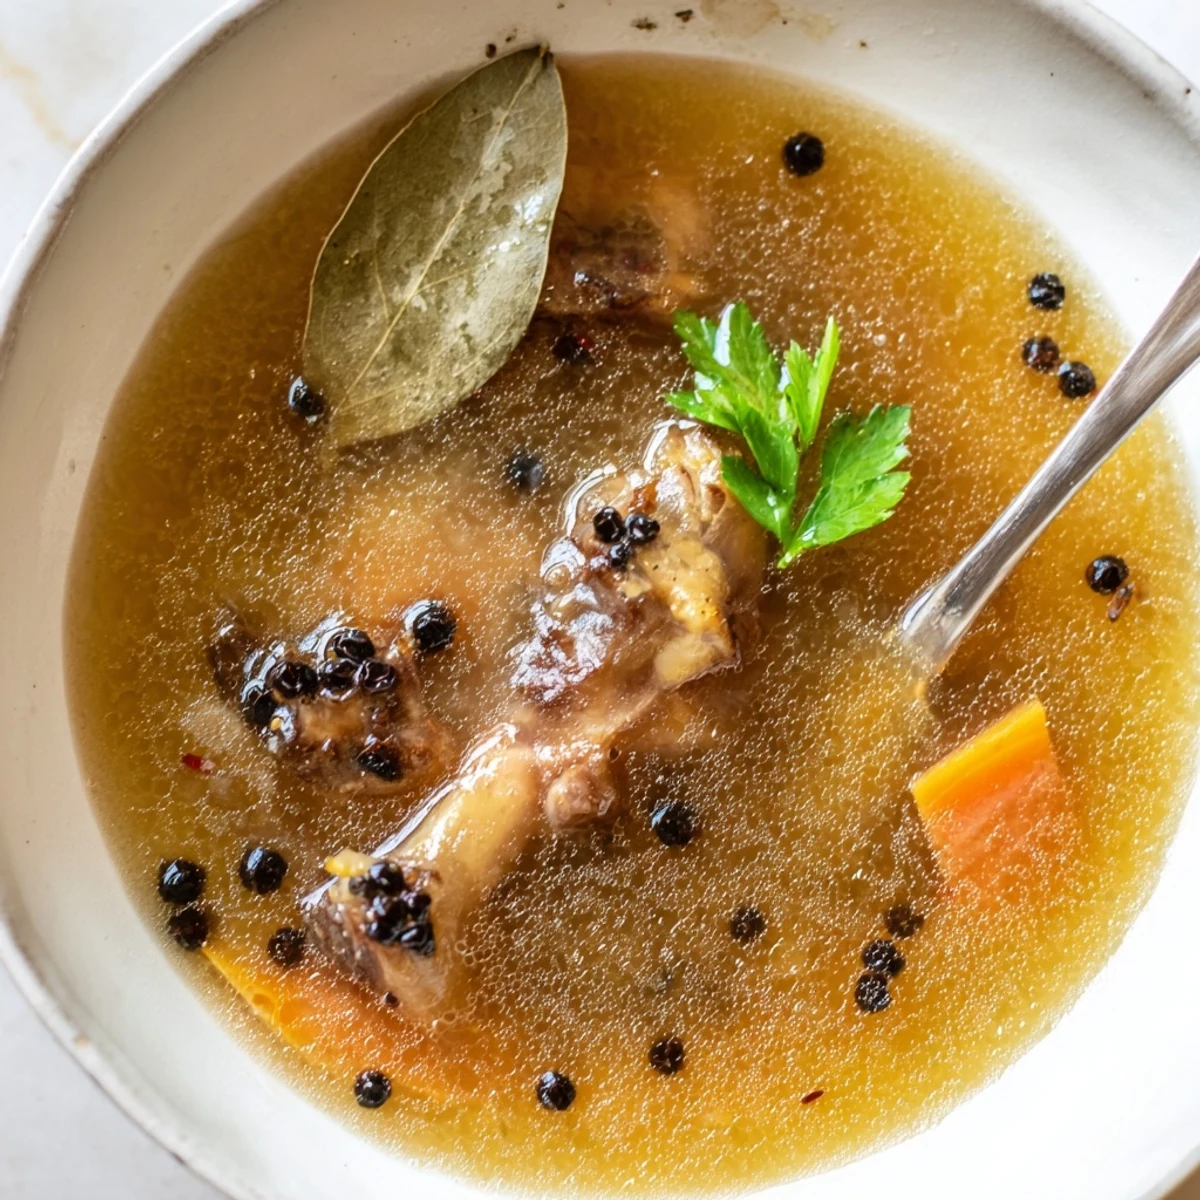
 Making bone broth is less about technique and more about trusting time to transform humble ingredients into something remarkable. Your future self will thank you every time you reach into the freezer and find a jar of liquid gold waiting.
Recipe Questions & Answers
- → How long should the bones simmer?
-
Simmer at a gentle low boil for at least 12 hours; up to 24 hours will extract more collagen and minerals, producing a richer, more gelatinous stock.
- → Should I roast the bones first?
-
Roasting bones at 400°F (200°C) for about 30 minutes adds deeper color and a caramelized, savory depth to the final liquid, but it’s optional if time or equipment is limited.
- → Why add apple cider vinegar?
-
A splash of acid helps draw minerals and collagen from the bones into the liquid, improving body and mouthfeel without altering the finished flavor.
- → How do I get a gelatinous texture?
-
Use joints and marrow-rich bones, maintain a long, gentle simmer, and cool the strained liquid in the fridge; well-extracted broth will gel as it chills.
- → How should I store the finished liquid?
-
Refrigerate up to 5 days, skimming solidified fat as desired. For longer storage, freeze in portions (ice cube trays or containers) for up to 3 months.
- → What variations can enhance flavor?
-
Add roasted vegetables, thyme, rosemary or leeks during simmering, or finish with a splash of soy or miso when using as a soup base for additional umami.